## Prerequisites
Before launching CMS Micro, you will need to subscribe to Solodev on the AWS Marketplace. Click the button below to get started. Once completed, return to this article and follow the instructions below:
!!!NOTE:
If you already have a subscription to CMS Micro AWS, [click here](#aws-setup-with-subscription).
!!!
## AWS Setup
The following steps cover the setup of the **CMS Micro AWS** on the AWS Marketplace. Click the **“Continue to Subscribe”** button at the top of the AWS Marketplace listing page to continue the process.
### Subscribe to this Software
CMS Micro AWS is available as a monthly subscription on the AWS Marketplace. The subscription includes the software's operational and infrastructure costs for running on AWS.
1. Review and accept the **"Terms and Conditions"**.
2. Click **"Continue to Configuration"**.
!!!NOTE:
Once accepted, you will receive a thank you message asking you to configure your software. This process can take a few moments. Please do not exit the screen or refresh the page.
!!!
### Configure this Software
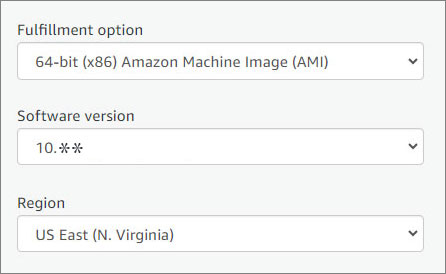
Choose a fulfillment option, the software version and the AWS Region where you wish to launch your stack.
1. Select a fulfillment option. Fulfillment options relate to how software products are delivered and deployed. This software is packaged as a virtual appliance and deployed on Amazon EC2 instances.
2. Select a software version. The latest version of Solodev CMS Micro is always recommended.
3. When selecting an available AWS Region for hosting, you may want to consider a region that is closer to your users to help reduce your network latency.
4. Click **"Continue to Launch."**
### Launch this software
Review the launch configuration details and follow the instructions to launch this software.
1. **Choose an Action**
2. **Select an EC2 Instance Type**
3. **Select a VPC**
4. **Select a Subnet**
5. **Configure a Security Group**
6. **Select a Key Pair**
7. Click **"Launch"**.
#### Choose an Action
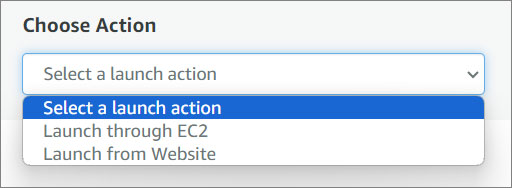
There are two options for configuring your Solodev CMS Micro: Launch from Website or Launch through EC2. Select one from the menu.
!!!NOTE:
The following steps cover the configuration when selecting Launch from Website, which is recommended for first-time subscribers. If you already have your VPC and other variables configured, you can choose Launch through EC2 for more rapid deployment.
!!!
{% tabs %}
{% tab title="Launch through EC2" %}
Choose this action to launch your configuration through the Amazon EC2 console.
1. Select Launch through EC2
2. Click **Launch**
### Launch an instance
Create virtual machines, or instances, that run on the AWS Cloud. Quickly get started by following the simple steps below.
1. **Add Name and tags**
2. **Select Application and OS Images (Amazon Machine Image)**
3. **Select a Instance Type**
6. **Select a Key Pair**
7. **Network Settings**
8. **Configure storage**
9. Click **"Launch Instance"**.
#### Name and tags
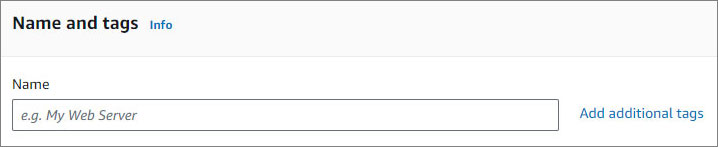
Give your instance a **name**. You can also add additional tags (Optional).
!!!NOTE:
A tag is a label that you assign to an AWS resource. Each tag consists of a key and an optional value, both of which you define.
!!!
#### Application and OS Images (Amazon Machine Image)
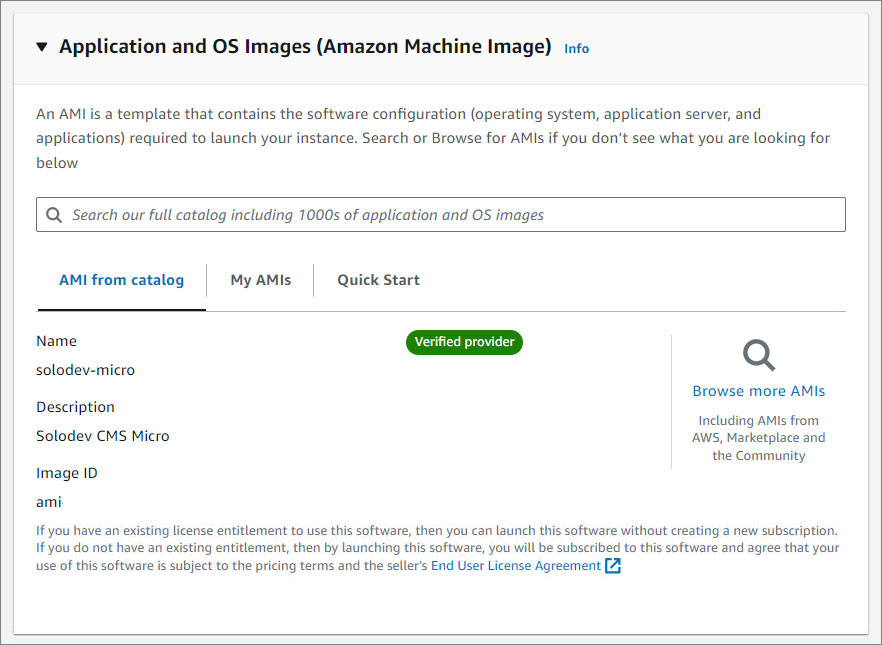
An AMI contains the software configuration (operating system (OS), application server, and applications) required to launch your instance.
For more information about Amazon Machine Image, click here.
#### Instance Type
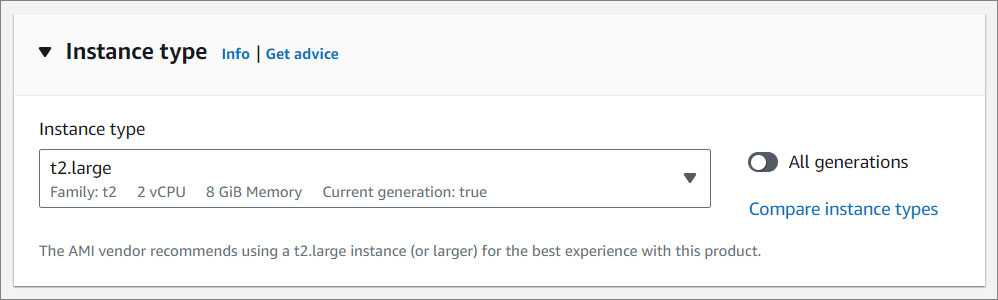
Select an instance type that meets your computing, memory, networking, or storage needs.
To learn more about which instance to select based on your traffic needs, click here.
!!!NOTE:
Solodev recommends t2.large server. Depending on your traffic needs, you can select an instance size from the available options in the menu.
!!!
#### Key Pair
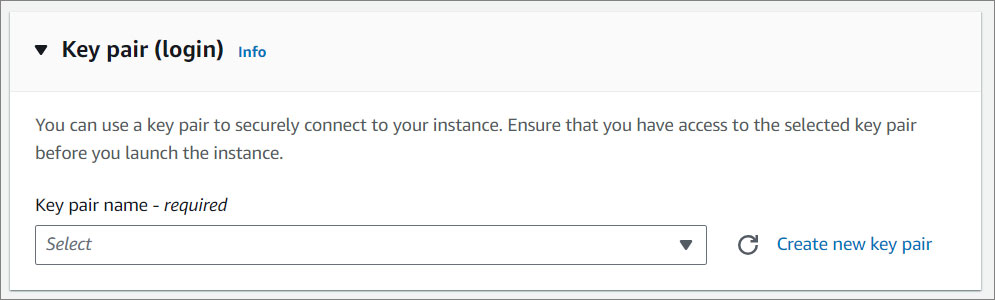
You can use a key pair to securely connect to your instance. Ensure that you have access to the selected key pair before you launch the instance.
!!!NOTE:
An Amazon EC2 key pair is a set of security credentials consisting of a public and private key that verifies a user's identity when connecting or communicating with an EC2 instance. If you do not have a Key Pair, you will need to create one in your Key Pair Console. For instructions click here.
!!!
#### Network Settings
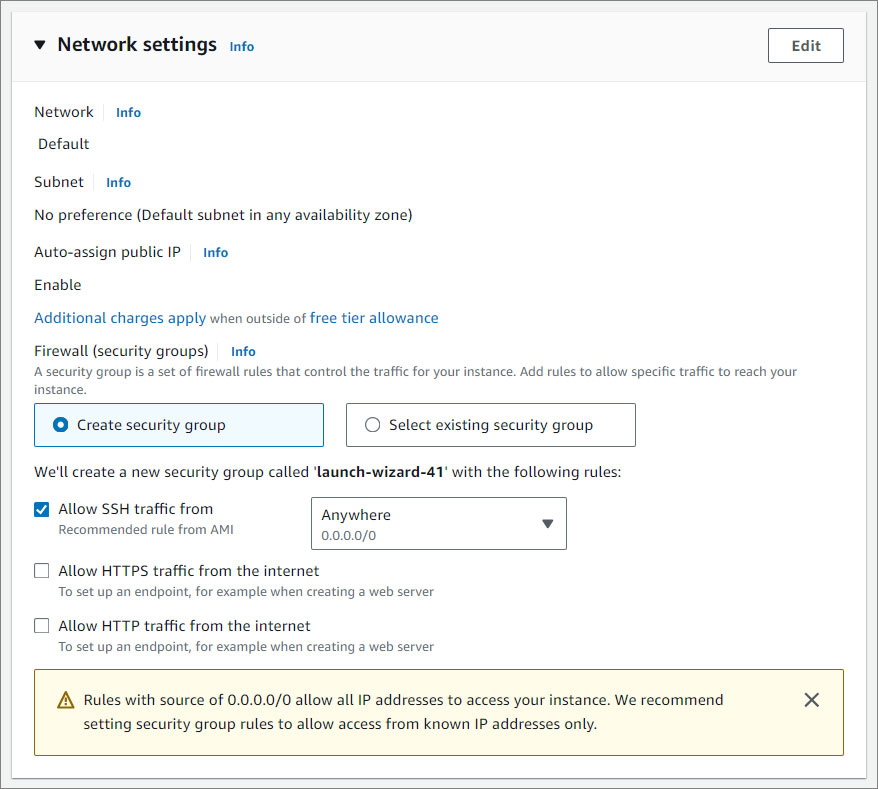
Here you can create or select an existing security group, create an instance that can connect using SSH, and more.
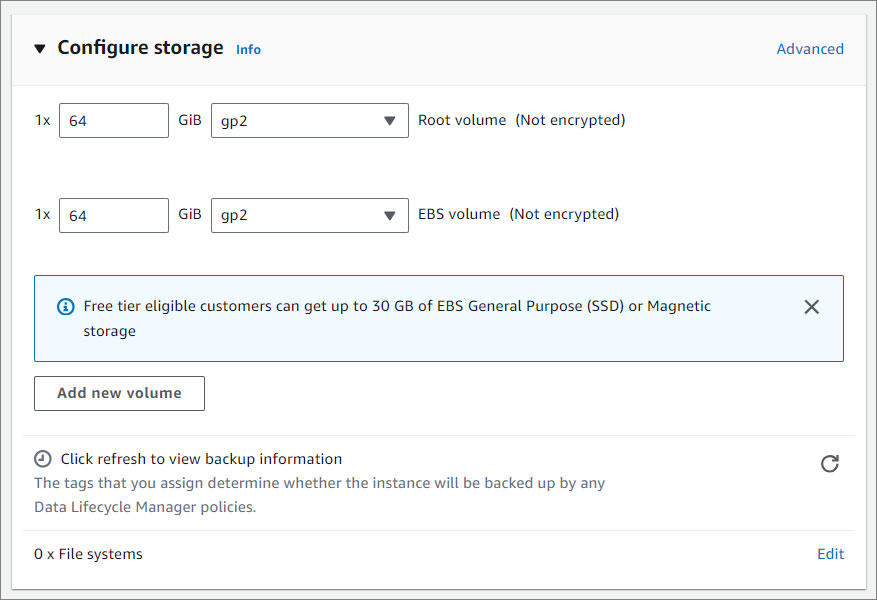
#### Configure storage
Specify the storage options for the instance.
For more information about storage, click here
{% endtab %}
{% tab title="Launch from Website" %}
Choose this action to launch from this website.
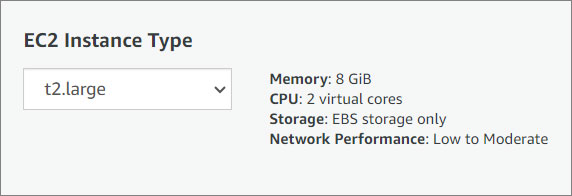
#### EC2 Instance Type
CMS Micro AWS runs on a single Amazon Elastic Compute (EC2) instance and is defaulted to run on a recommended t2.large server. Depending on your traffic needs, you can select an instance size from the available options in the menu.
To learn more about which instance to choose based on your traffic needs, click here.
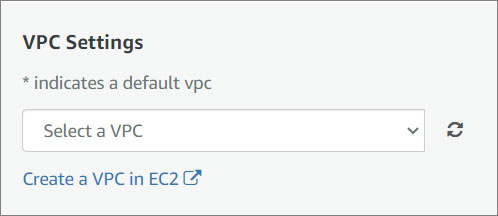
#### VPC Settings
An Amazon Virtual Private Cloud (VPC) is a dedicated environment that lets you launch the AWS resources that power your CMS Micro AWS in an isolated virtual network. If you do not have a VPC, you will need to create one in your VPC Console.
For instructions on how to create a VPC, click here for instructions.
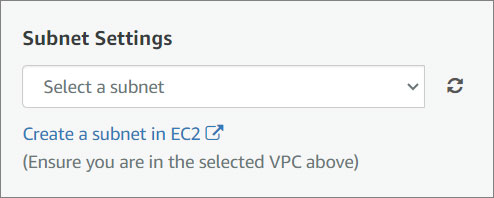
#### Subnet Settings
A subnet is a range of IP addresses contained in your VPC. You can create AWS resources, such as EC2 instances, in specific subnets, enabling you to group network resources more efficiently.
If you do not have any existing subnets, you will need to create one in your Subnet Console. For instructions, click here.
#### Security Group Settings
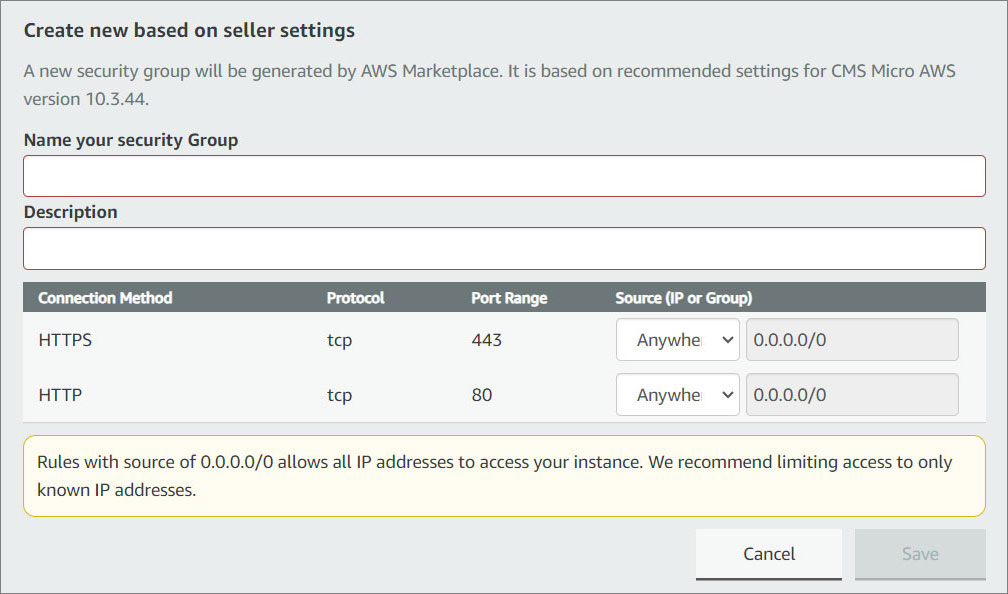
A security group acts as a firewall that controls the traffic allowed to reach one or more instances. You can create a new security group or choose one of your existing groups. Select an existing security group from the menu or configure a new security group using the form provided.
Name your security group and give it a description.
To learn more about security groups, click here.
#### Key Pair Settings
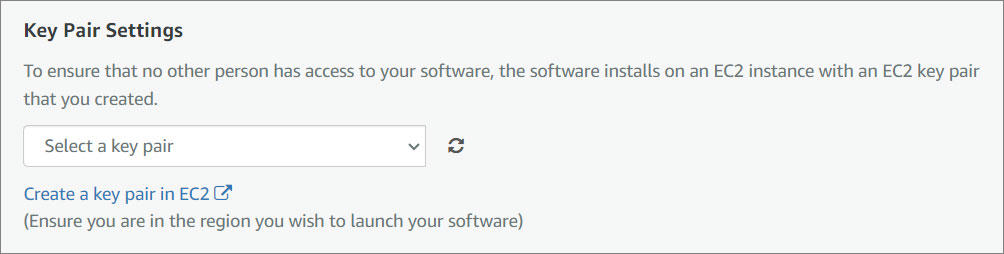
An Amazon EC2 key pair is a set of security credentials consisting of a public and private key that verify a user’s identity when connecting or communicating with an EC2 instance. Select an existing security group from the menu or configure a new security group using the form provided.
If you do not have a Key Pair, you will need to create one in your Key Pair Console. For instructions click here.
{% endtab %}
{% endtabs %}
## AWS Setup with Subscription
If you already have a subscription, follow these steps to install **CMS Micro AWS**.
### Manage subscriptions
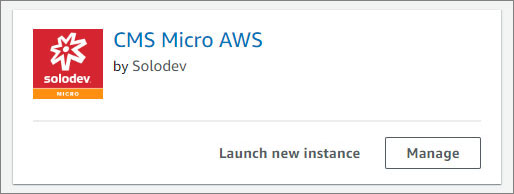
Locate CMS Micro AWS product card. Click **Launch new instance**.
!!!NOTE:
You can also **Manage** the subscription configuration on this step.
!!!
### Configure this software
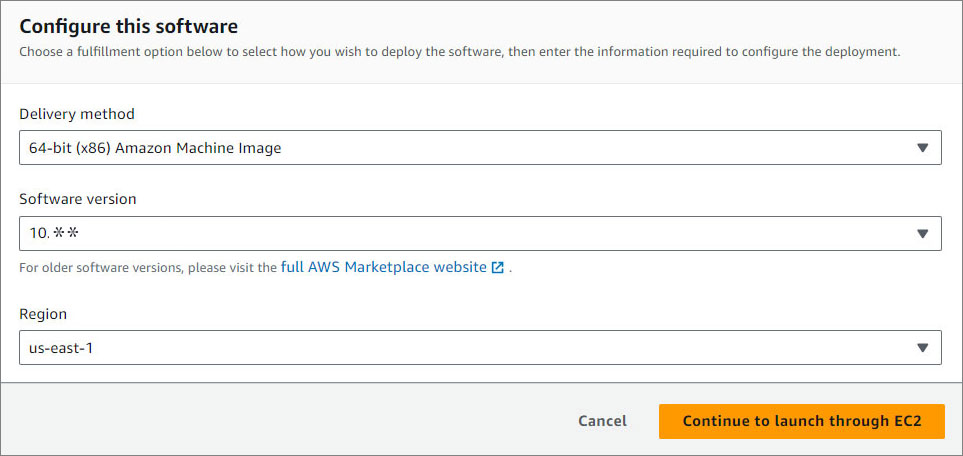
Select a delivery method, the software version and the AWS Region where you wish to launch your stack.
1. Select a delivery method. Delivery methods relate to how software products are delivered and deployed. This software is packaged as a virtual appliance and deployed on Amazon EC2 instances.
2. Select a software version. The latest version of Solodev CMS Micro is always recommended.
3. When selecting an available AWS Region for hosting, you may want to consider a region that is closer to your users to help reduce your network latency.
4. Click **Continue to launch through EC2**.
### Launch an instance
Create virtual machines, or instances, that run on the AWS Cloud. Quickly get started by following the simple steps below.
1. **Add Name and tags**
2. **Select Application and OS Images (Amazon Machine Image)**
3. **Select a Instance Type**
6. **Select a Key Pair**
7. **Network Settings**
8. **Configure storage**
9. Click **"Launch Instance"**.
#### Name and tags
Give your instance a **name**. You can also add additional tags (Optional).
!!!NOTE:
A tag is a label that you assign to an AWS resource. Each tag consists of a key and an optional value, both of which you define.
!!!
#### Application and OS Images (Amazon Machine Image)
An AMI contains the software configuration (operating system (OS), application server, and applications) required to launch your instance.
For more information about Amazon Machine Image, click here.
#### Instance Type
Select an instance type that meets your computing, memory, networking, or storage needs.
To learn more about which instance to select based on your traffic needs, click here.
!!!NOTE:
Solodev recommends t2.large server. Depending on your traffic needs, you can select an instance size from the available options in the menu.
!!!
#### Key Pair
You can use a key pair to securely connect to your instance. Ensure that you have access to the selected key pair before you launch the instance.
!!!NOTE:
An Amazon EC2 key pair is a set of security credentials consisting of a public and private key that verifies a user's identity when connecting or communicating with an EC2 instance. If you do not have a Key Pair, you will need to create one in your Key Pair Console. For instructions click here.
!!!
#### Network Settings
Here you can create or select an existing security group, create an instance that can connect using SSH, and more.
#### Configure storage
Specify the storage options for the instance.
For more information about storage, click here
## Next Steps
### Login to Solodev
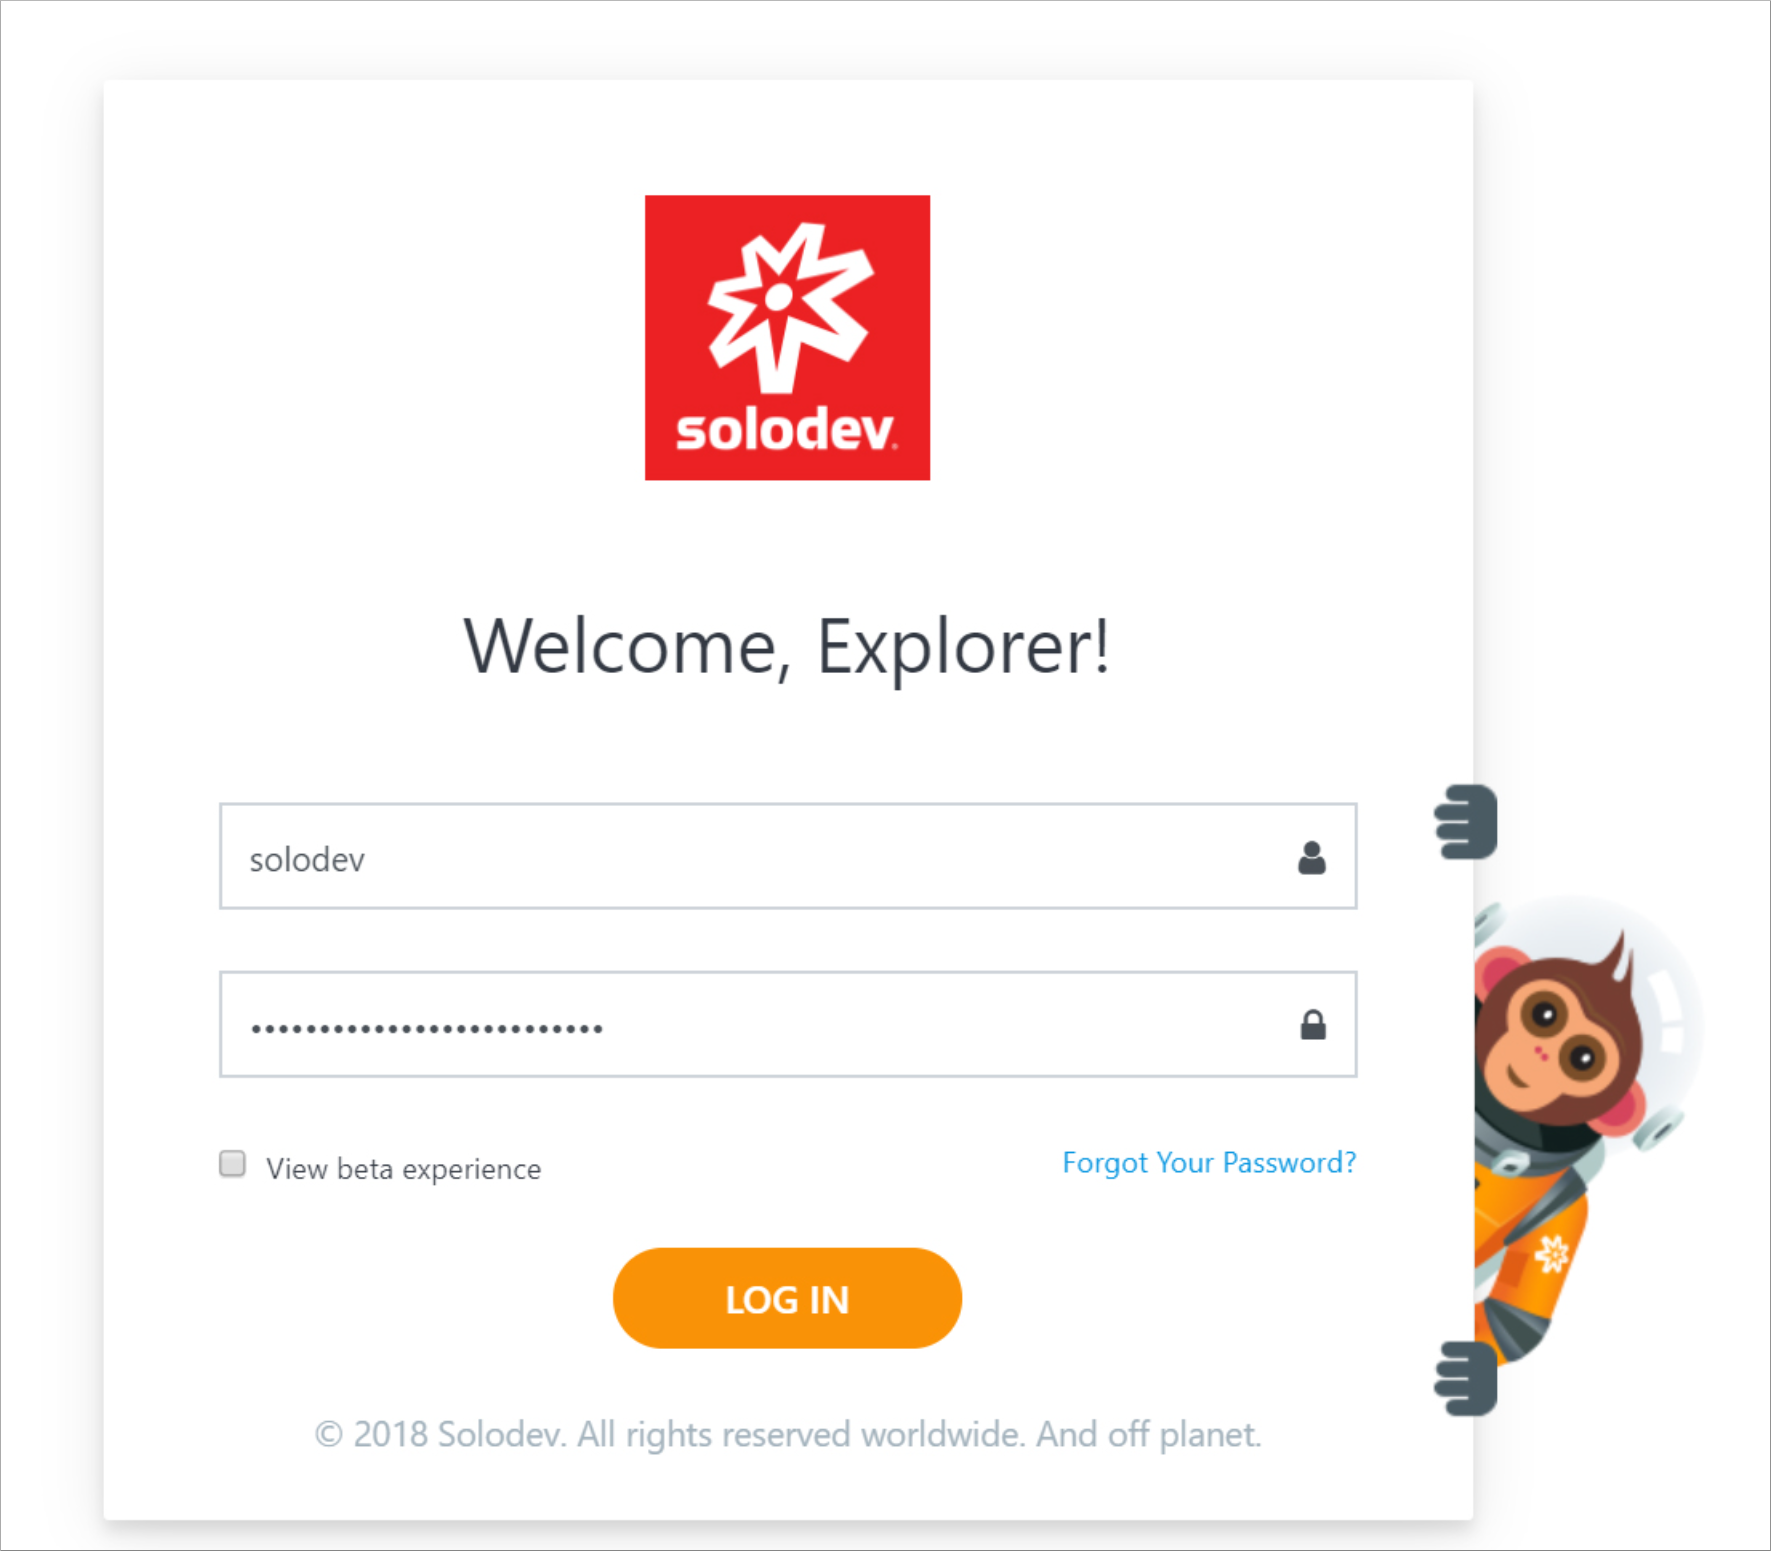
Visit the IP address or the backend domain you previously configured. Log in to Solodev using the username and the password you configured on your stack.
### Add your First Website
Please [follow this link](/websites/add-website/) to learn more about Solodev and to learn how to build your first website.
### Troubleshooting
==- **When I open the link after launching, nothing comes up.**
Under your Security Group settings, make sure ports 443 and 80 are open to 0.0.0.0/0. If you selected Launch through EC2 and did not create a new Security Group, click here.
===
==- **I am unable to log in using SSH.**
Make sure to add your IP address as an inbound rule on the Web Security Group for port 22. For more information, click here
===