# Modules
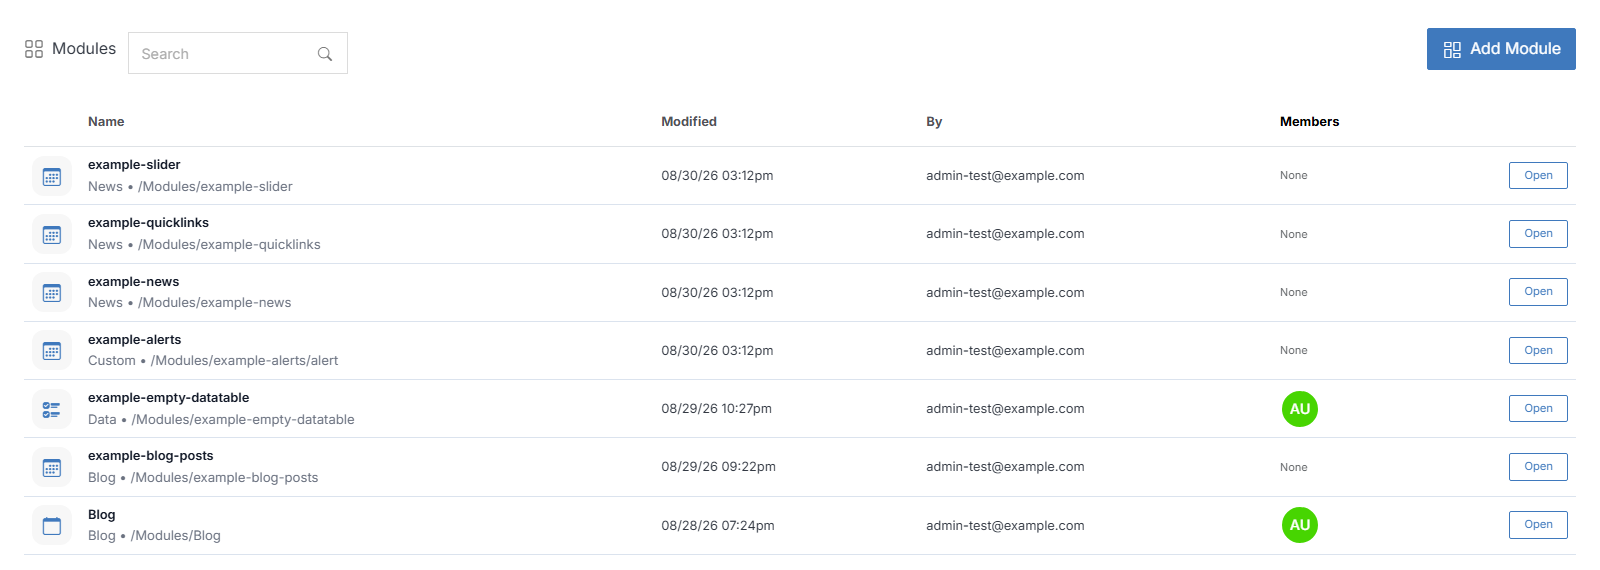
The modules dashboard gives you an overview of existing modules presented as a list. Each module has details such as name, location, and members assigned to each one.
You can access all tools from the module dashboard to manage module infrastructure effectively.
To get started click on the Add Module button. If you have a module already installed, you can click on the module name to see its options and modify it.
!!!Tip:
Use the search field in the upper right corner to locate a specific module and filter your modules by site.
!!!
**Name** | **Description**
:--- | ---
Add Module | Click the **Add Module** button on the right.
## Members Permissions
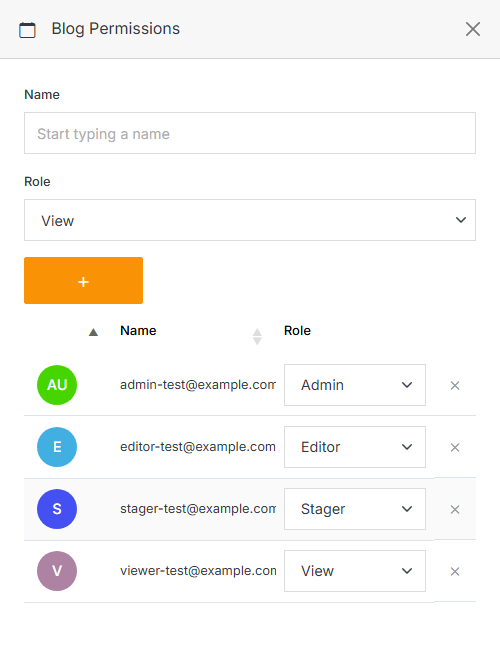
Click on any of the members next to a module name to assign or remove members and manage their roles.
**Name** | **Description**
:--- | ---
Name | Enter the name of an existing member you want to add to your module.
Role | Assign a View, Stager, Editor, or Admin role to an existing member via the dropdown menus.
Add | Click the orange **"+"** button to add a new member to your module.
Delete | Click the **"x"** on the right side of the table to remove a member from your module.
Submit | Click **Submit** to apply your changes.
!!! Note:
A group or group member can be assigned one of four roles in Solodev CMS:
- **View:** Allows a member to see items and content.
- **Stager:** Enables a member to create or modify content but not publish.
- **Editor:** Gives a member the ability to view, create, edit, and publish.
- **Admin:** Provides full editorial control and management of group members.
!!!