#
Add Users
Administrators or “super users” in Solodev can add users and assign permissions, providing them access to certain areas of the Solodev dashboard. Administrators can leverage granular permissions by specifying users' actions in Solodev.
This article shows administrators how to add and remove users from Solodev CMS and reset their passwords.
#
Step 1 – Adding a user to Solodev CMS
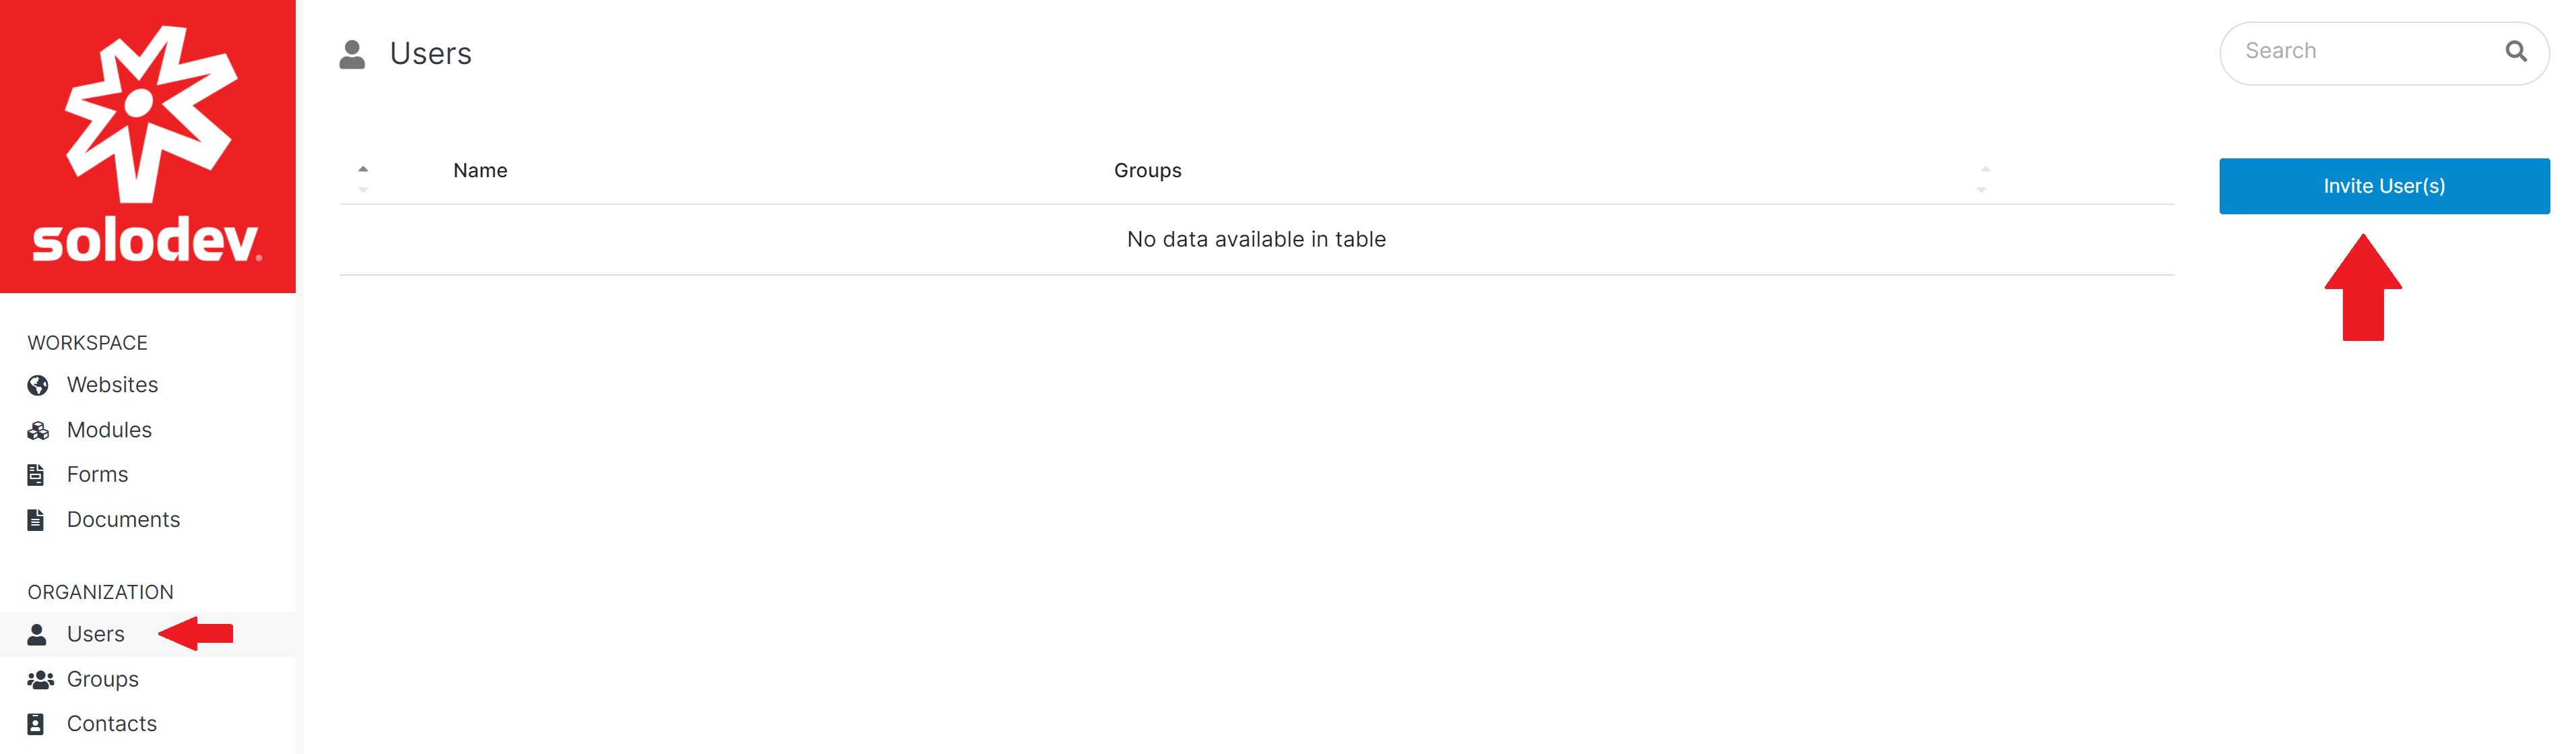
Click Users located under the Organization section of the Solodev Dashboard. Click Invite User(s) to open the Invite User(s) window.
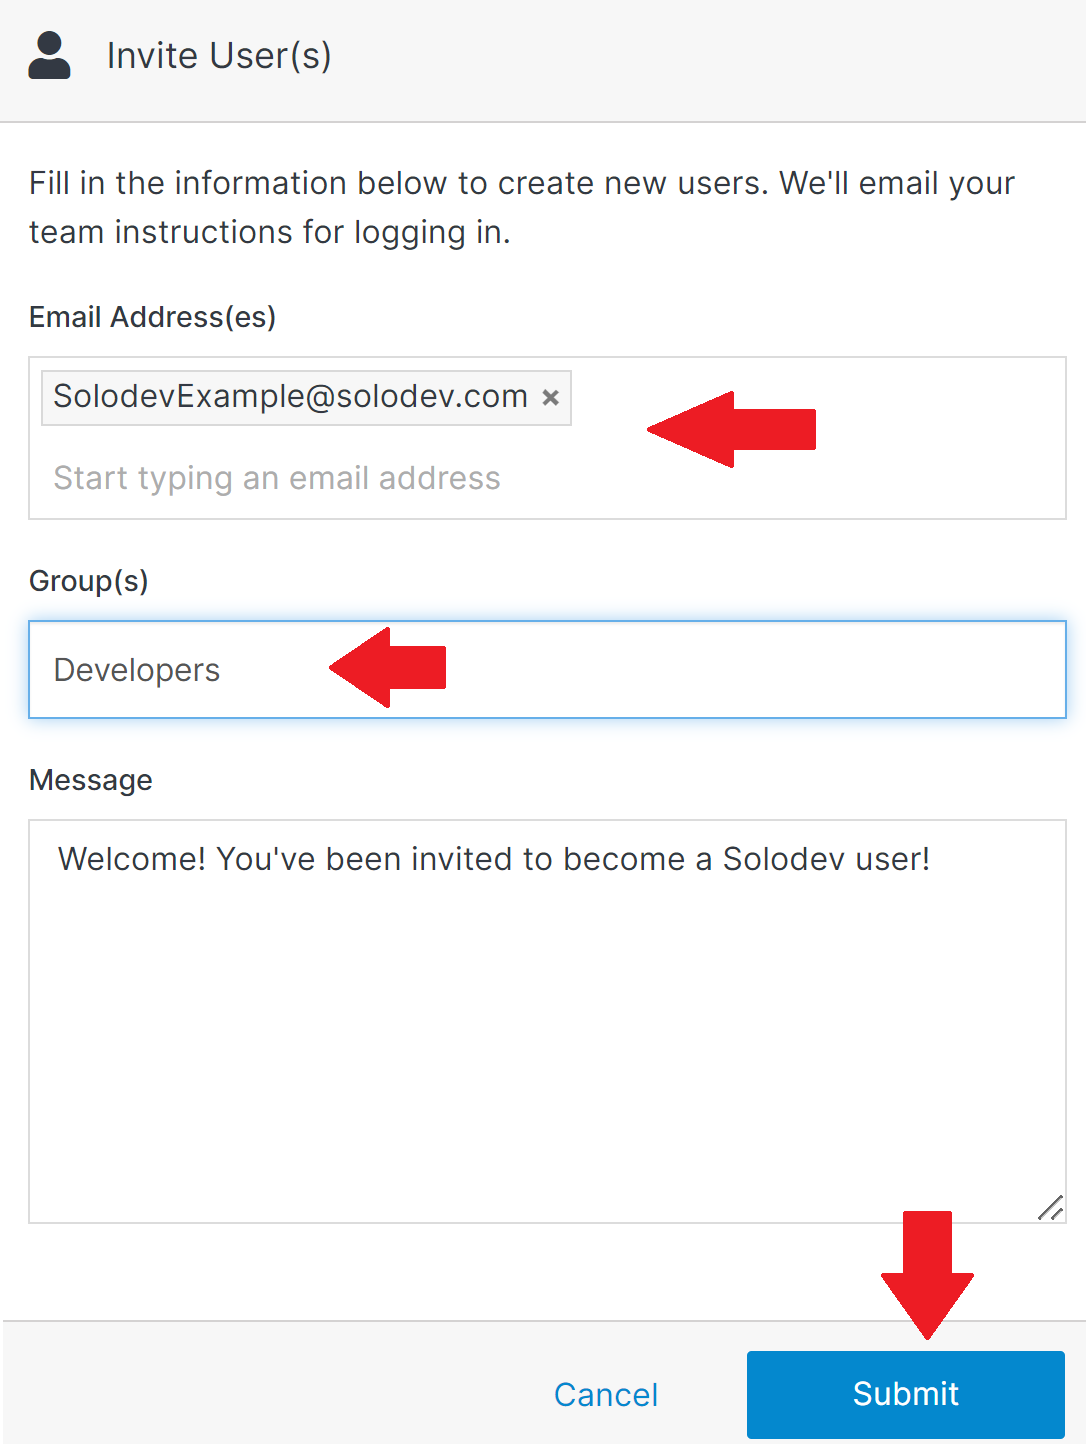
Enter the Email Address of the user you want to invite and select the Group you want this user to be assigned to. To add more than one user, press the tab button after entering each email address. You can update the message you want the user to receive. Click Submit.
#
Step 2 – Resetting a user's password
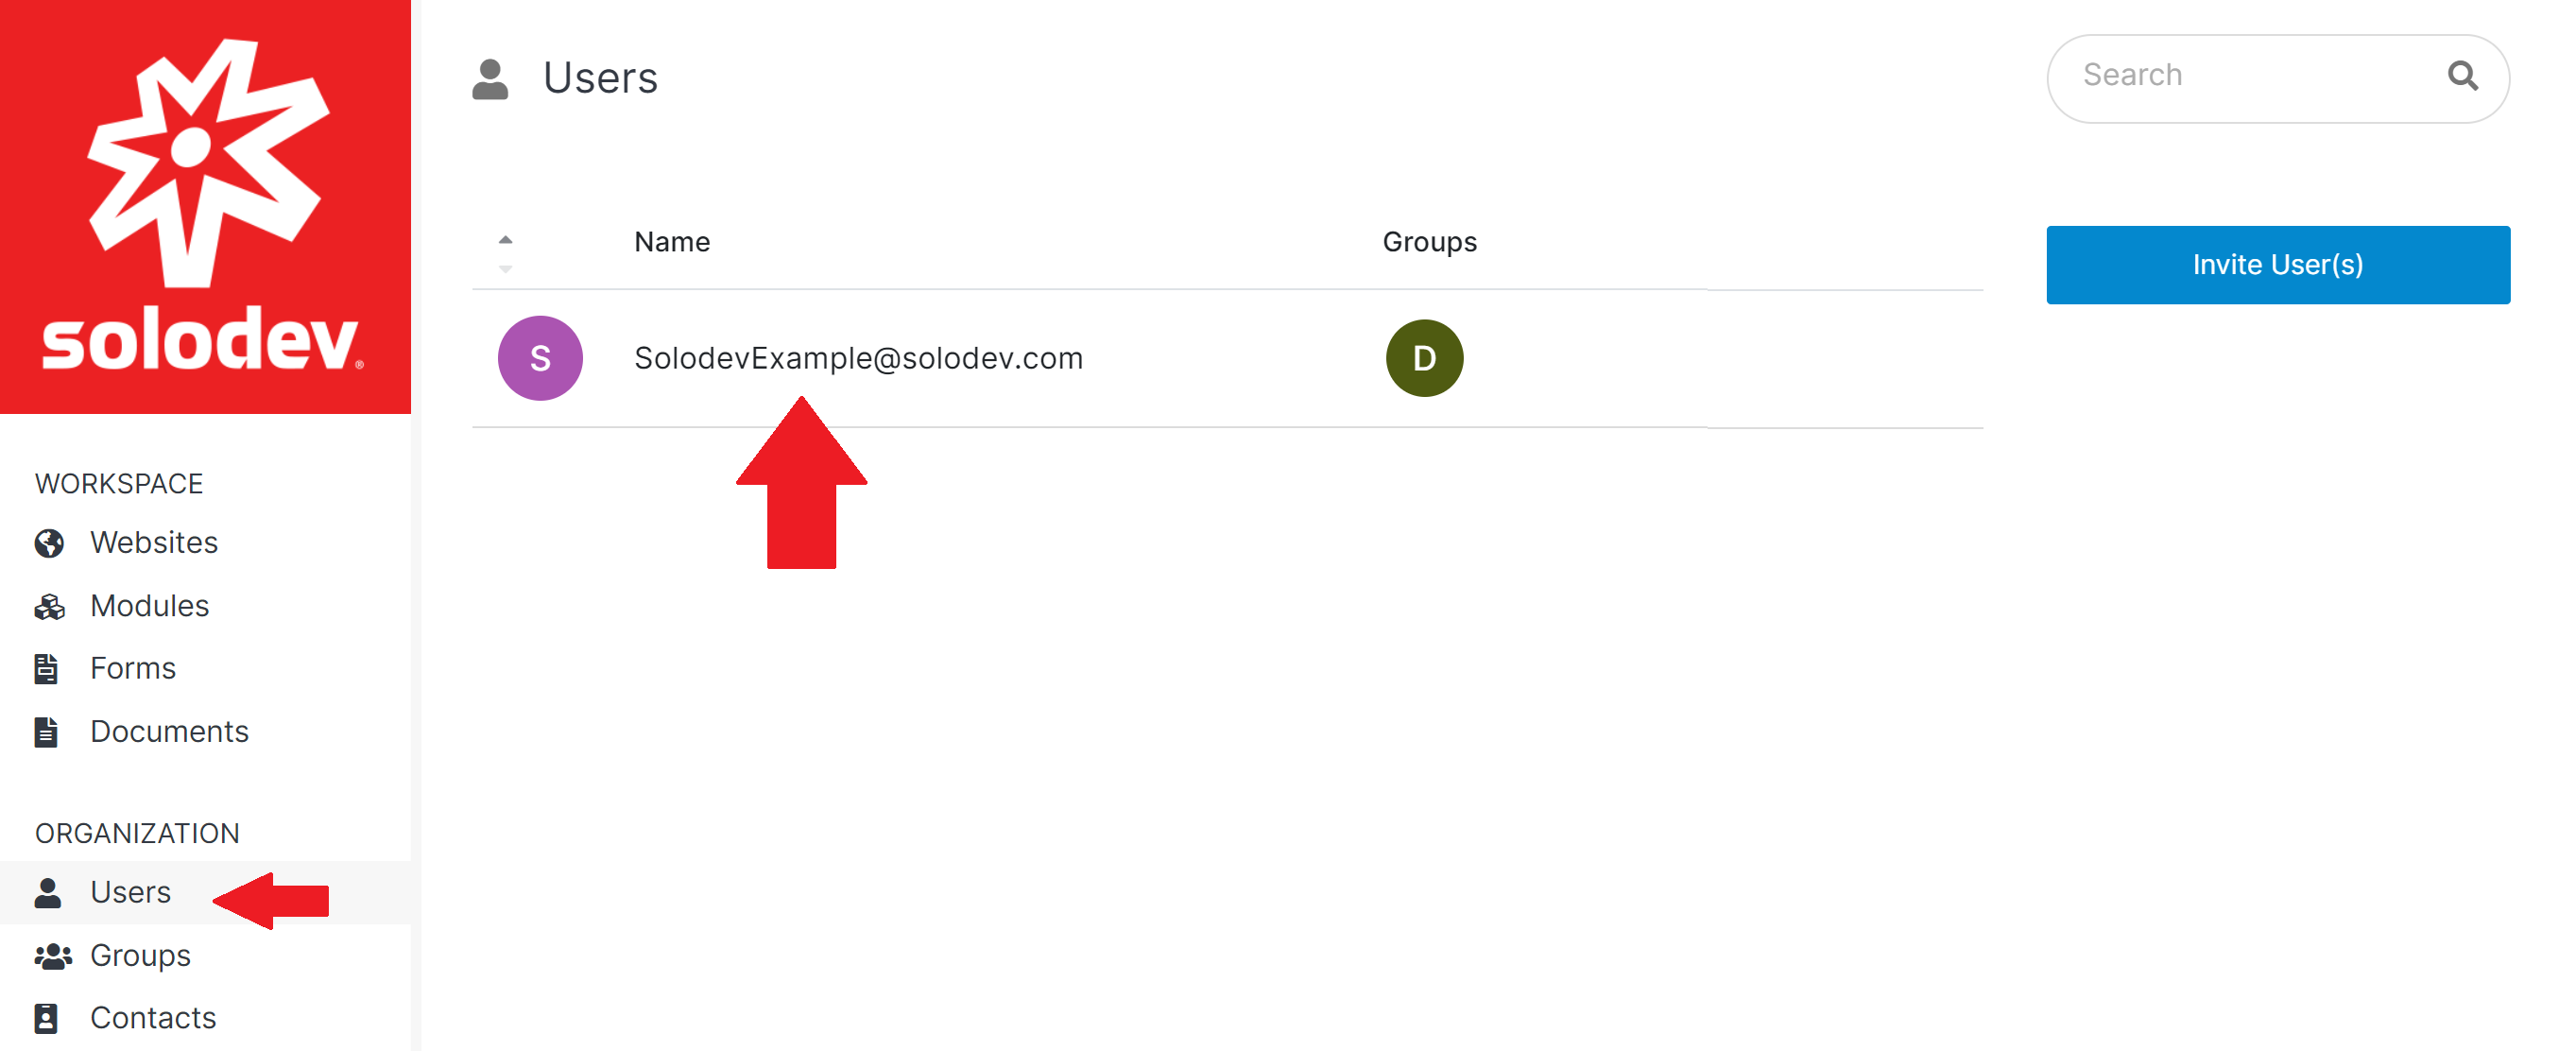
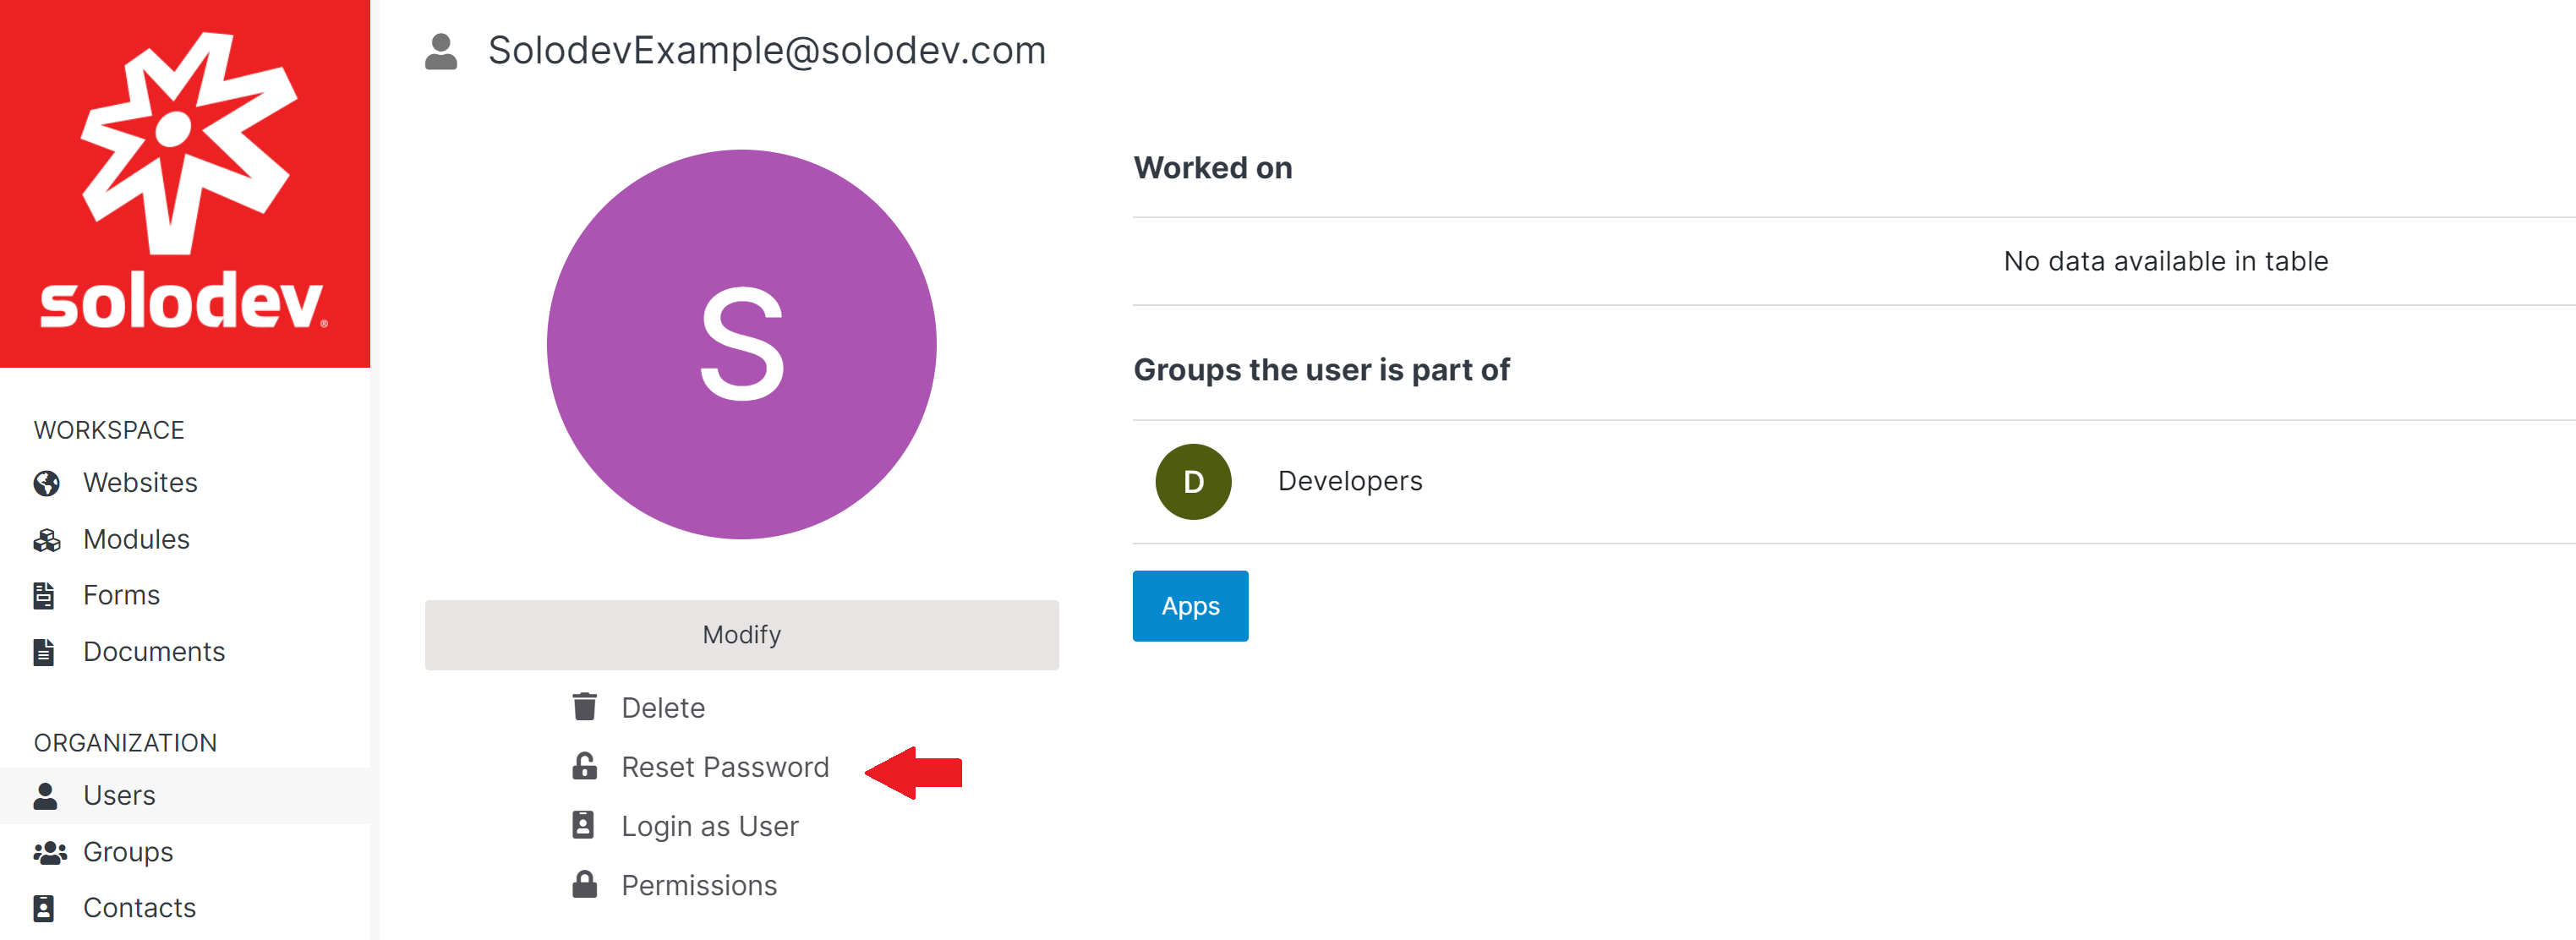
Under the Organization section located in the Solodev dashboard, click Users. Choose the user whose password needs to be reset.
Click Reset Password, located underneath the user’s profile photo.
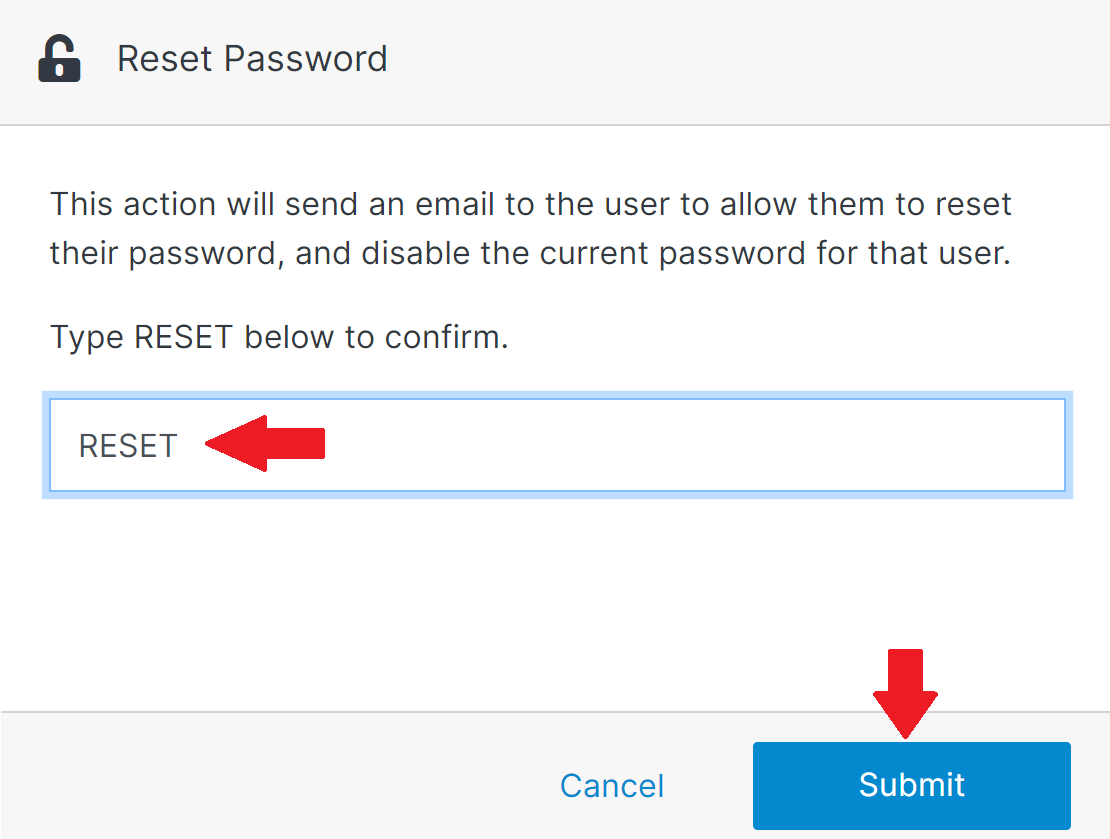
Type 'RESET' in the text box in the Reset Password modal window. Click Submit.
#
Step 3 – Removing a user from Solodev CMS
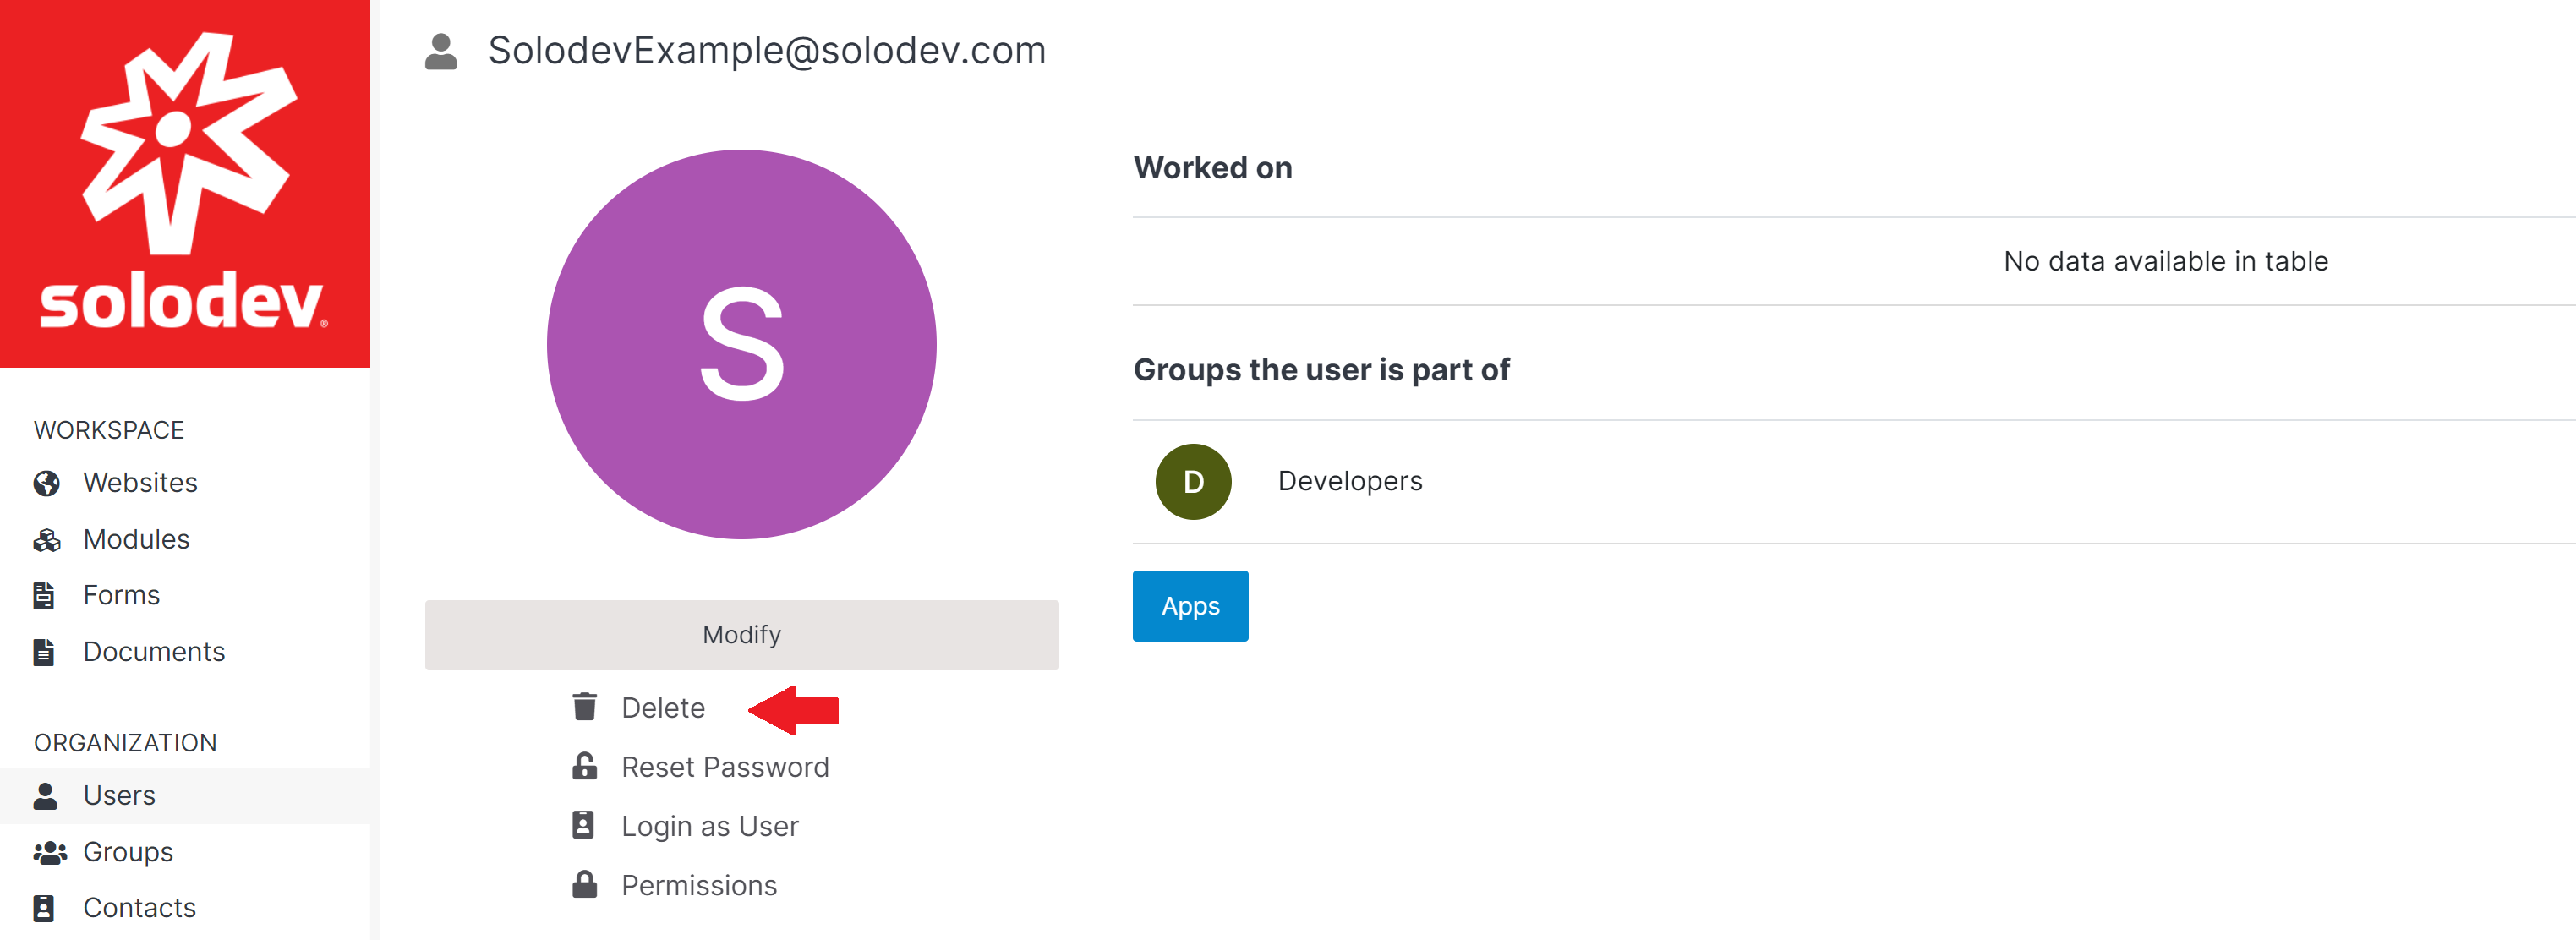
Click Users located under the Organization section of the Solodev Dashboard. Select the desired User.
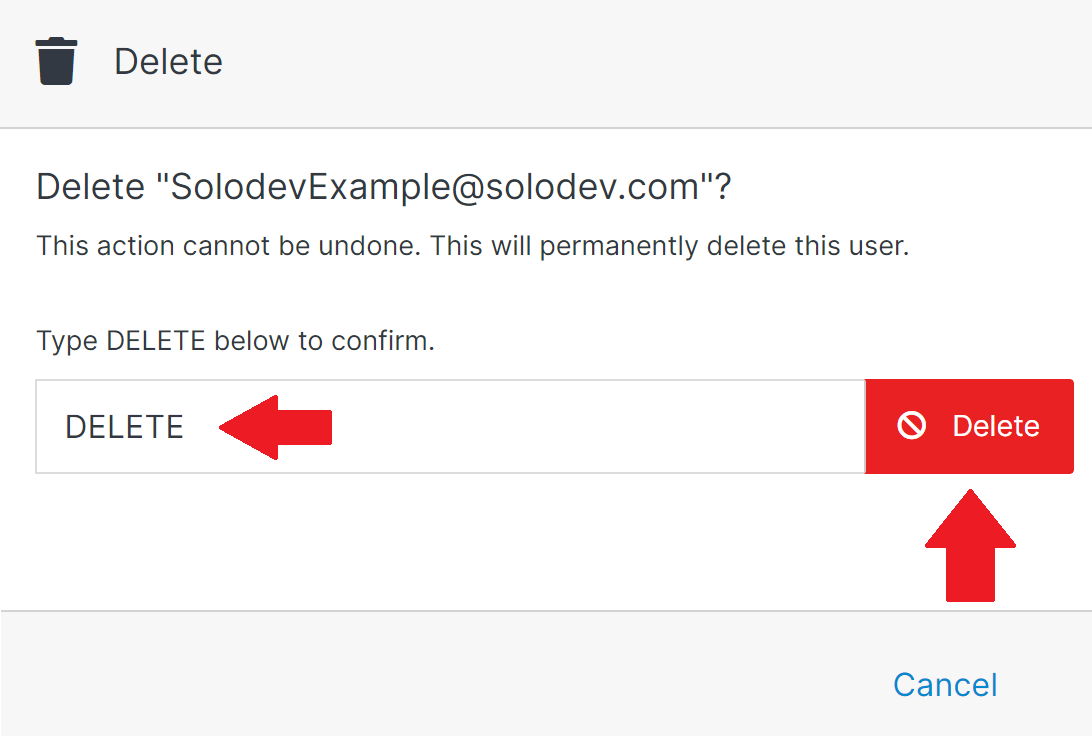
Click the Delete button to bring up the Delete window.
Type ‘DELETE’ in the text box below and click the Delete button to the right of the text box.