#
Create an intranet
Intranets, which are a major part of enterprise websites, serve various purposes such as document sharing, task management, workflows, digital asset management, content authoring, and storage, providing accessibility to the organization and its authorized users, and this tutorial demonstrates how to create an intranet using Solodev.
#
Pre-requisites
Prior to building an Intranet in Solodev users should be able to:
- Use shortcodes.
#
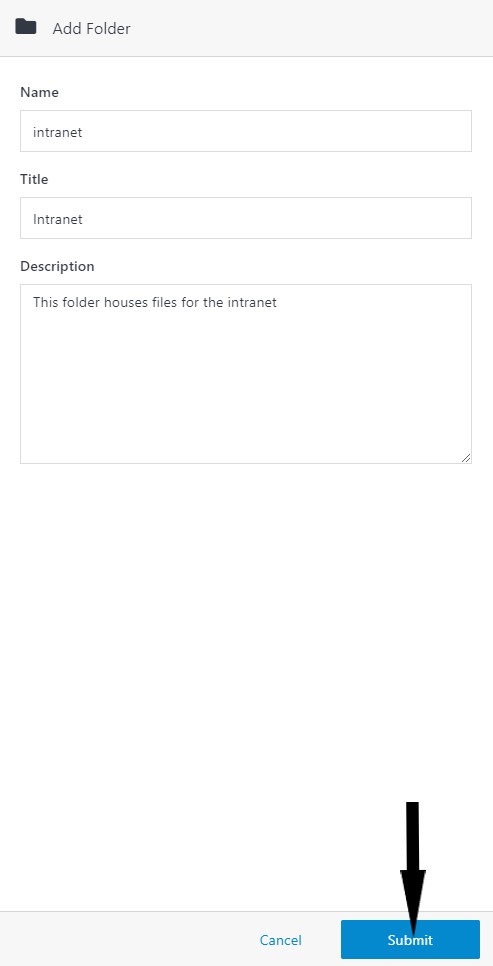
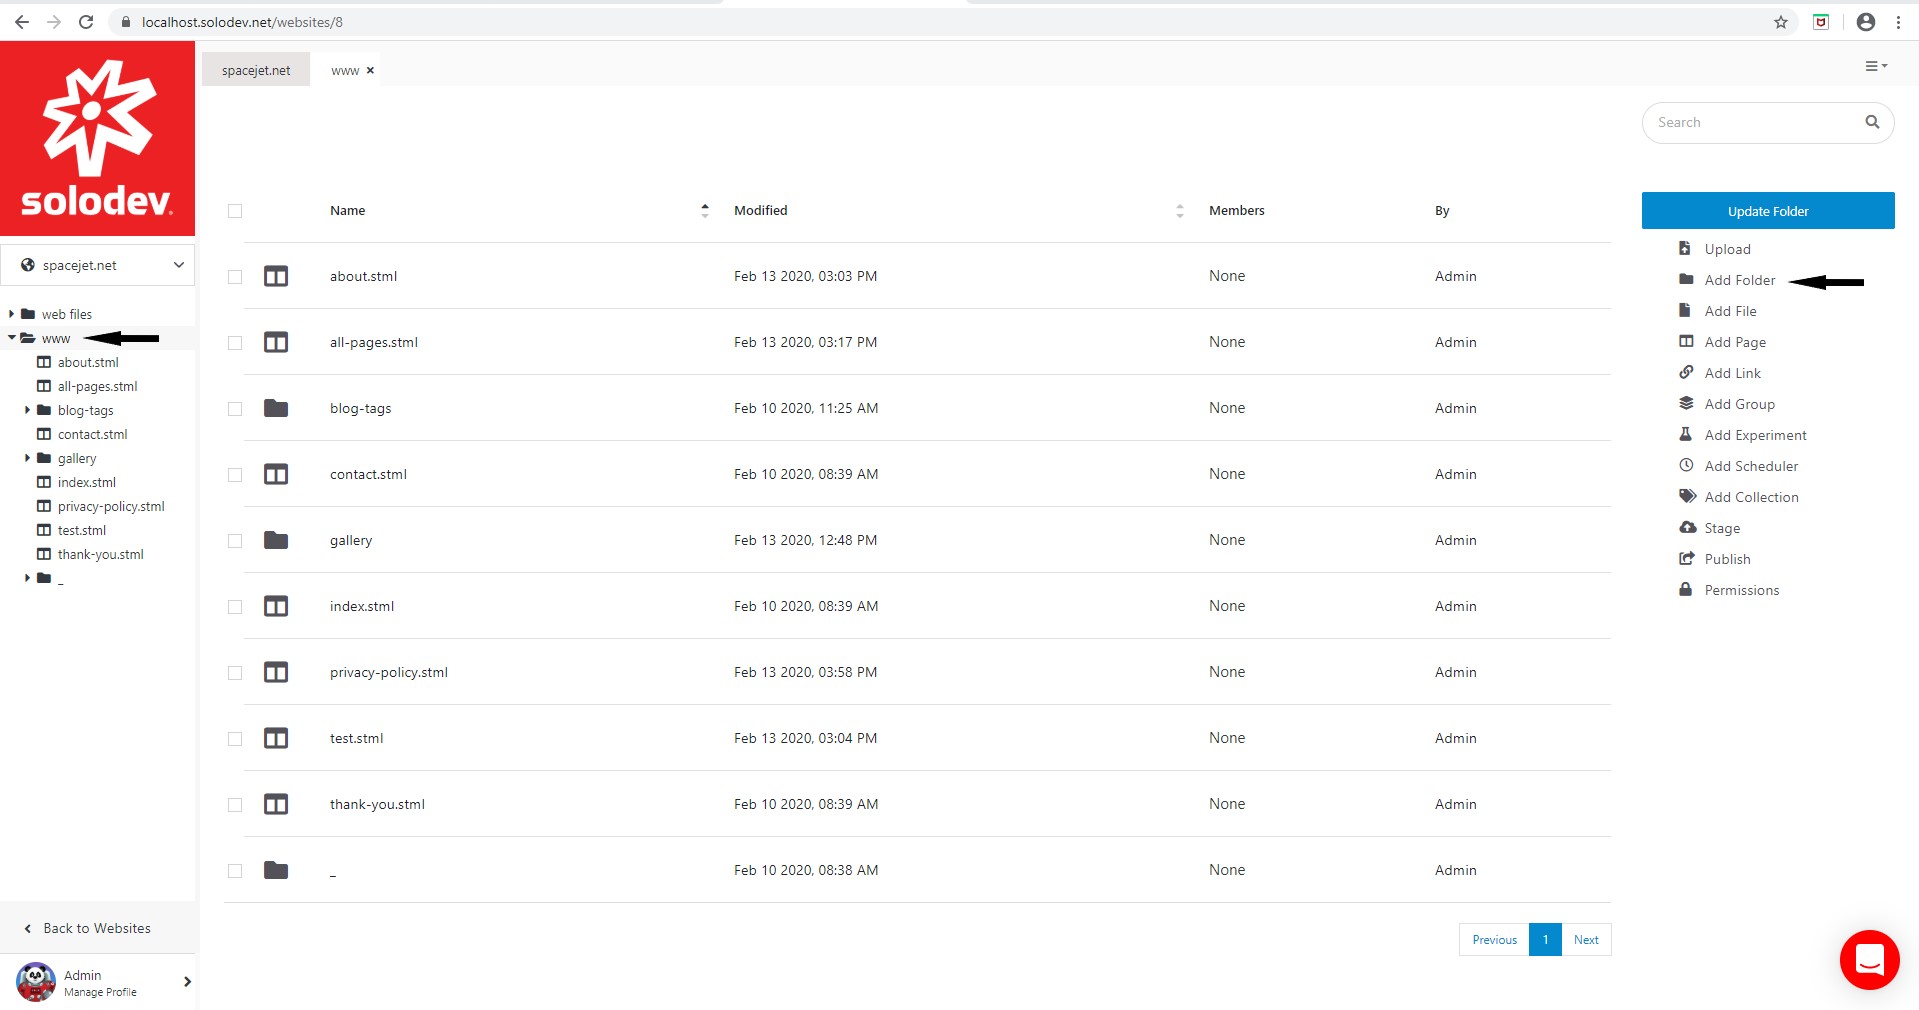
Step 1 - Create an intranet folder
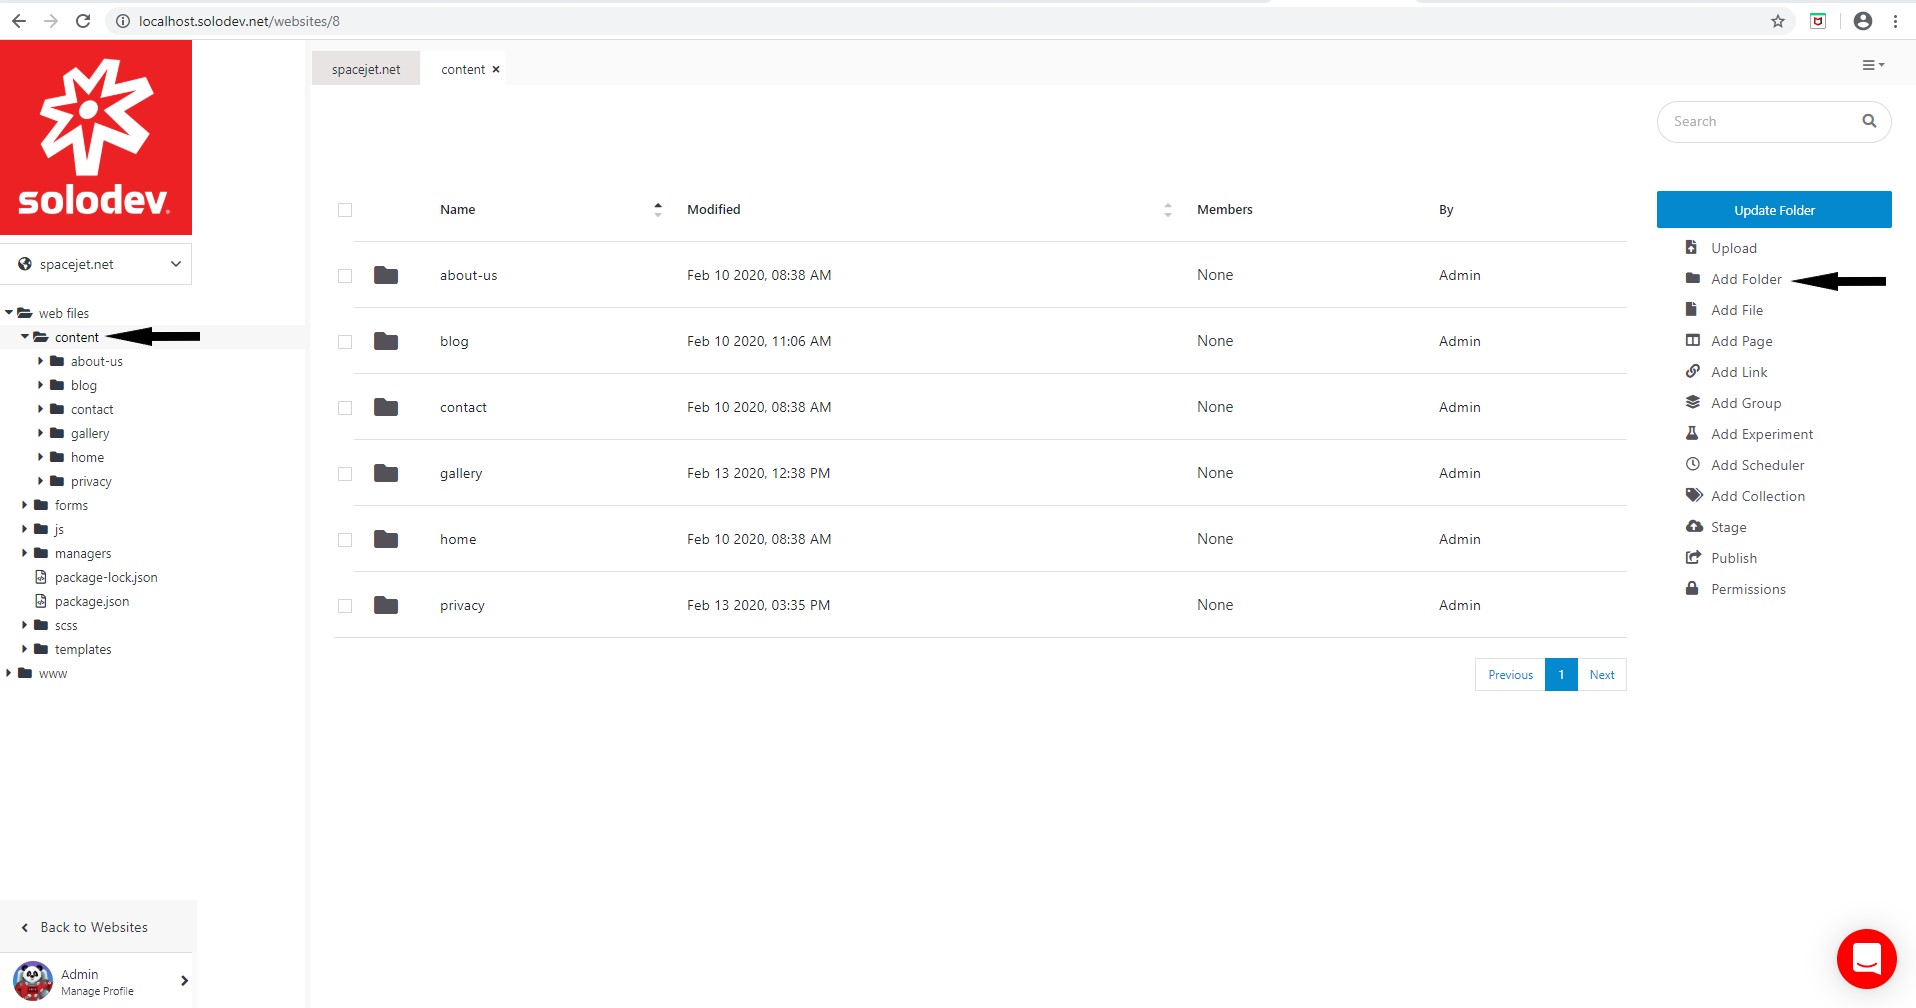
- Open the web files -> content folder.
- Click Add Folder.
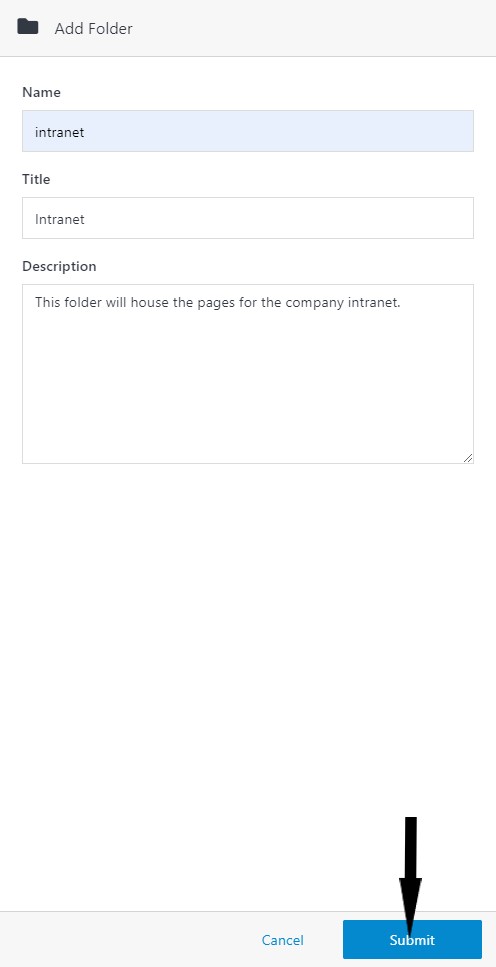
- Enter the Name, Title, and Description.
- Click Submit.
#
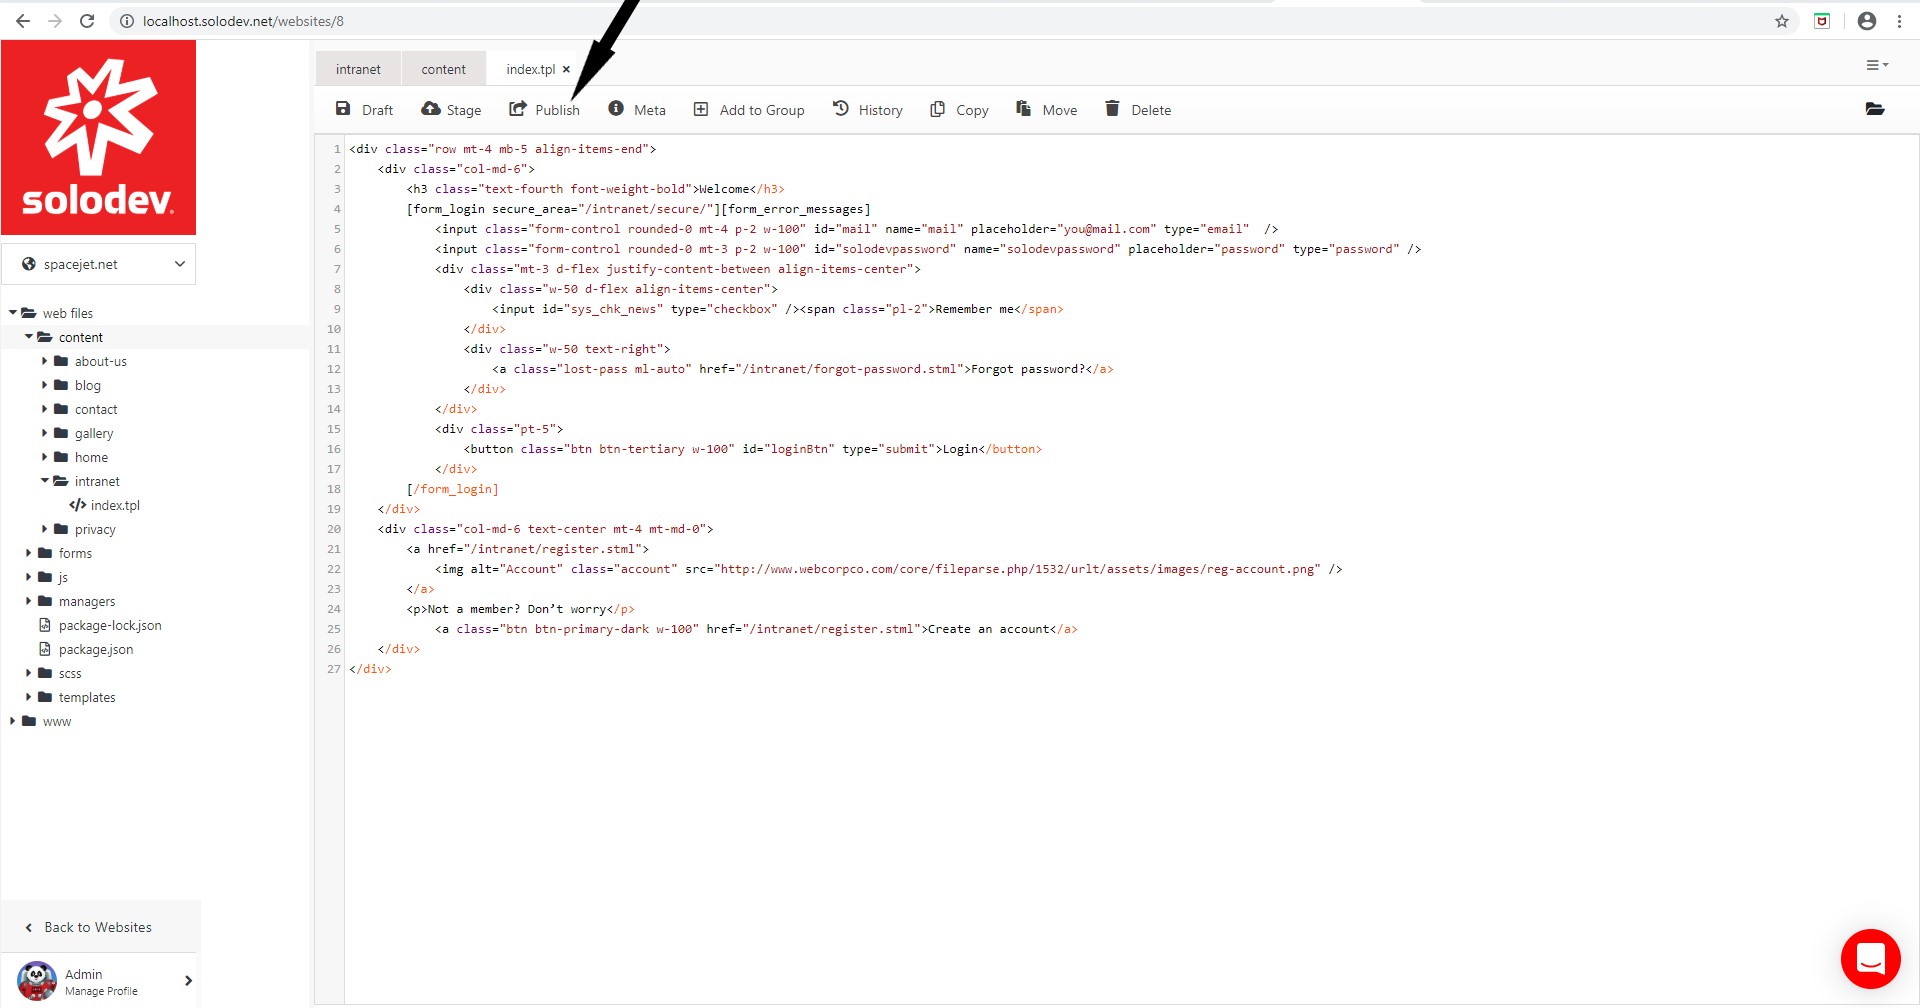
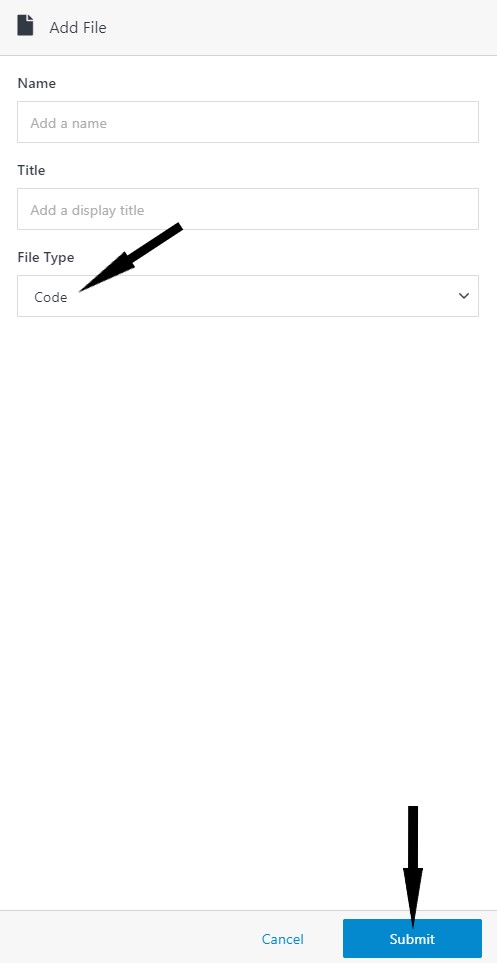
Step 2 - Create the login template (index.tpl file)
- With the intranet folder open, click Add File.
- Enter the Name and Title of the file (append '.tpl' to the end of the name. For example, index.tpl).
- Choose 'Code' for the Type.
- Click Submit.
- The user is directed to the file.
- Enter the code block provided below:
  <div class="row mt-4 mb-5 align-items-end">
	<div class="col-md-6">
		<h3 class="text-fourth font-weight-bold">Welcome</h3>
		[form_login secure_area="/intranet/secure/"][form_error_messages]
			<input class="form-control rounded-0 mt-4 p-2 w-100" id="mail" name="mail" placeholder="you@mail.com" type="email"  />
			<input class="form-control rounded-0 mt-3 p-2 w-100" id="solodevpassword" name="solodevpassword" placeholder="password" type="password" />
			<div class="mt-3 d-flex justify-content-between align-items-center">
				<div class="w-50 d-flex align-items-center">
					<input id="sys_chk_news" type="checkbox" /><span class="pl-2">Remember me</span>
				</div>
				<div class="w-50 text-right">
					<a class="lost-pass ml-auto" href="/intranet/forgot-password.stml">Forgot password?</a>
				</div>
			</div>
			<div class="pt-5">
				<button class="btn btn-tertiary w-100" id="loginBtn" type="submit">Login</button>
			</div>
		[/form_login]
	</div>
	<div class="col-md-6 text-center mt-4 mt-md-0">
		<a href="/intranet/register.stml">
			<img alt="Account" class="account" src="http://www.webcorpco.com/core/fileparse.php/1532/urlt/assets/images/reg-account.png" />
		</a>
		<p>Not a member? Don’t worry</p>
			<a class="btn btn-primary-dark w-100" href="/intranet/register.stml">Create an account</a>
	</div>
</div>- Click Publish.


#
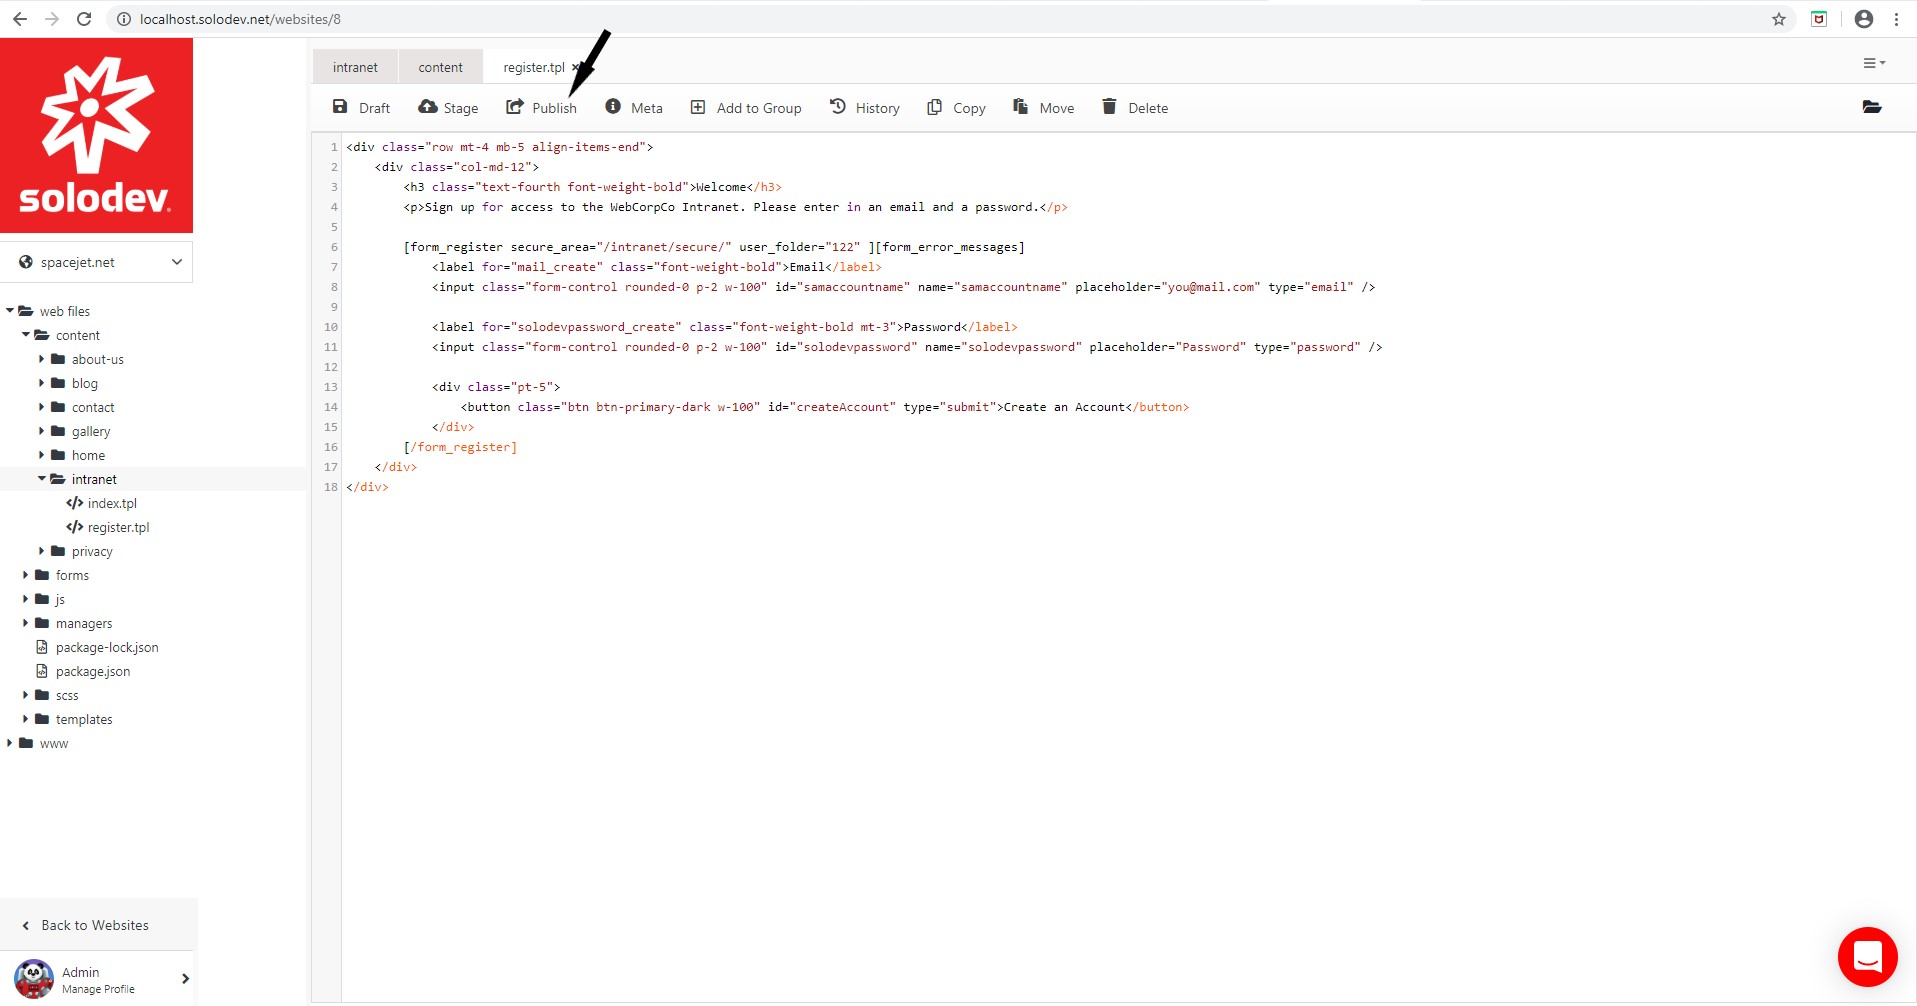
Step 3 – Create a sign-up template (register.tpl file)
- With the intranet folder open, click Add File.
- Enter the Name and Title of the file (append '.tpl' to the end of the name. For example, register.tpl).
- Choose 'Code' for the Type.
- Click Submit.
- The user is directed to the file.
- Enter the code block provided below:
<div class="row mt-4 mb-5 align-items-end">
	<div class="col-md-12">
		<h3 class="text-fourth font-weight-bold">Welcome</h3>
		<p>Sign up for access to the WebCorpCo Intranet. Please enter in an email and a password.</p>

		[form_register secure_area="/intranet/secure/" user_folder="122" ][form_error_messages]
			<label for="mail_create" class="font-weight-bold">Email</label>
			<input class="form-control rounded-0 p-2 w-100" id="samaccountname" name="samaccountname" placeholder="you@mail.com" type="email" />

			<label for="solodevpassword_create" class="font-weight-bold mt-3">Password</label>
			<input class="form-control rounded-0 p-2 w-100" id="solodevpassword" name="solodevpassword" placeholder="Password" type="password" />

            <div class="pt-5">
				<button class="btn btn-primary-dark w-100" id="createAccount" type="submit">Create an Account</button>
			</div>
		[/form_register]
	</div>
</div>- Click Publish.

#
Step 4 – Create a forgot-password template (forgot-password.tpl)
- With the intranet folder open, click Add File.
- Enter the Name and Title of the file (append '.tpl' to the end of the name. For example, forgot-password.tpl).
- Choose 'Code' for the Type.
- Click Submit.
- The user is directed to the file.
- Enter the code block provided below:
<div class="row my-4">
	[form_forgot_password forward_to="/intranet/password-confirmation.stml" login_page="/intranet/" from_email="[site_email]"]
		<div class="col-md-4 py-2">
        	[form_error_messages]
			<label class="control-label" for="checkEmail">
				<strong>Please enter your email address</strong>
			</label>
		</div>
		<div class="col-md-4 py-2">
			<input class="rounded-0 form-control" id="checkEmail" name="checkEmail" type="text" />
		</div>
		<div class="col-md-4 py-2">
			<button class="btn btn-fourth w-100 mb-3" name="Insert" type="submit">Reset Password</button>
		</div>
  	[/form_forgot_password]
	<div class="col-md-12">
		<a href="/intranet/">Back to Login Page</a>
	</div>
</div>- Click Publish.


#
Step 5 – Create the password confirmation template (password-confirmation.tpl)
- Open the intranet folder and click Add File.
- Enter the Name and Title of the file (append '.tpl' to the end of the name. For example, password-confirmation.tpl).
- Choose 'Code' for the Type.
- Click Submit.
- The user is directed to the file.
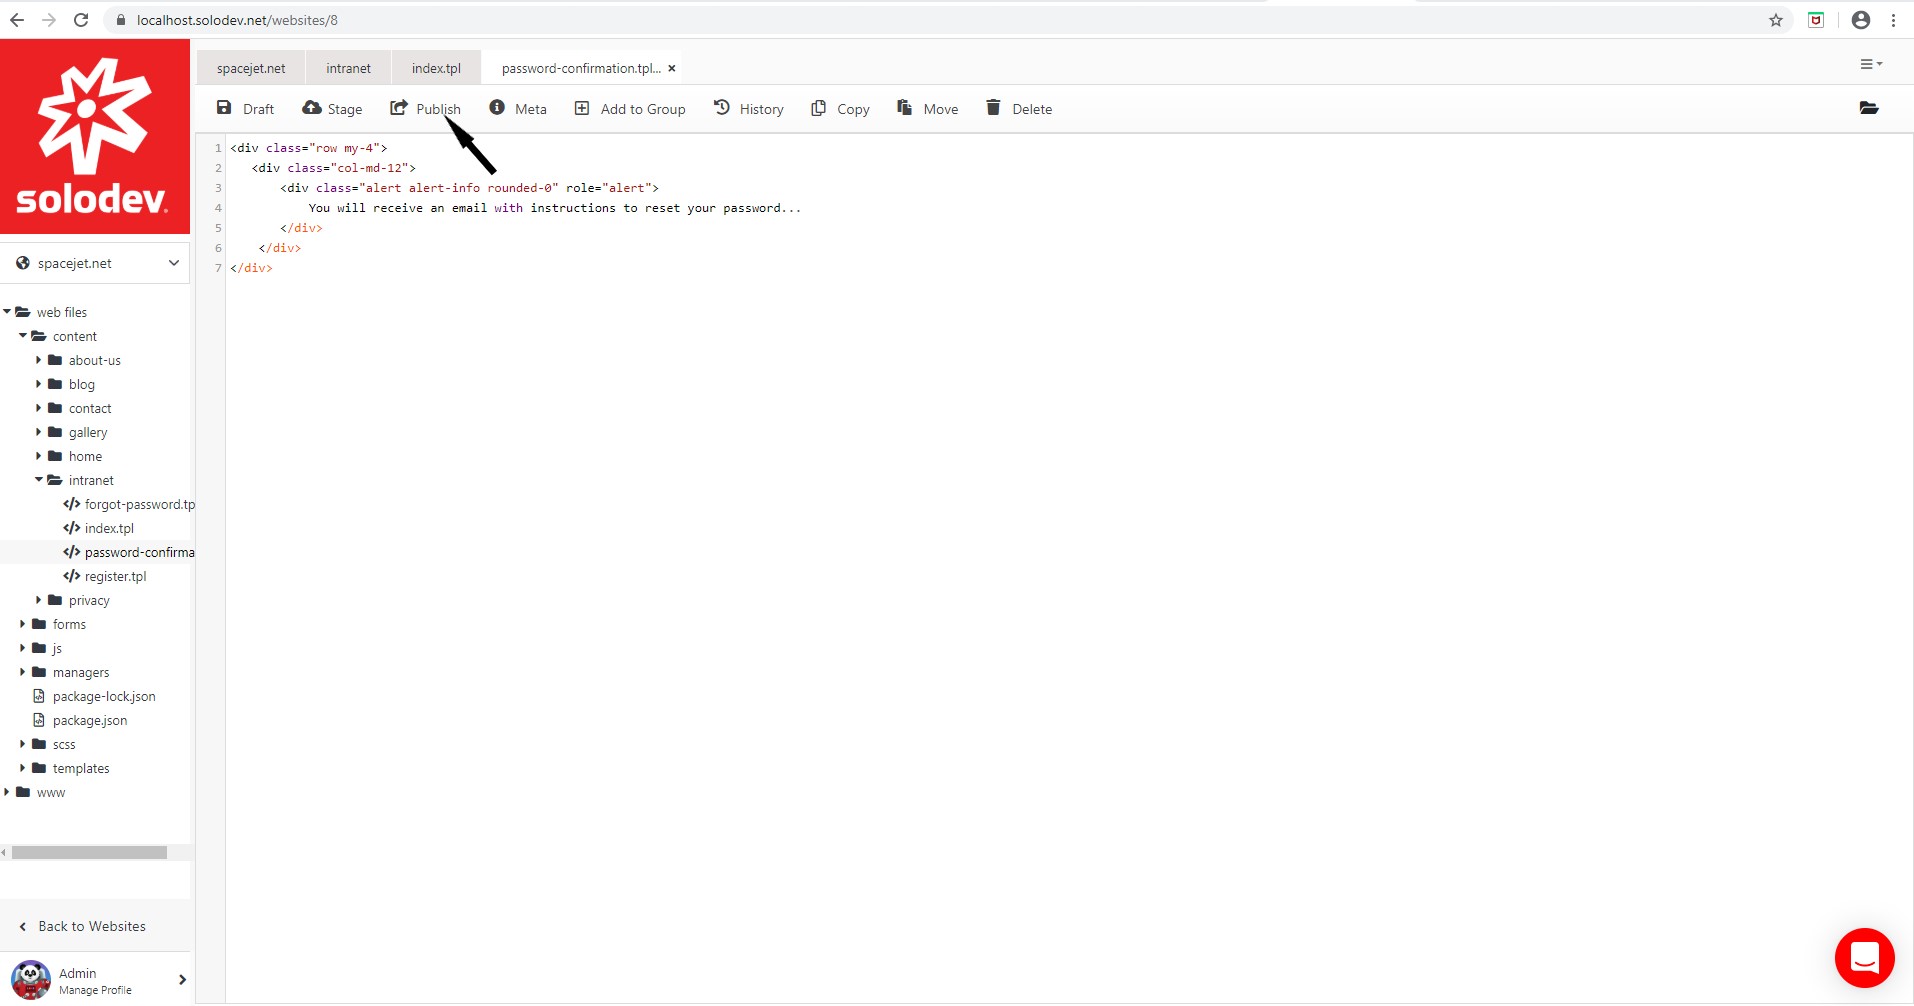
- Enter the code block provided below:
<div class="row my-4">
   <div class="col-md-12">
       <div class="alert alert-info rounded-0" role="alert">
           You will receive an email with instructions to reset your password...
       </div>
    </div>
</div>- Click Publish.


#
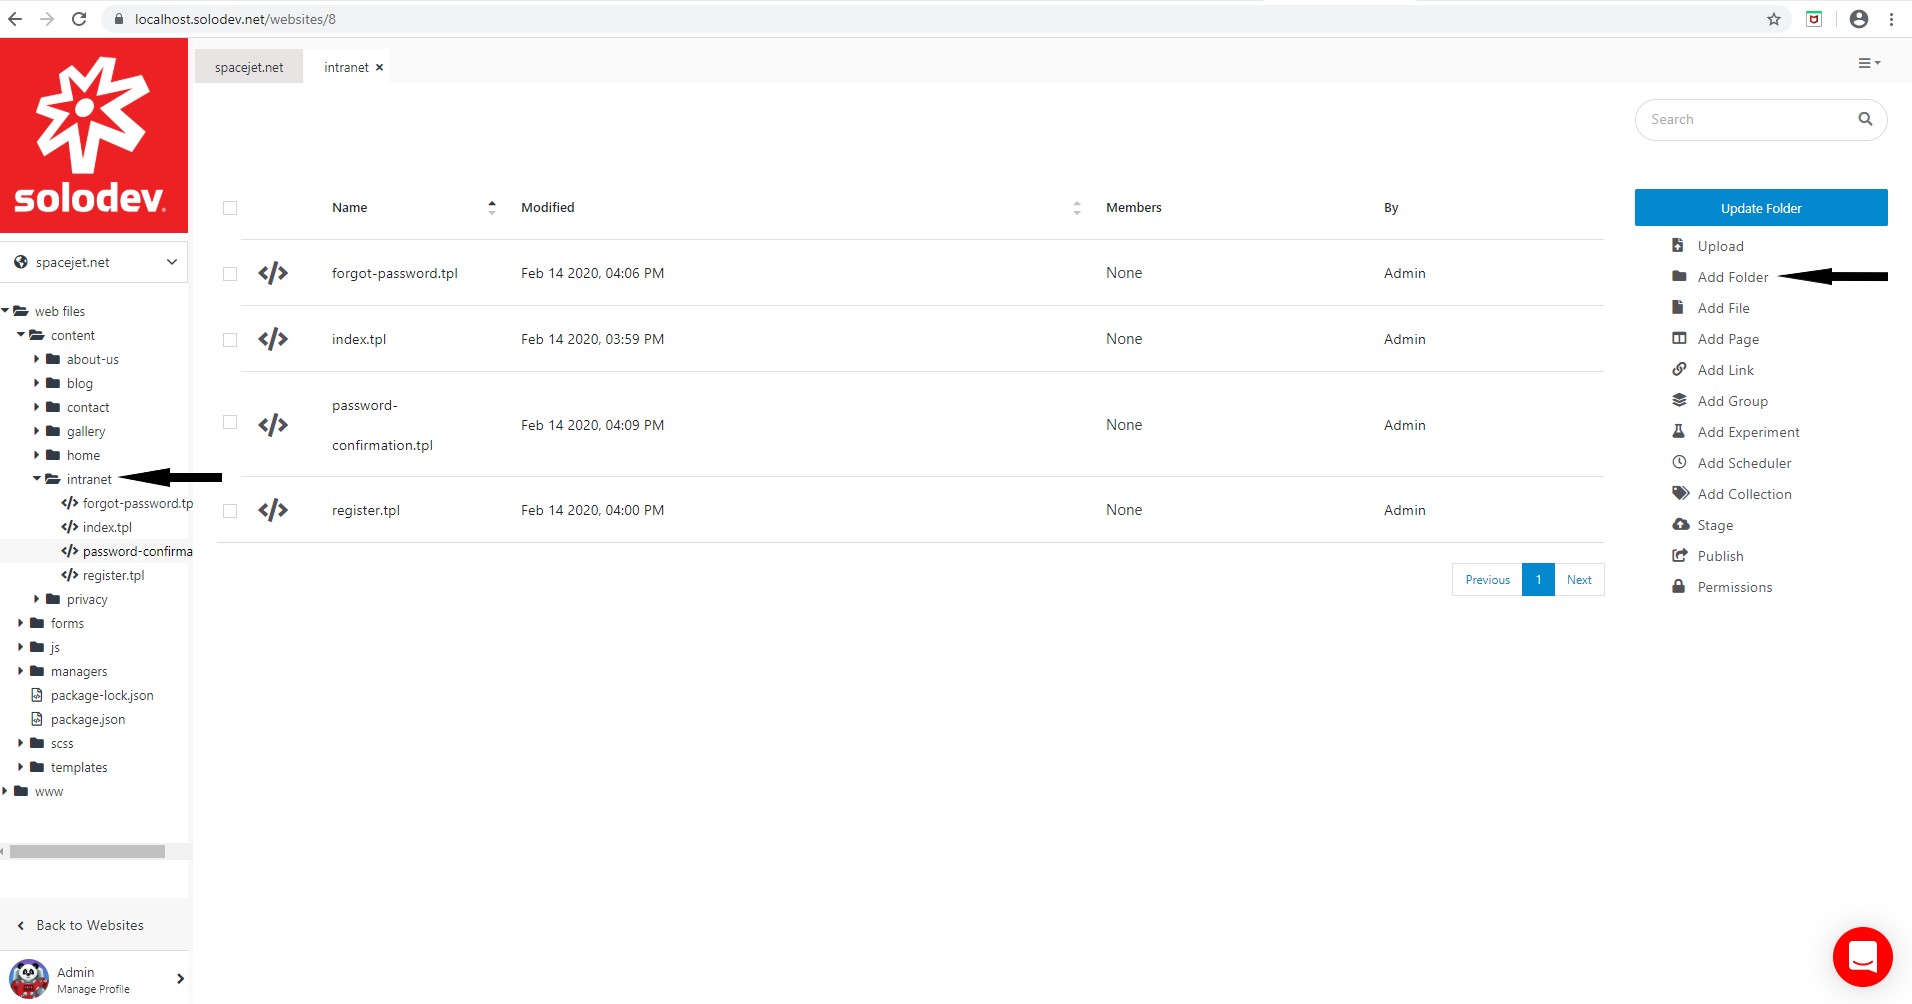
Step 6 – Create a secure folder
- Open the intranet folder and click Add Folder.
- Enter the Name (‘secure’), Title and Description of the folder.
- Click Submit.

#
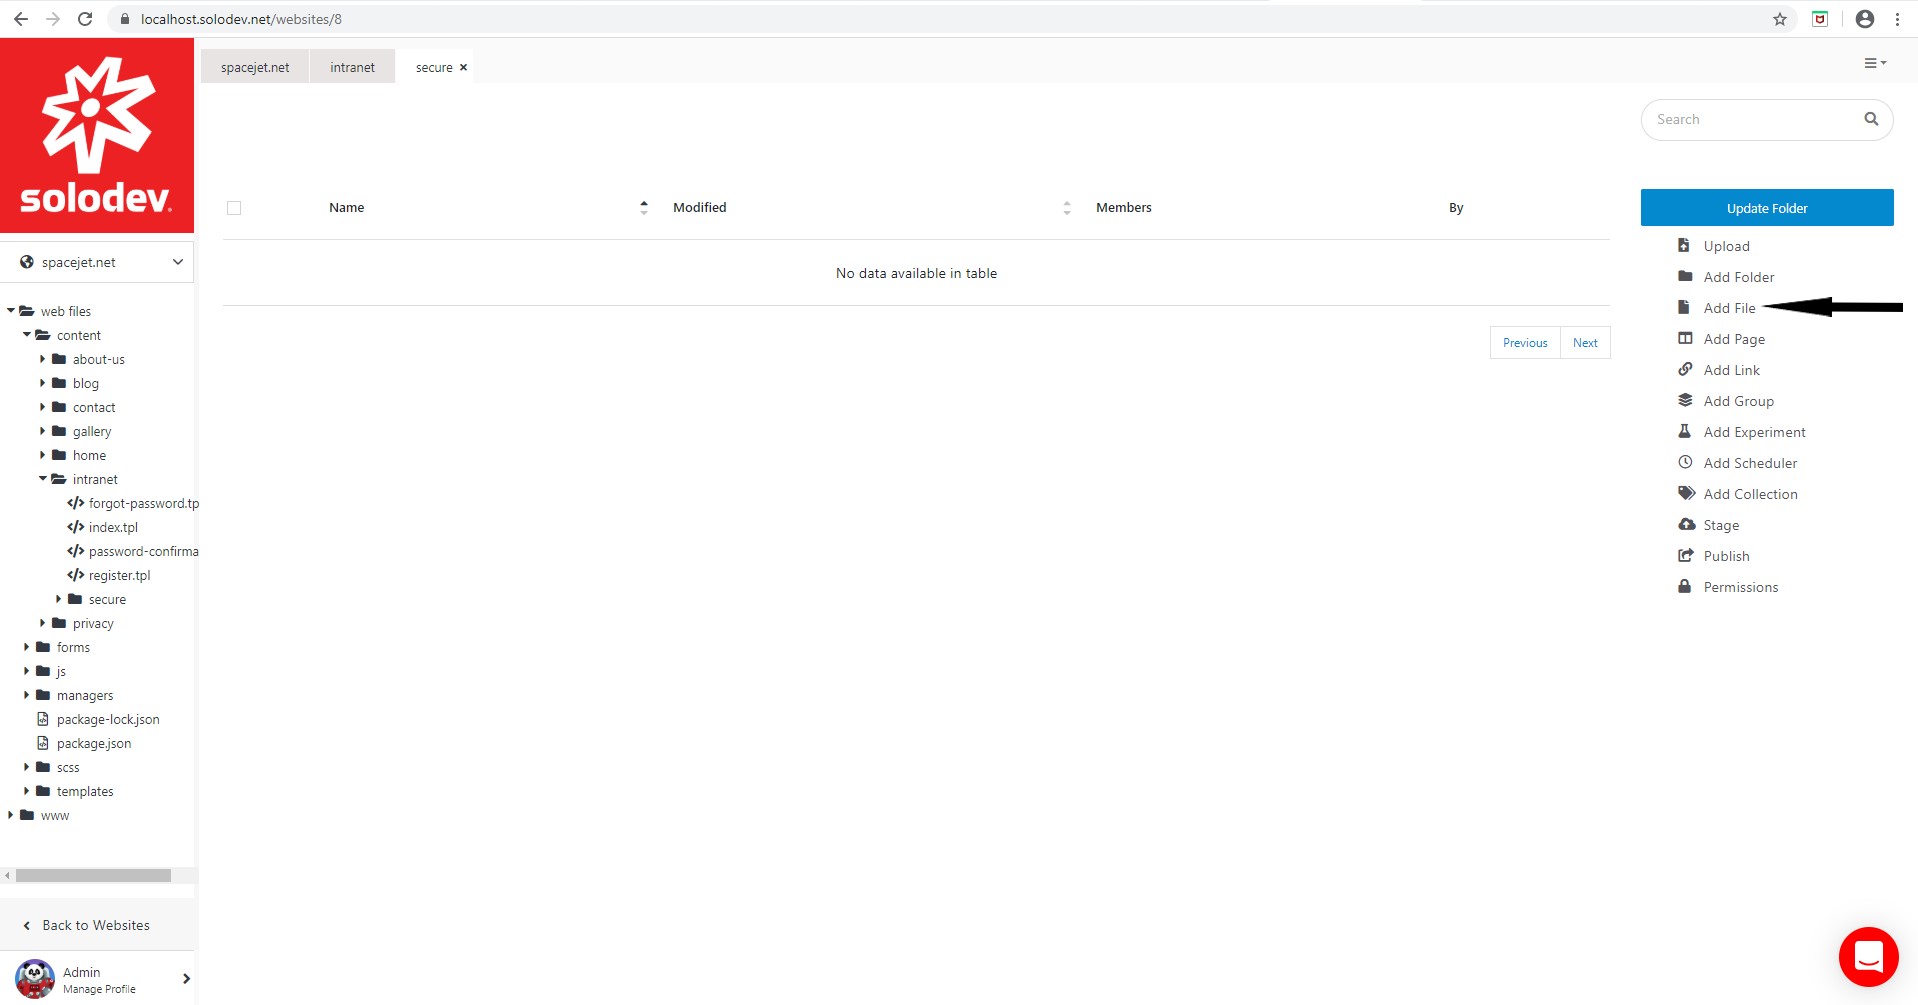
Step 7 – Create an account page template (index.tpl)
- Open the secure folder and click Add File
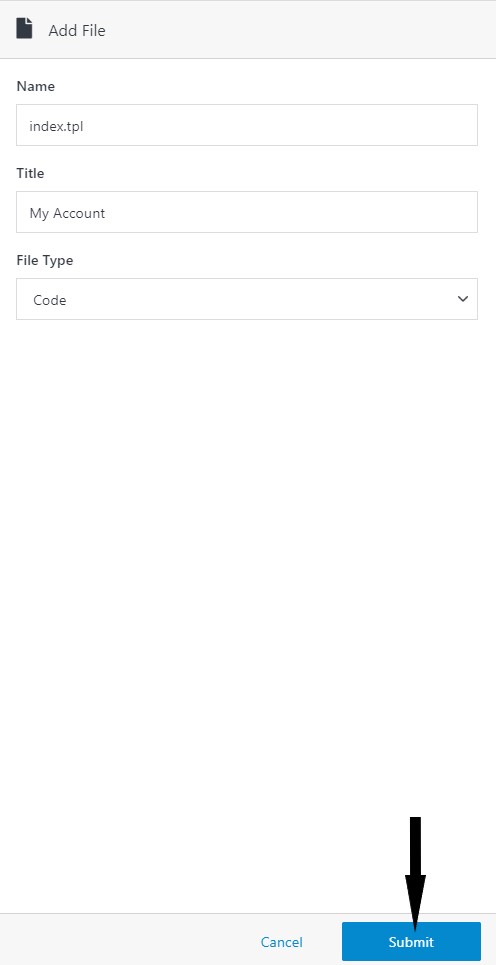
- Enter the Name and Title of the file (append '.tpl' to the end of the name. For example, index.tpl).
- Choose 'Code' for the Type.
- Click Submit.
- The user is directed to the file.
- Enter the code block provided below:
<div class="row">
	<div class="col-md-12">
		<p>The list below contains the files that are available to the current user. They are located in the User's folder under Documents.</p>
    	[user_documents]
	</div>
</div>- Click Publish.

#
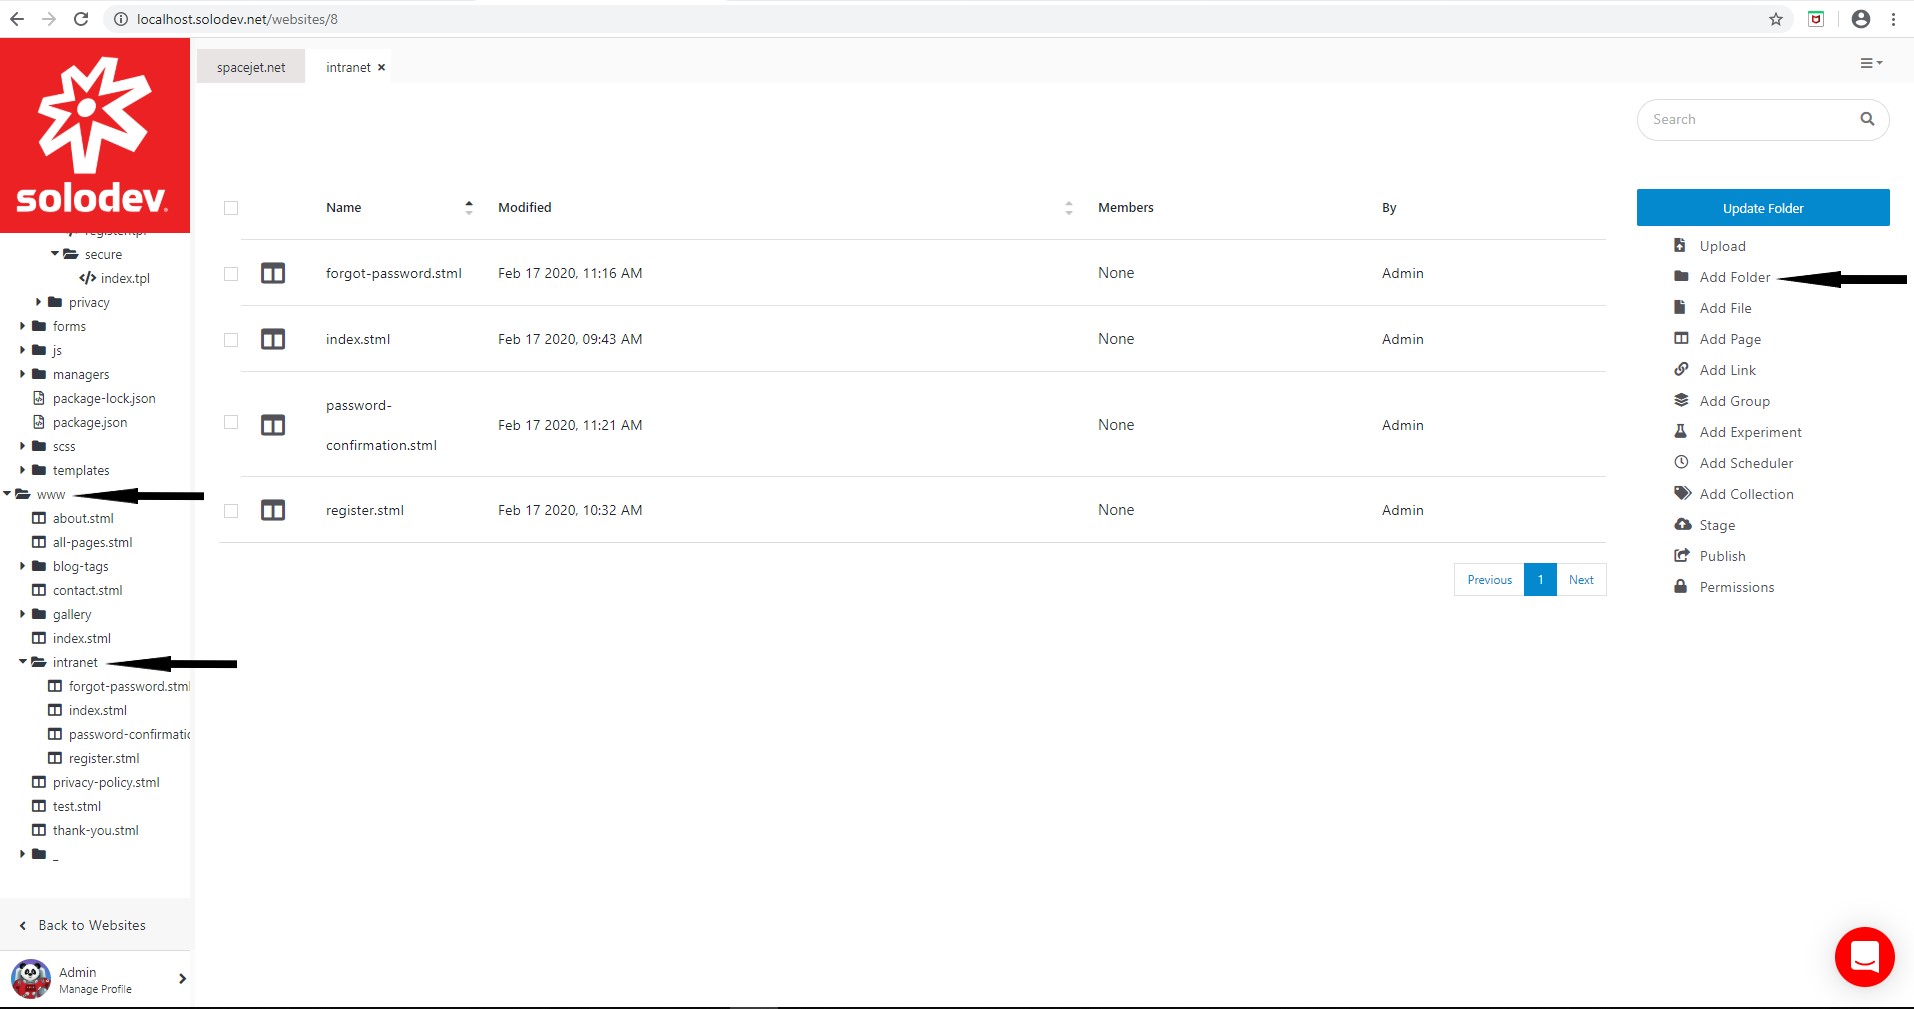
Step 8 — Create an intranet folder in the www folder
- Open the www folder and click Add Folder.
- Enter the Name, Title and Description of the folder.
- Click Submit.
#
Step 9 – Create a login page (index.stml)
- Open the www -> intranet folder.
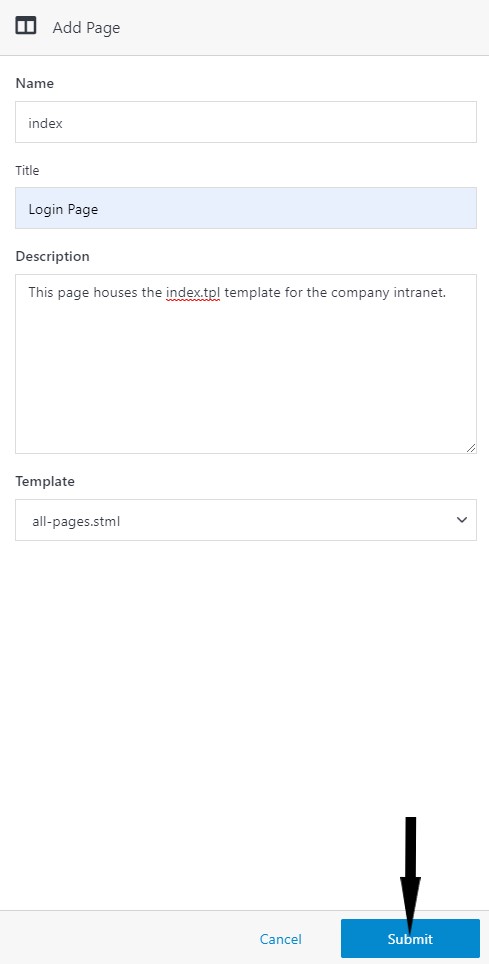
- Click Add Page.
- Enter the Name (index), Title and Description of the page.
- Choose your template.
- Click Submit.
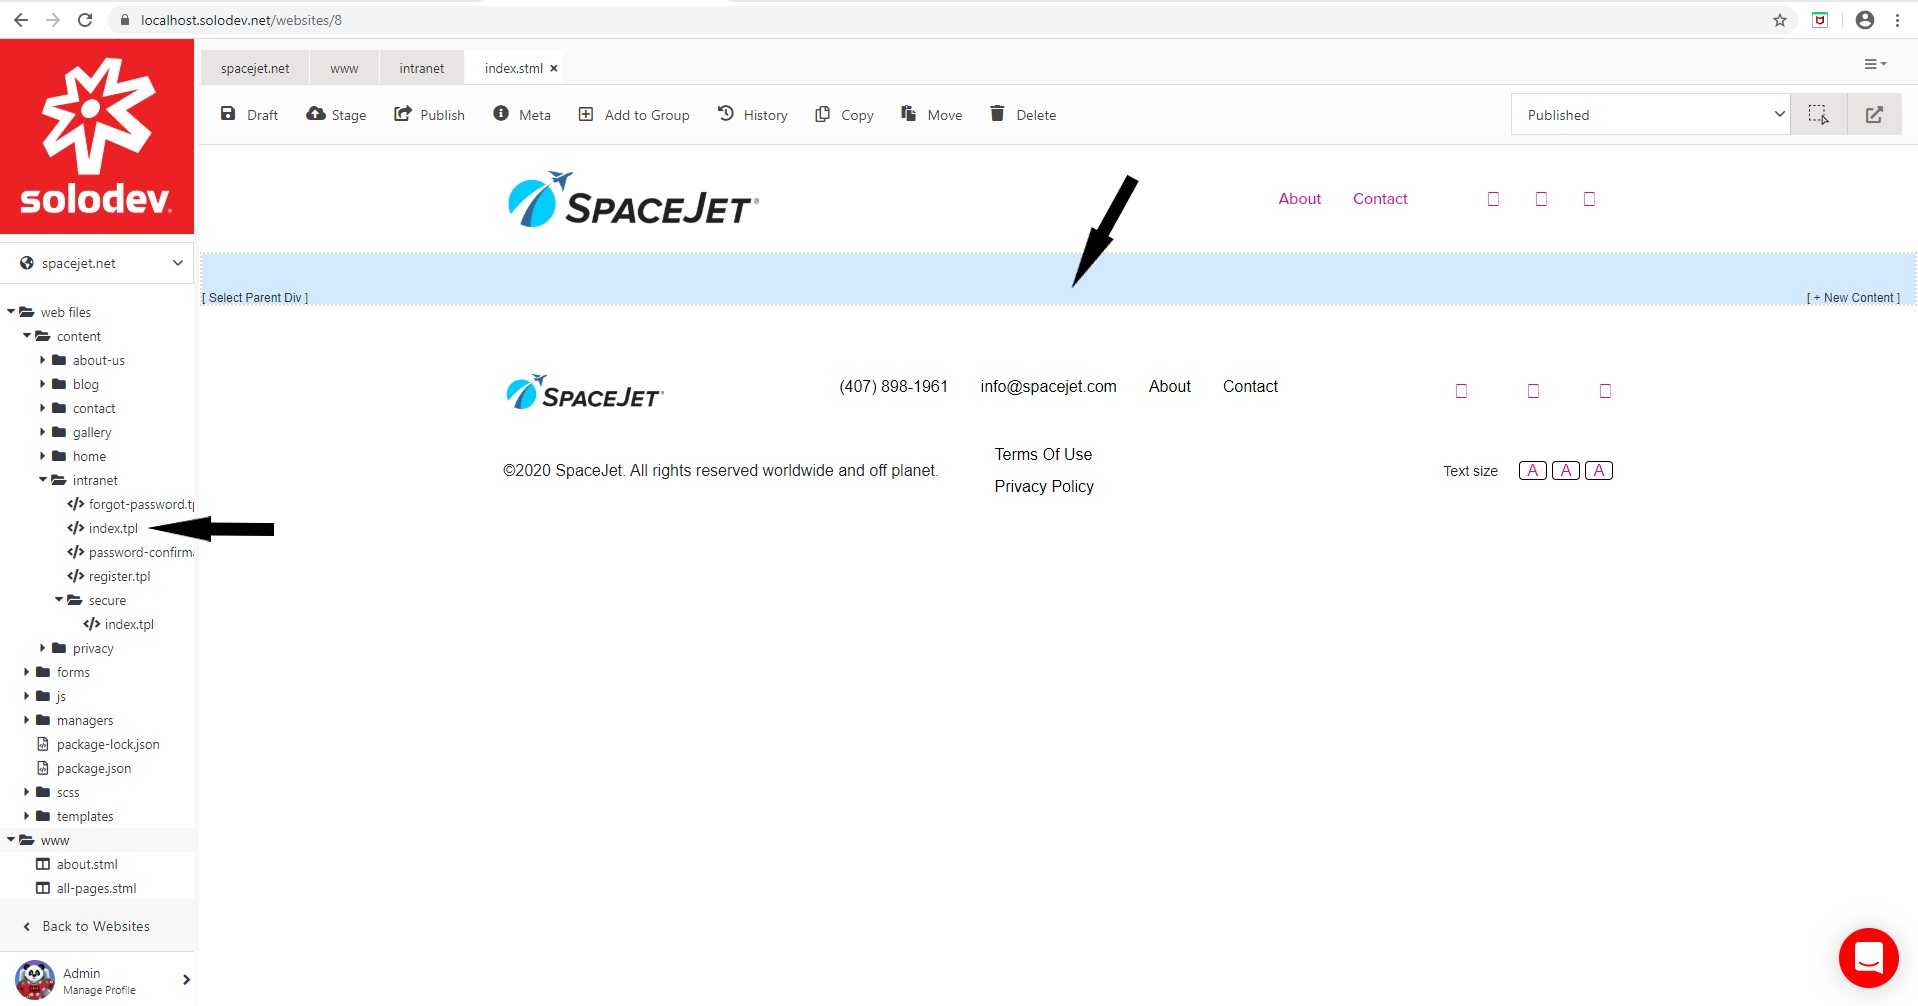
- The user is directed to the page.
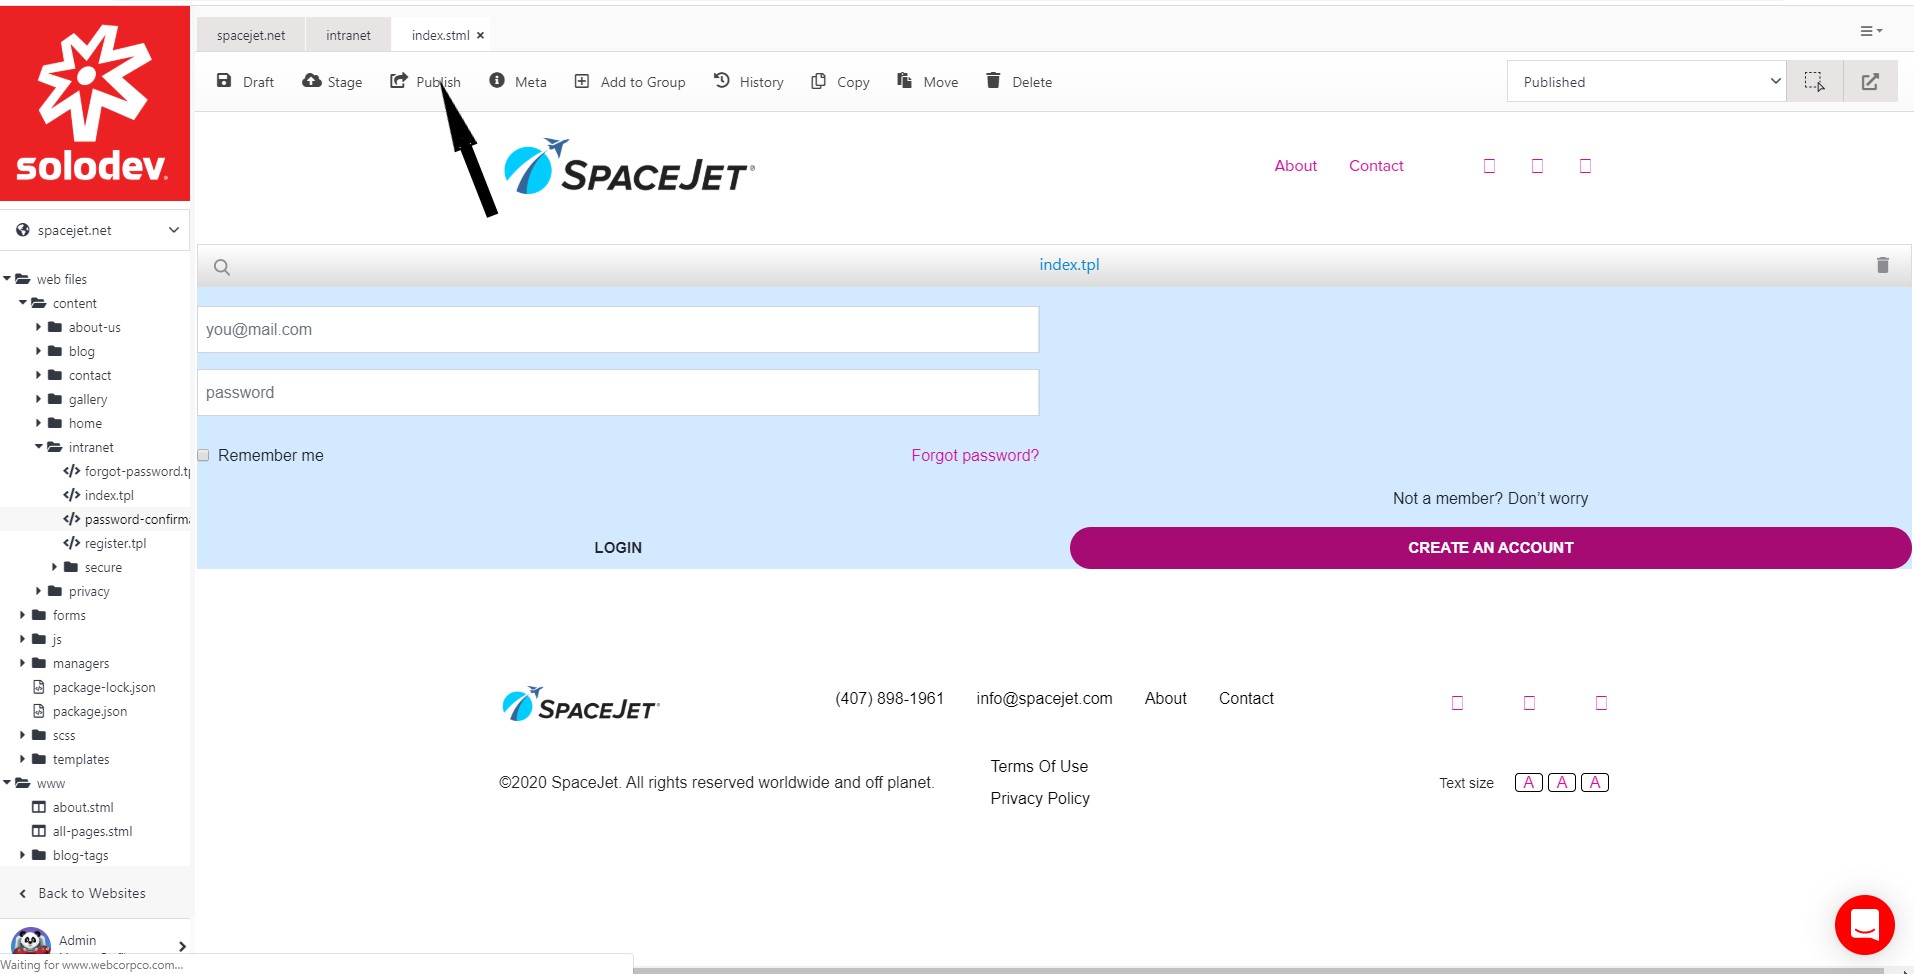
- Click the empty dynamic div in the index.stml page.
- Choose the index.tpl file located in web files - > content -> intranet folder.
- Click Publish.
#
Step 10 - Create a signup page
- Open the www -> intranet folder.
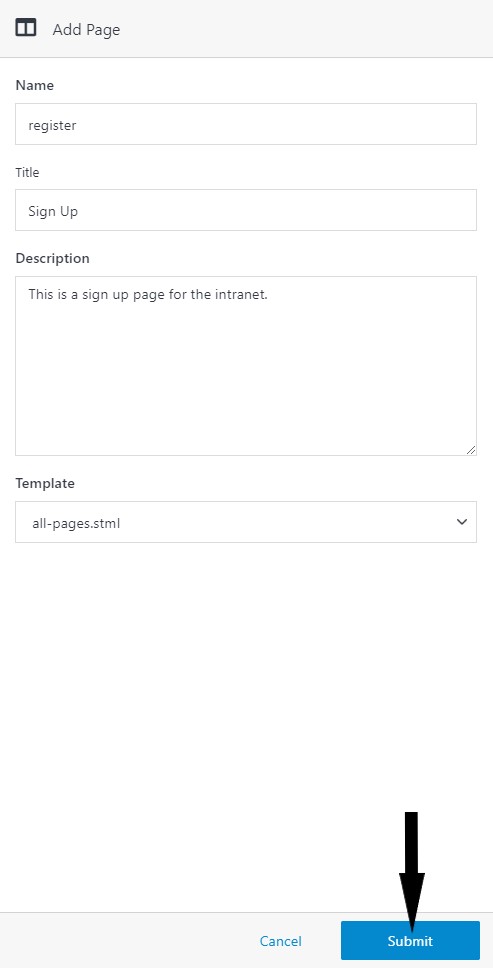
- Click Add Page.
- Enter the Name (register), Title and Description of the page.
- Choose your template.
- Click Submit.
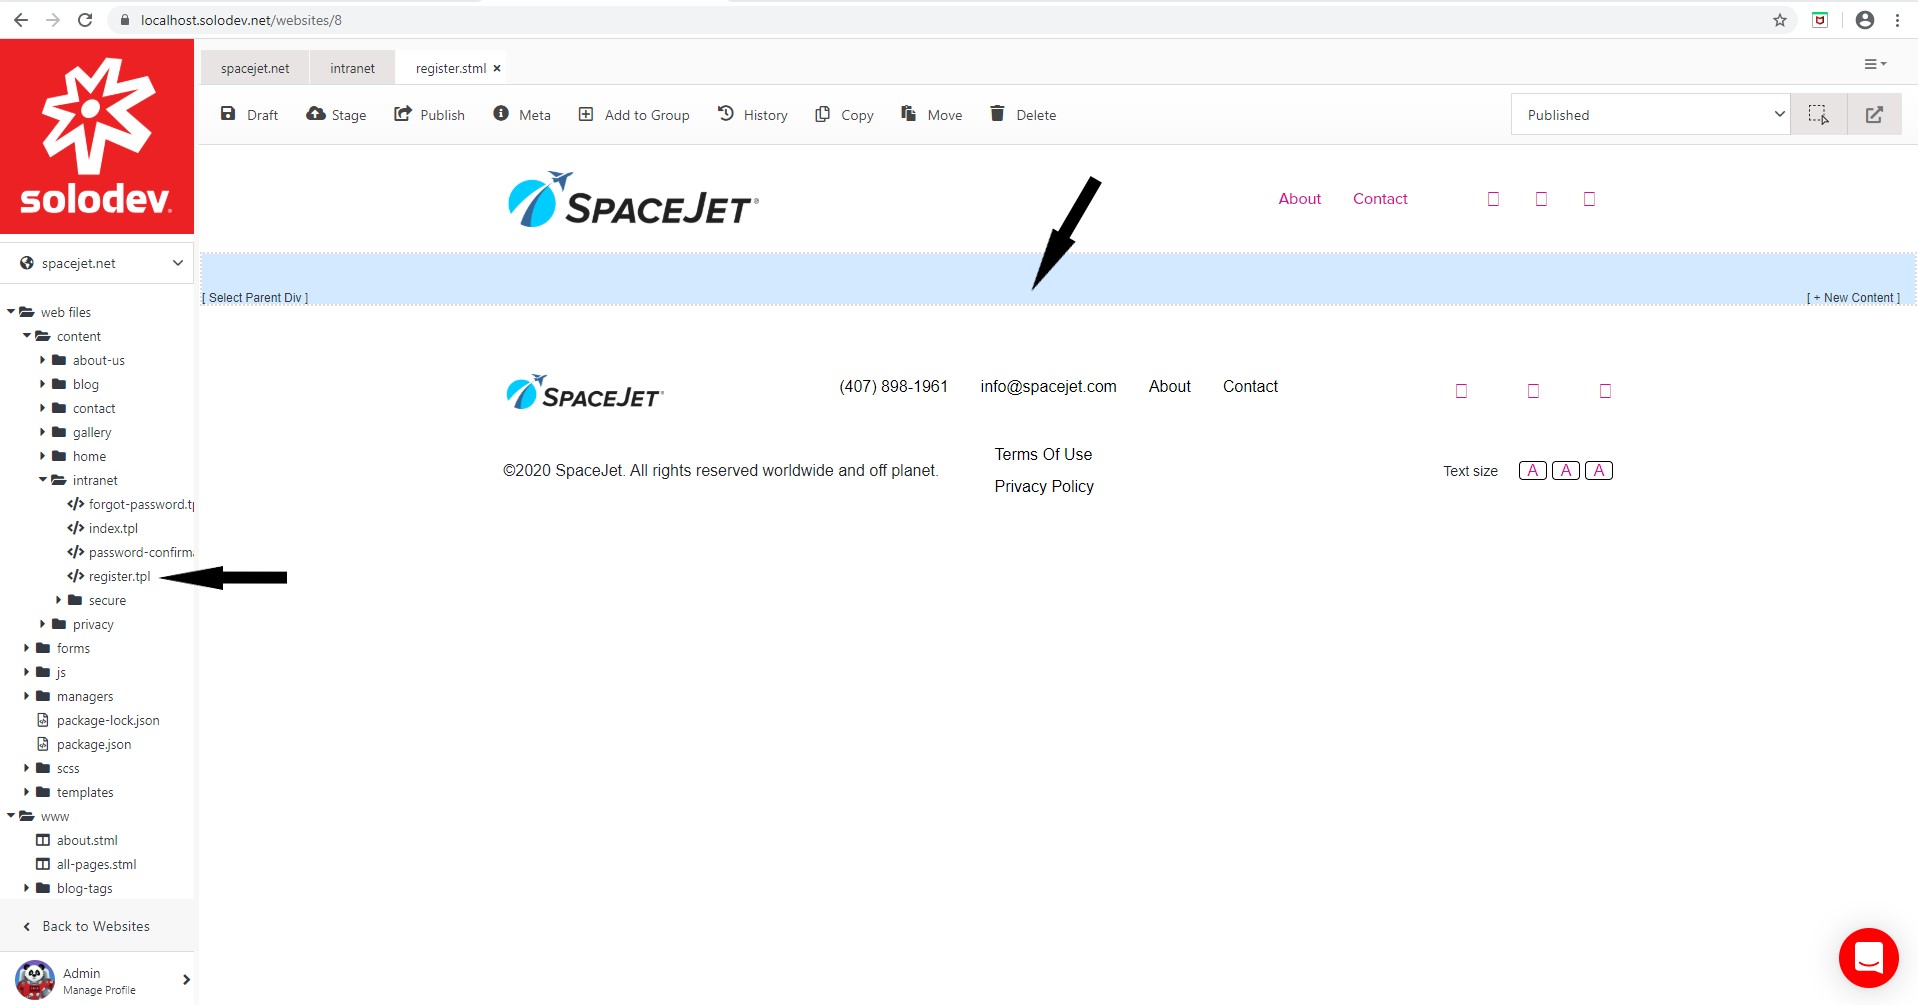
- The user is directed to the register page.
- Click the empty dynamic div in the register.stml page.
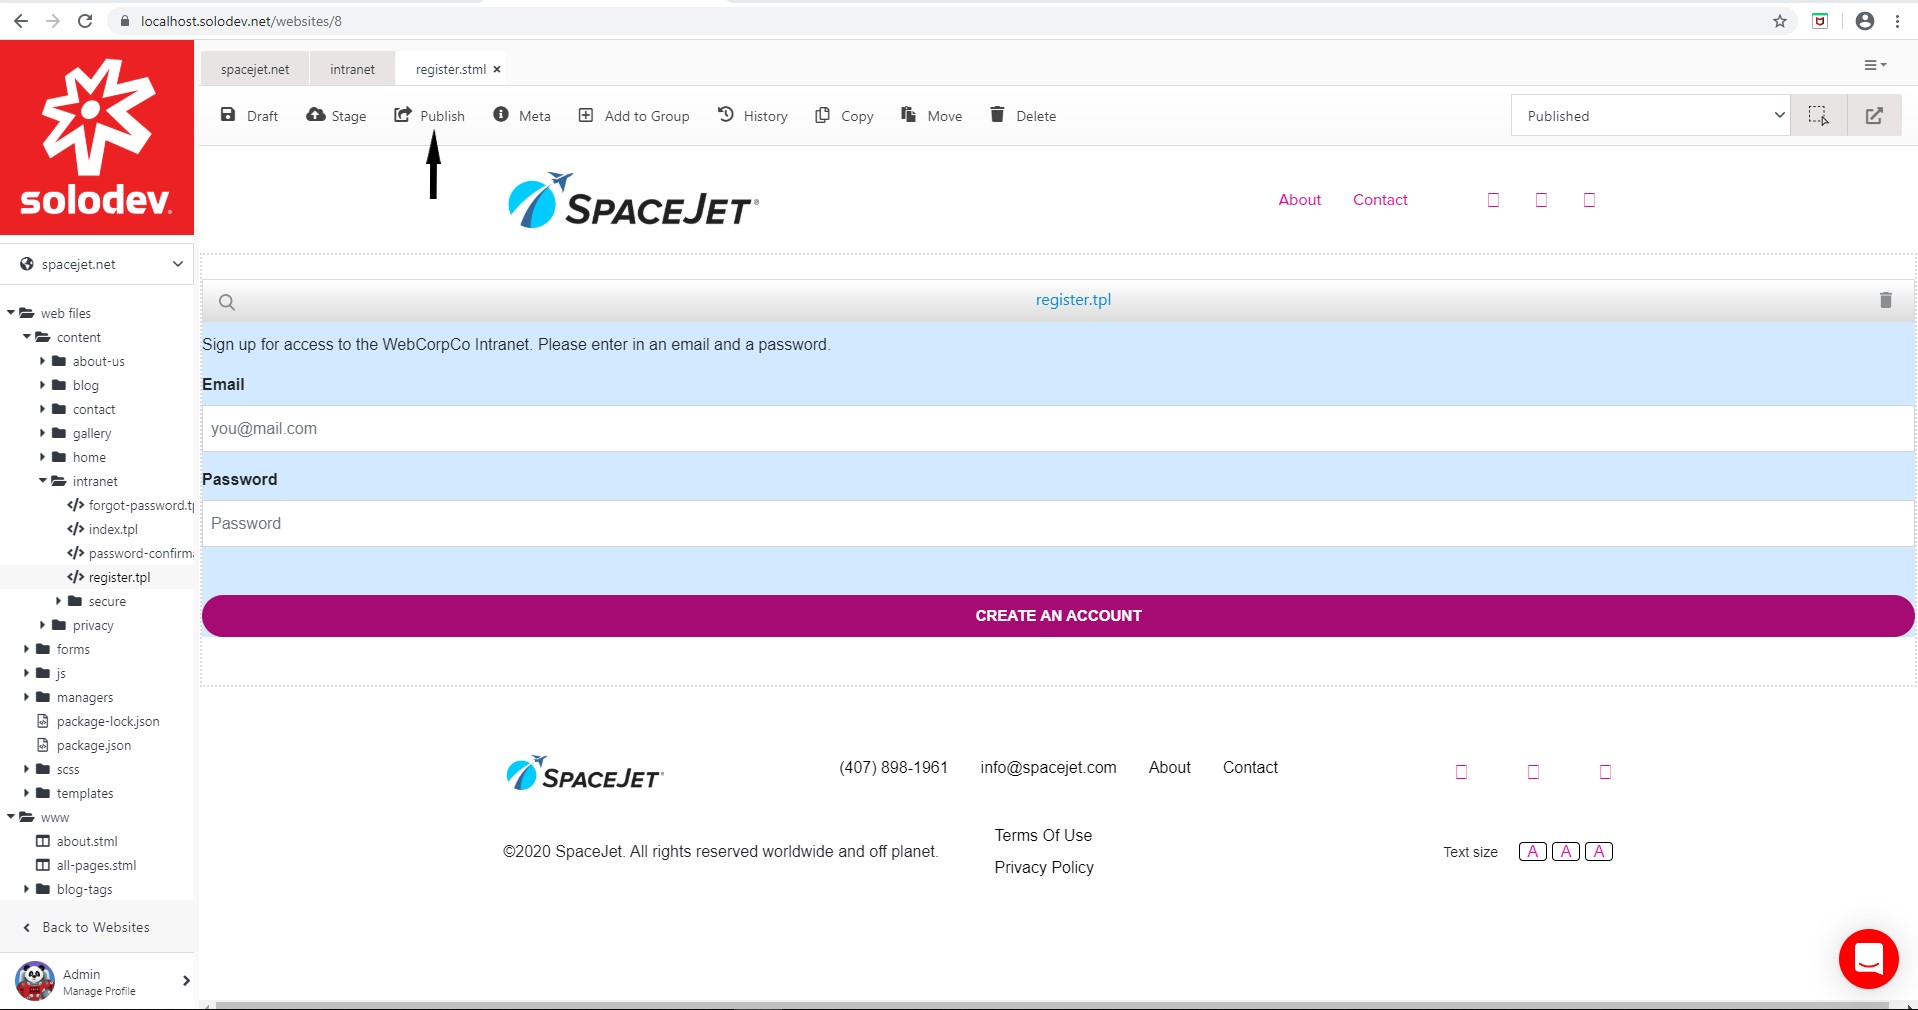
- Click the register.tpl file located in web files -> content -> intranet folder.
- Click Publish.
#
Step 11 – Create a forgot password page
- Open the www -> intranet folder.
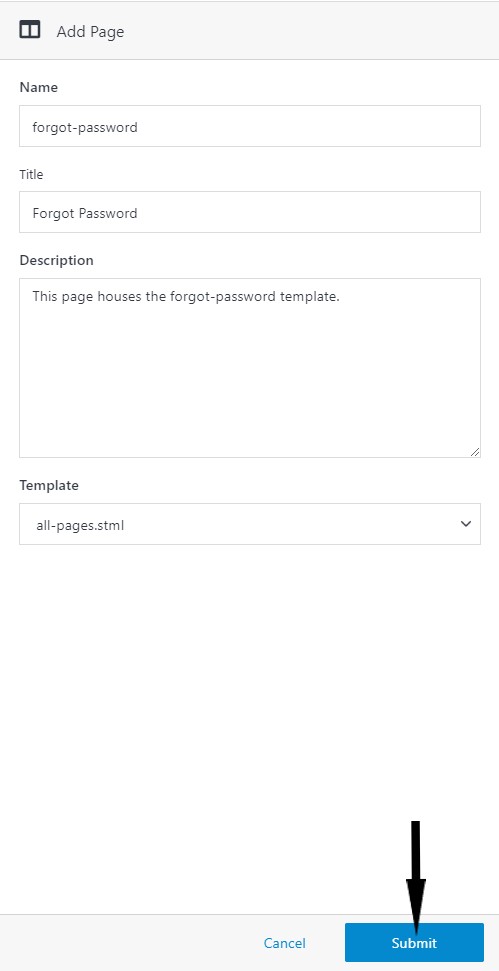
- Click Add Page.
- Enter the Name (forgot-password), Title and Description of the page.
- Choose your template.
- Click Submit.
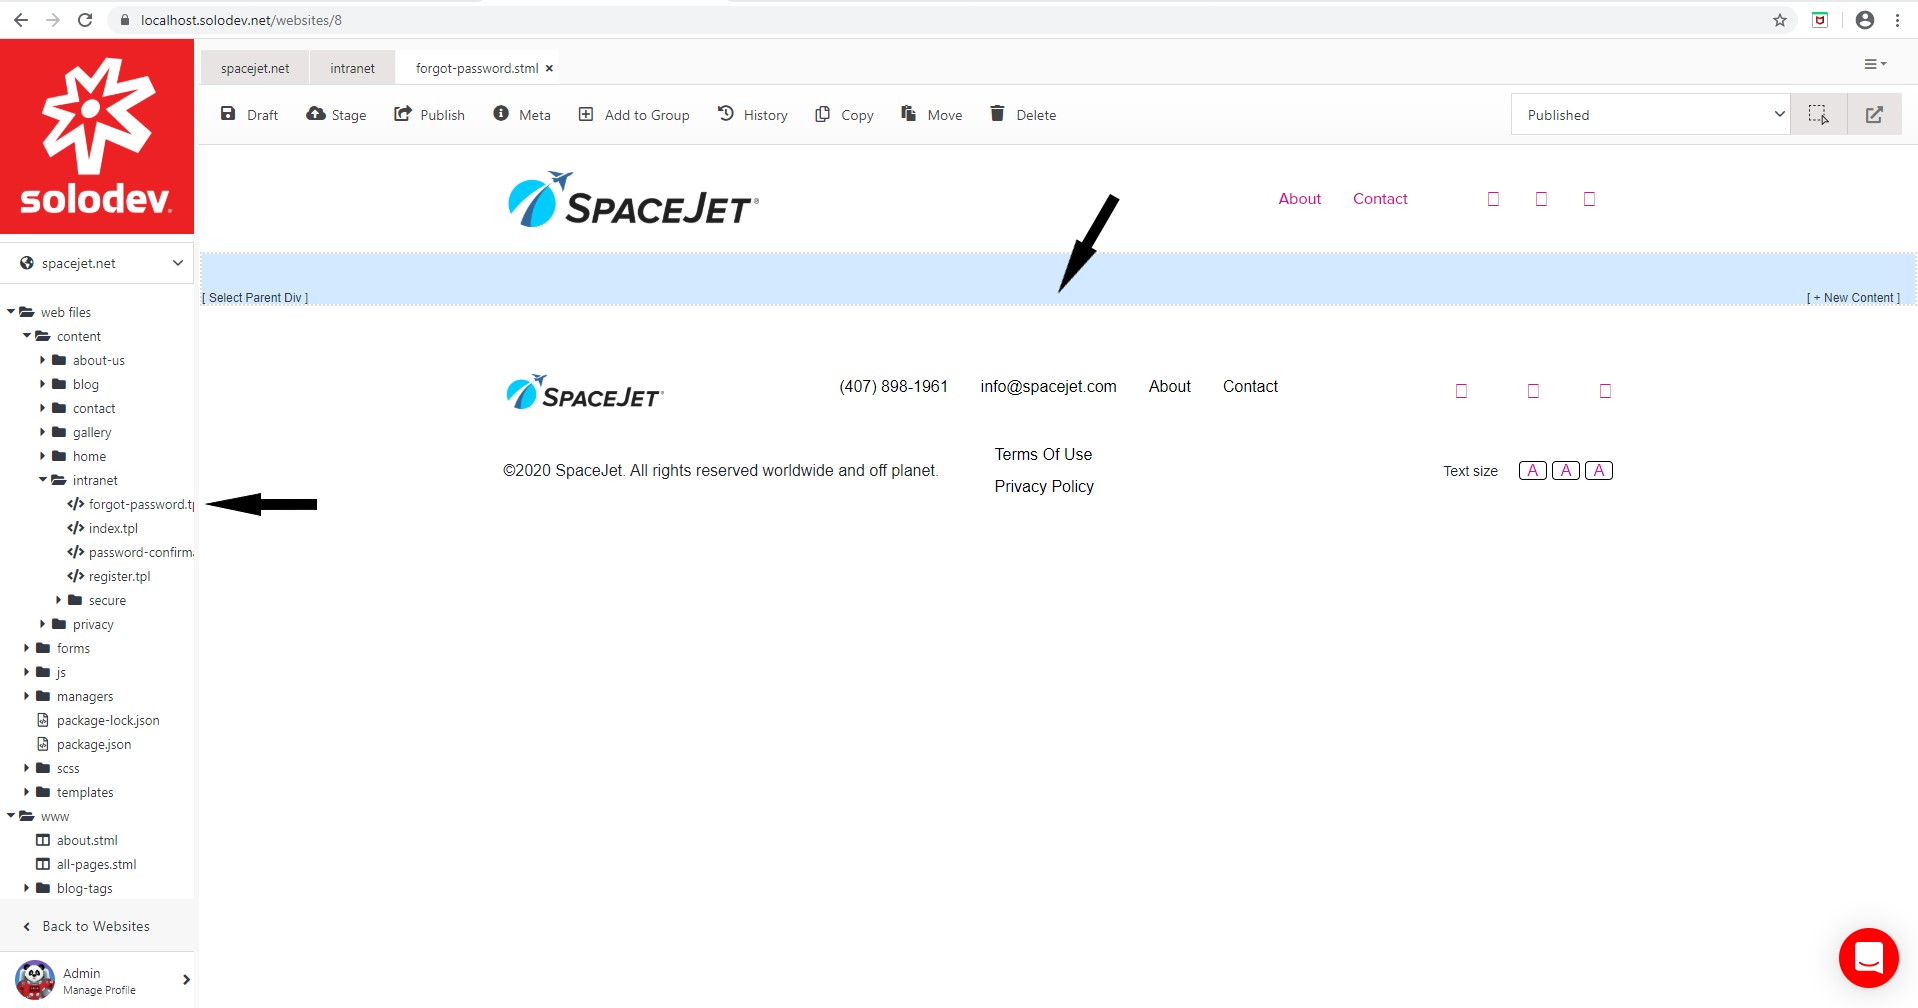
- The user is directed to the forgot-password page.
- Click the empty dynamic div in the forgot-password.stml page.
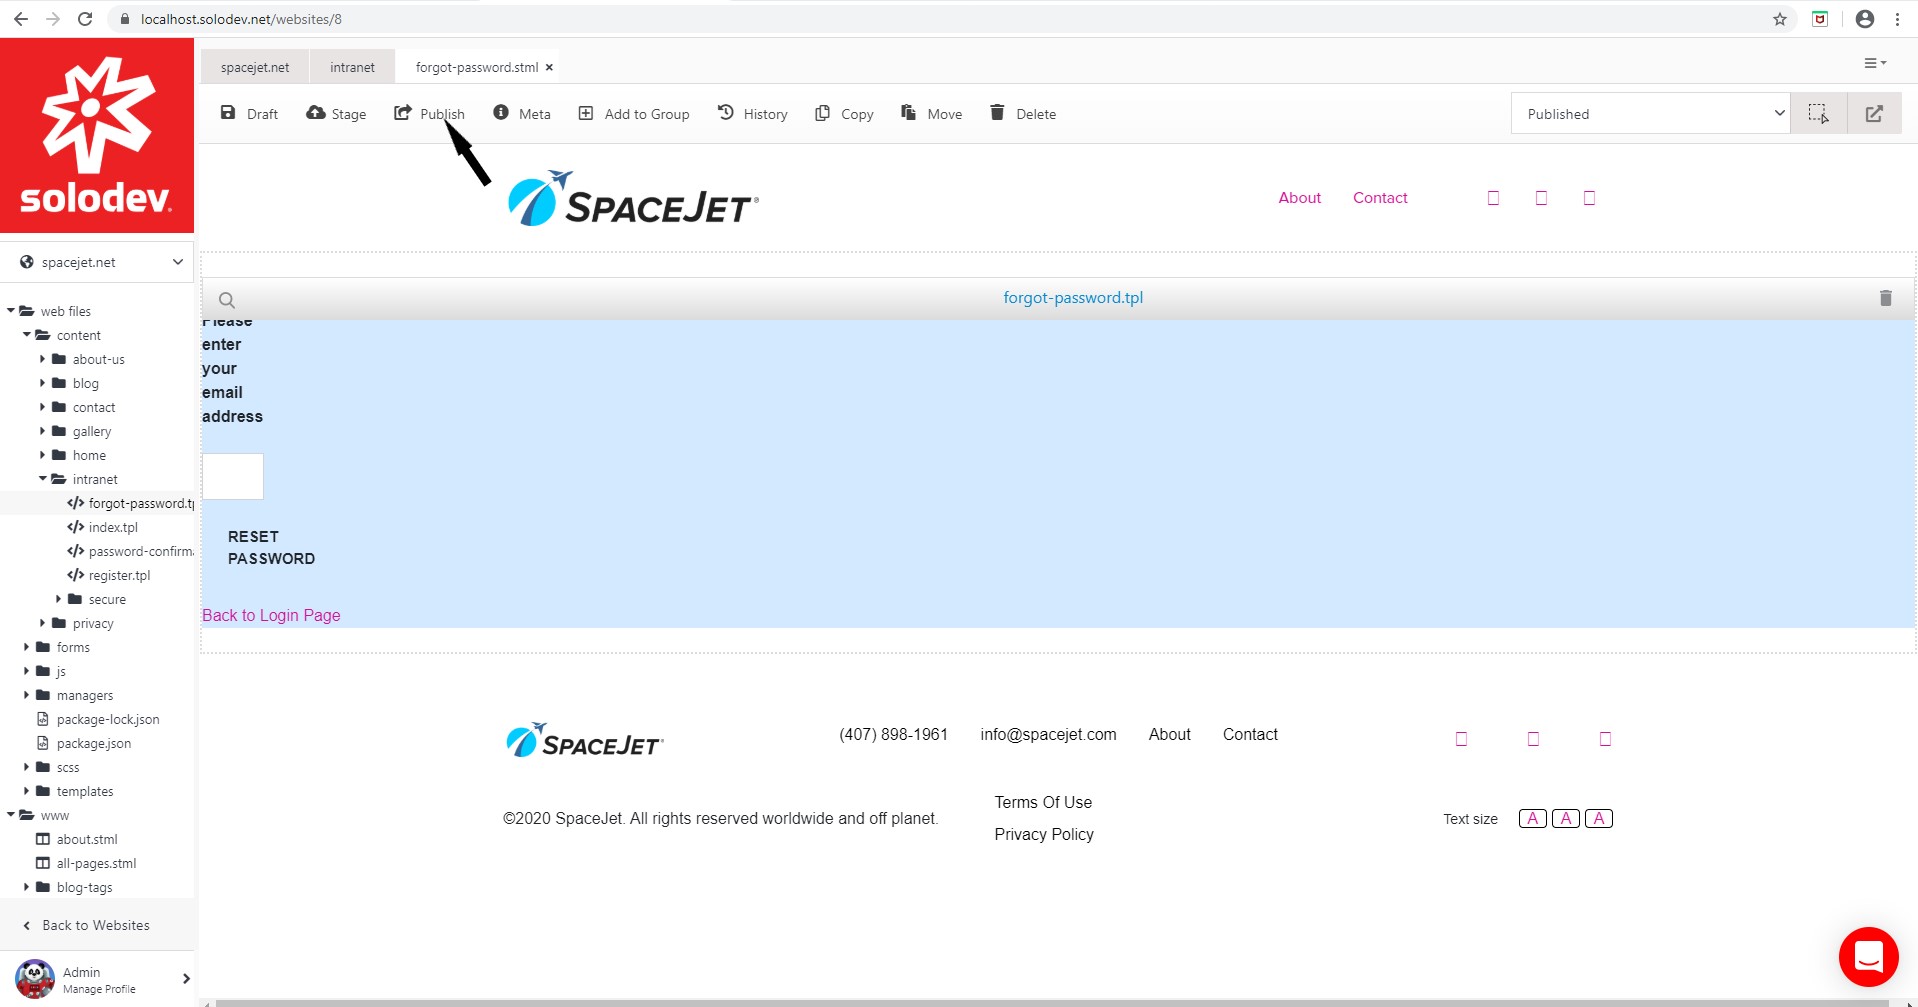
- Click the forgot-password.tpl file located in web files -> content -> intranet folder.
- Click Publish.
#
Step 12 – Create a password-confirmation page
- Open the www -> intranet folder.
- Click Add Page.
- Enter the Name (password-confirmation), Title and Description of the page.
- Choose your template.
- Click Submit.
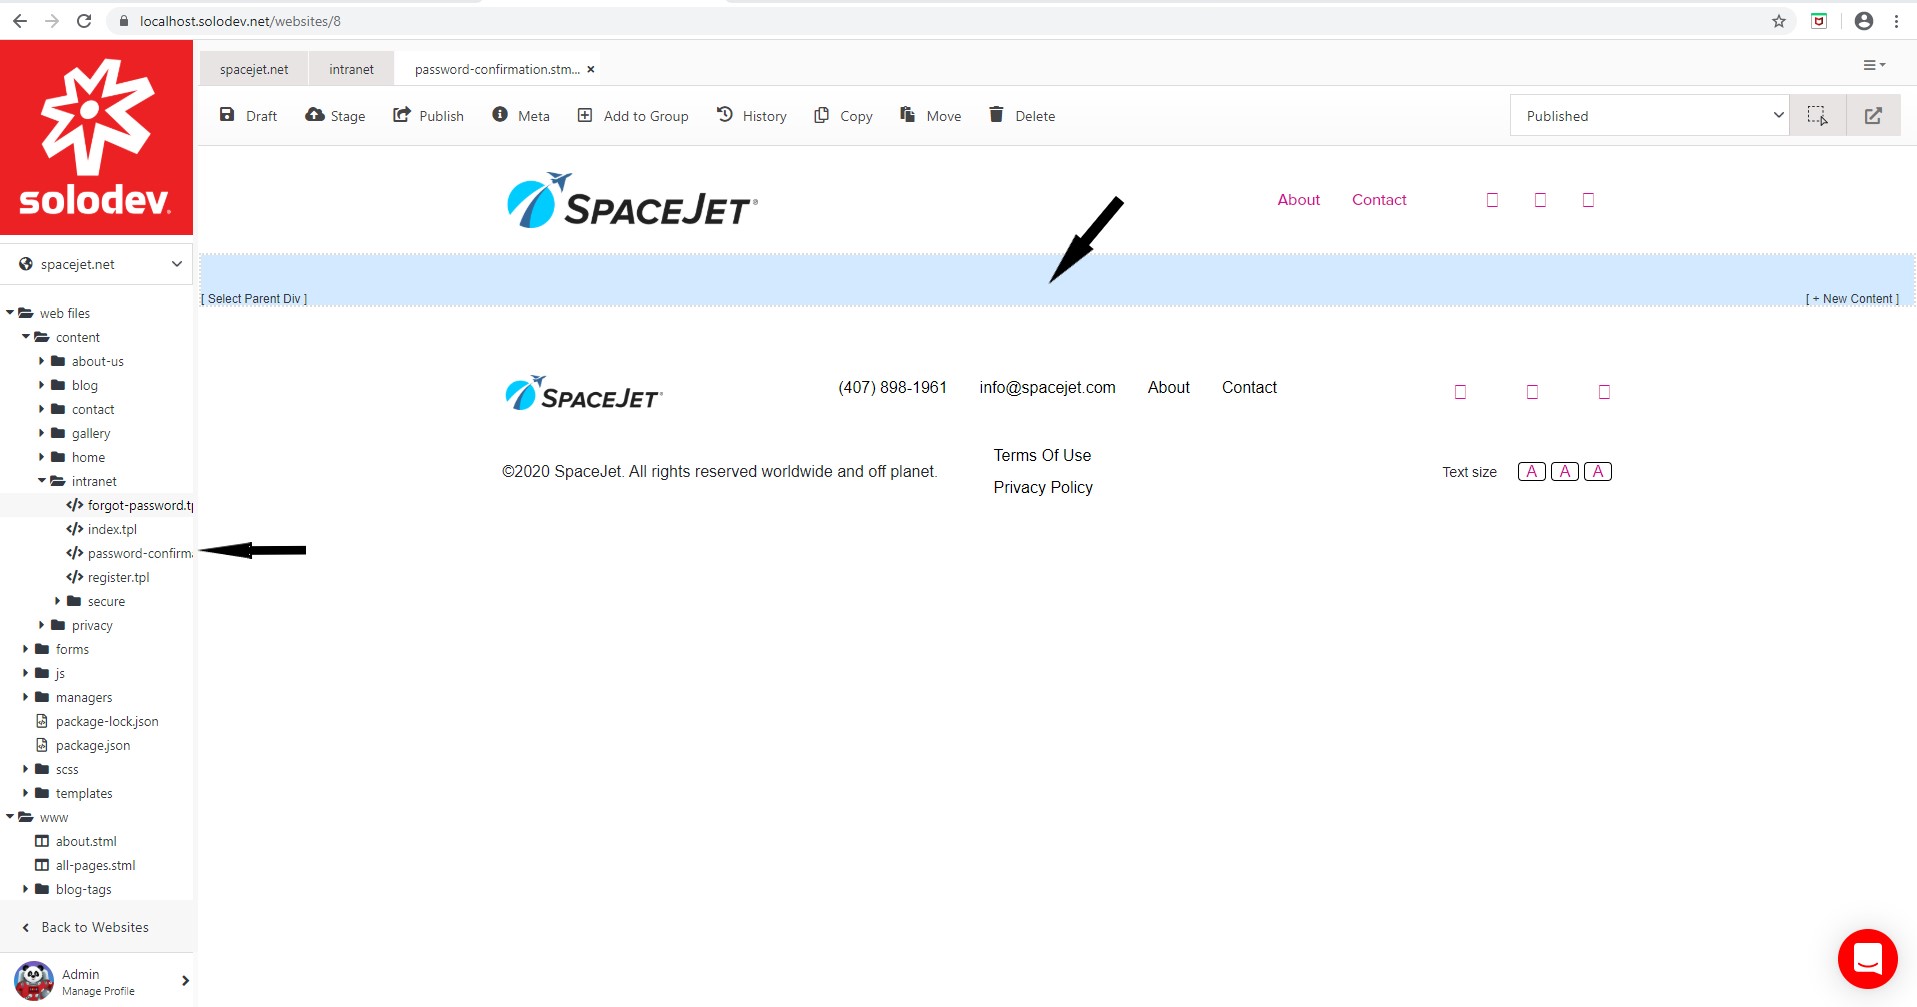
- The user is directed to the password-confirmation page.
- Click the empty dynamic div in the password-confirmation.stml page.
- Click the password-confirmation.tpl file located in web files -> content -> intranet folder.
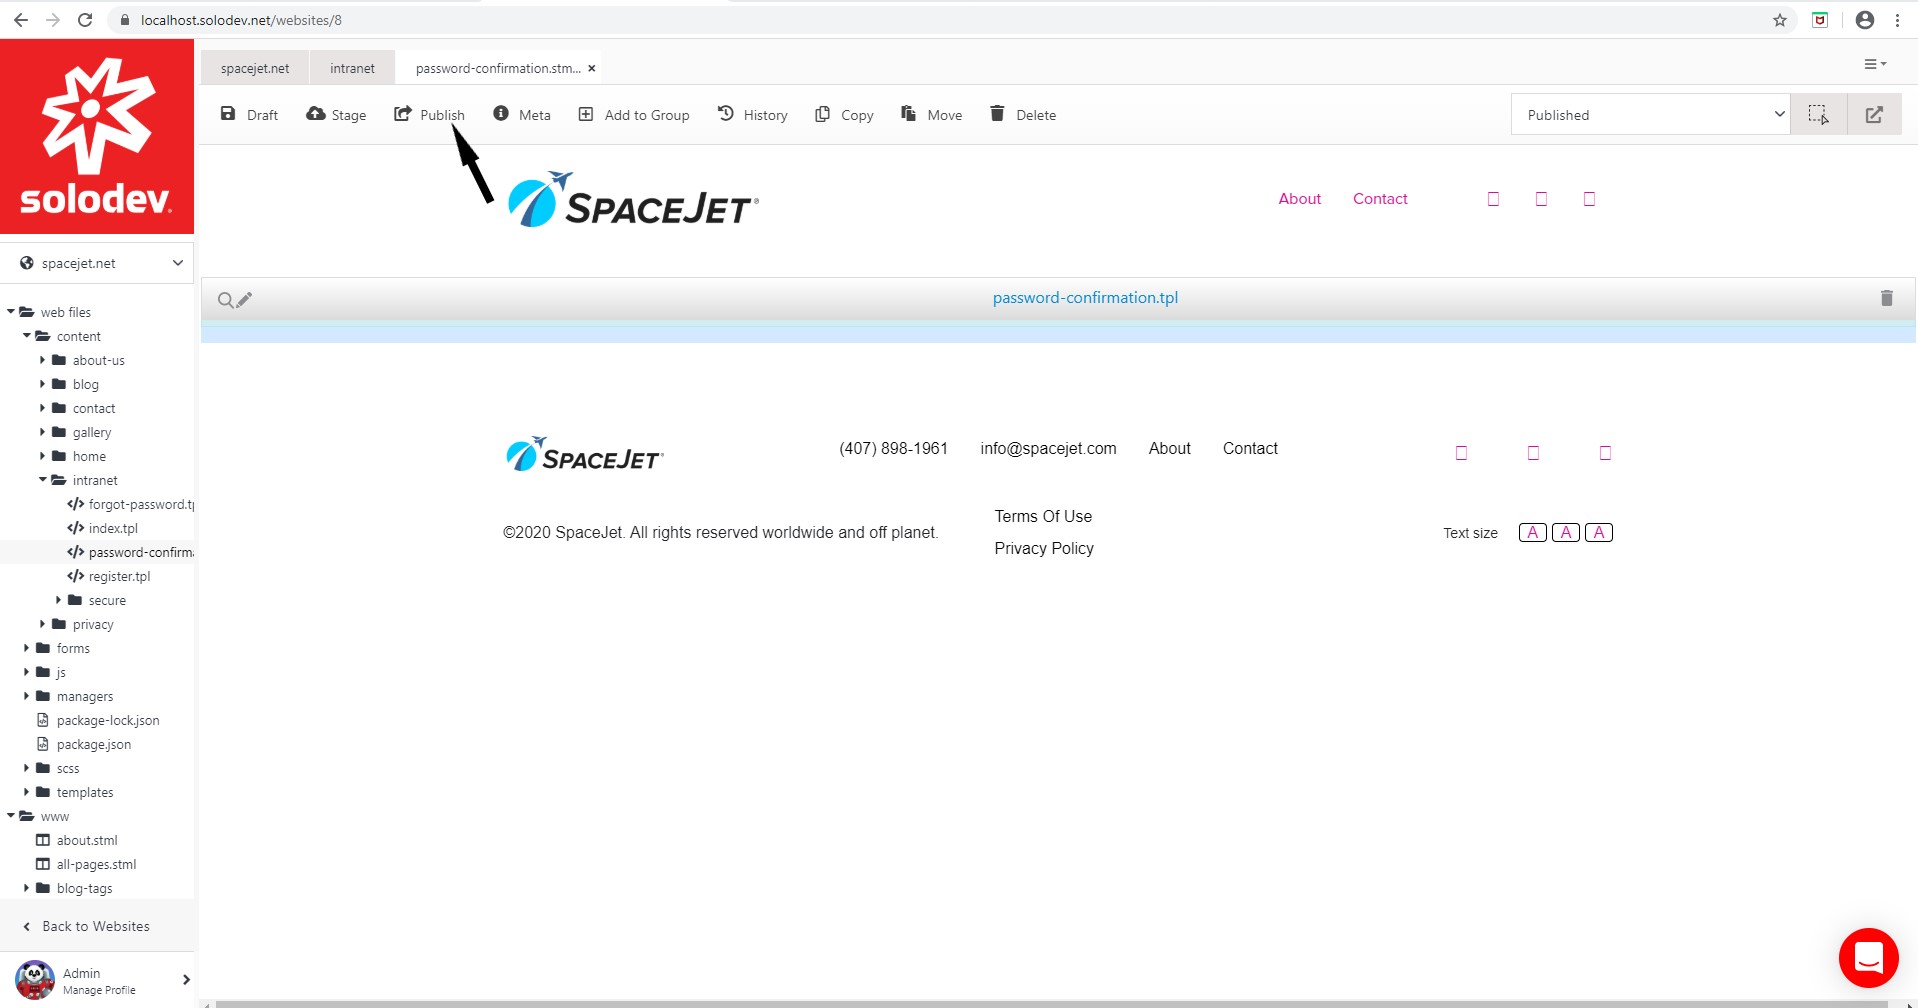
- Click Publish.

#
Step 13 – Create a secure folder in the intranet folder
- Open the www -> intranet folder and click Add Folder.
- Enter the Name (secure), Title and Description of the folder.
- Click Submit.

#
Step 14 – Create an Account page for the users
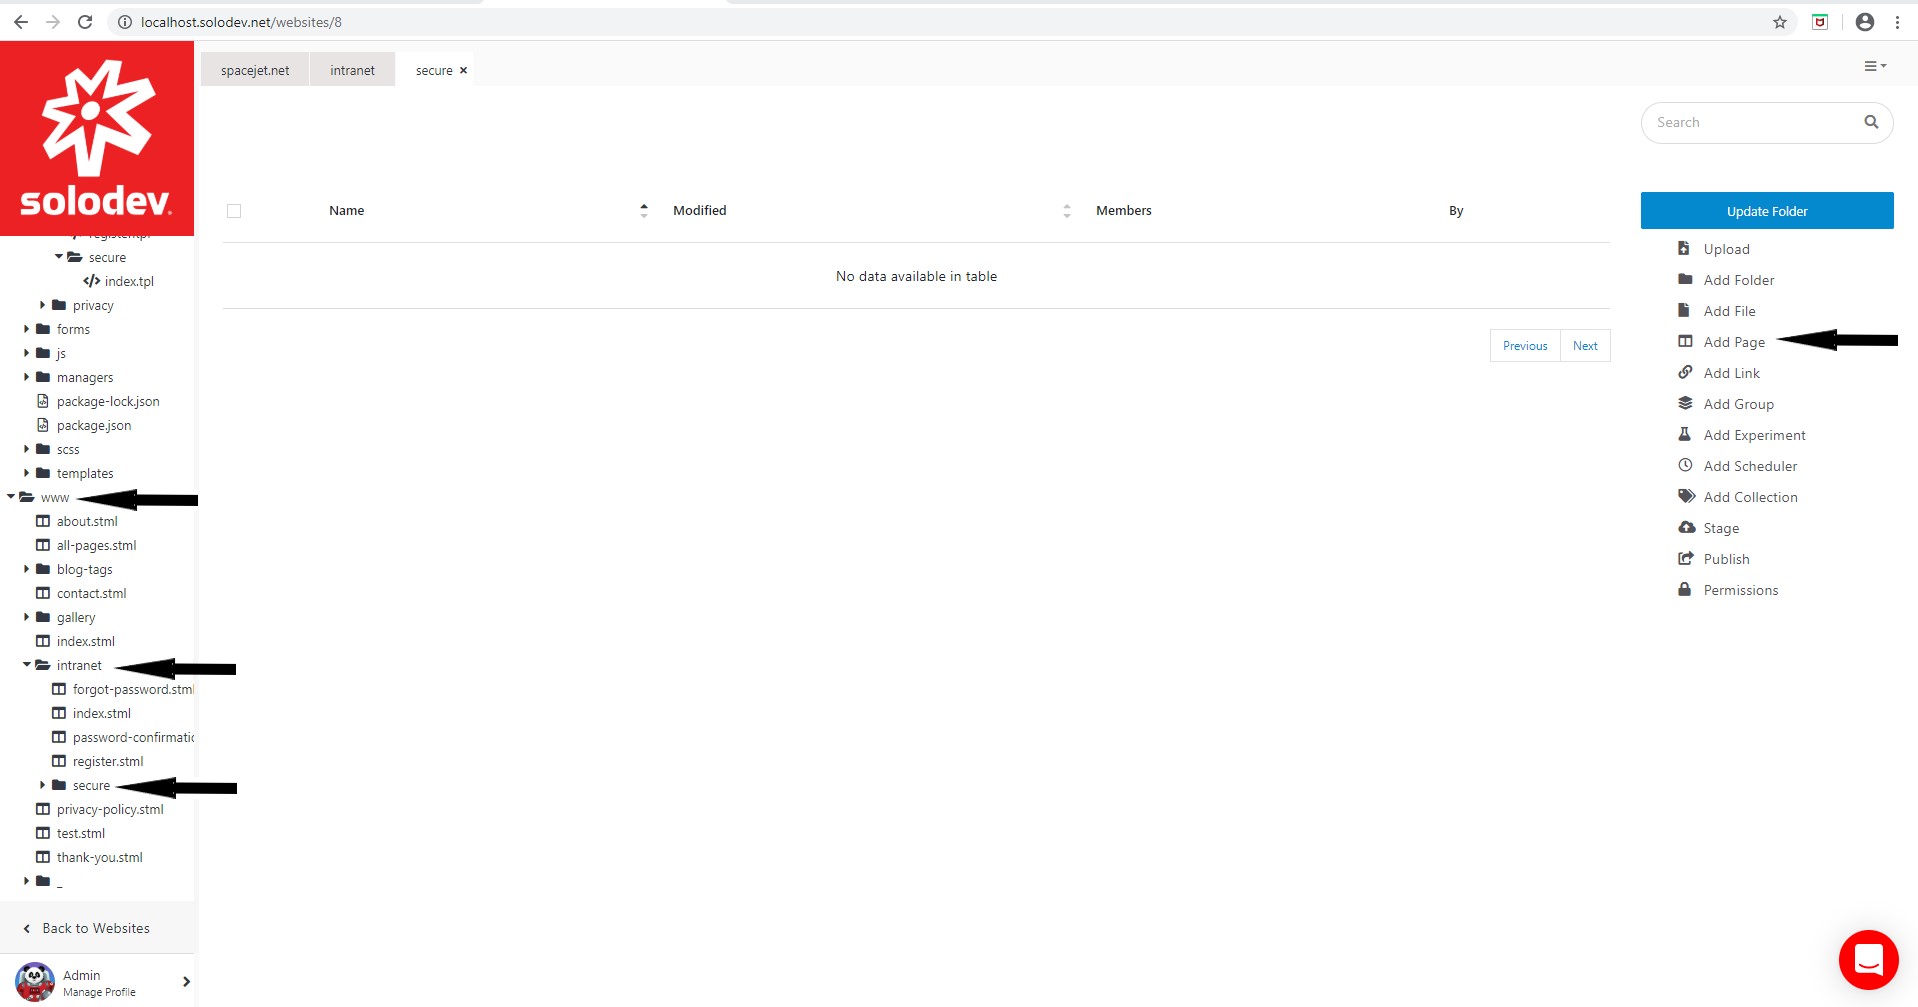
- Open the www -> intranet -> secure folder.
- Click Add Page.
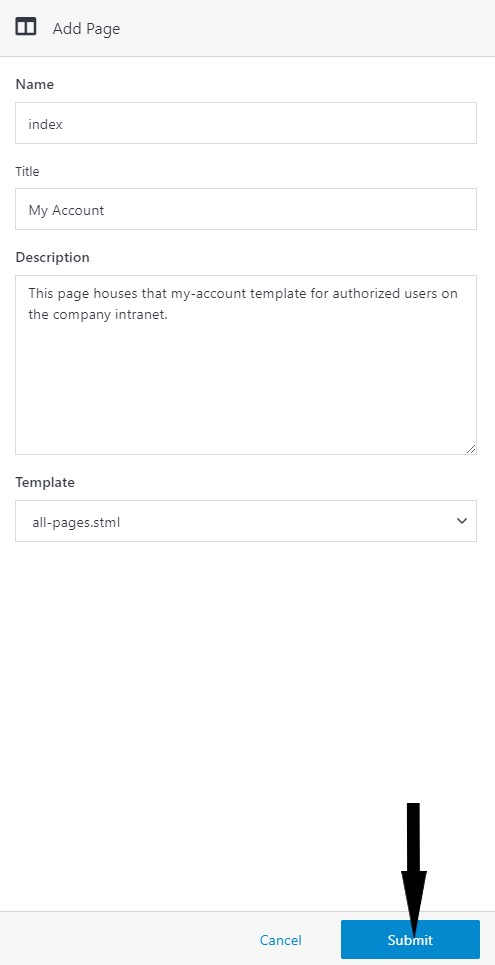
- Enter the Name (index), Title and Description of the page.
- Choose your template.
- Click Submit.
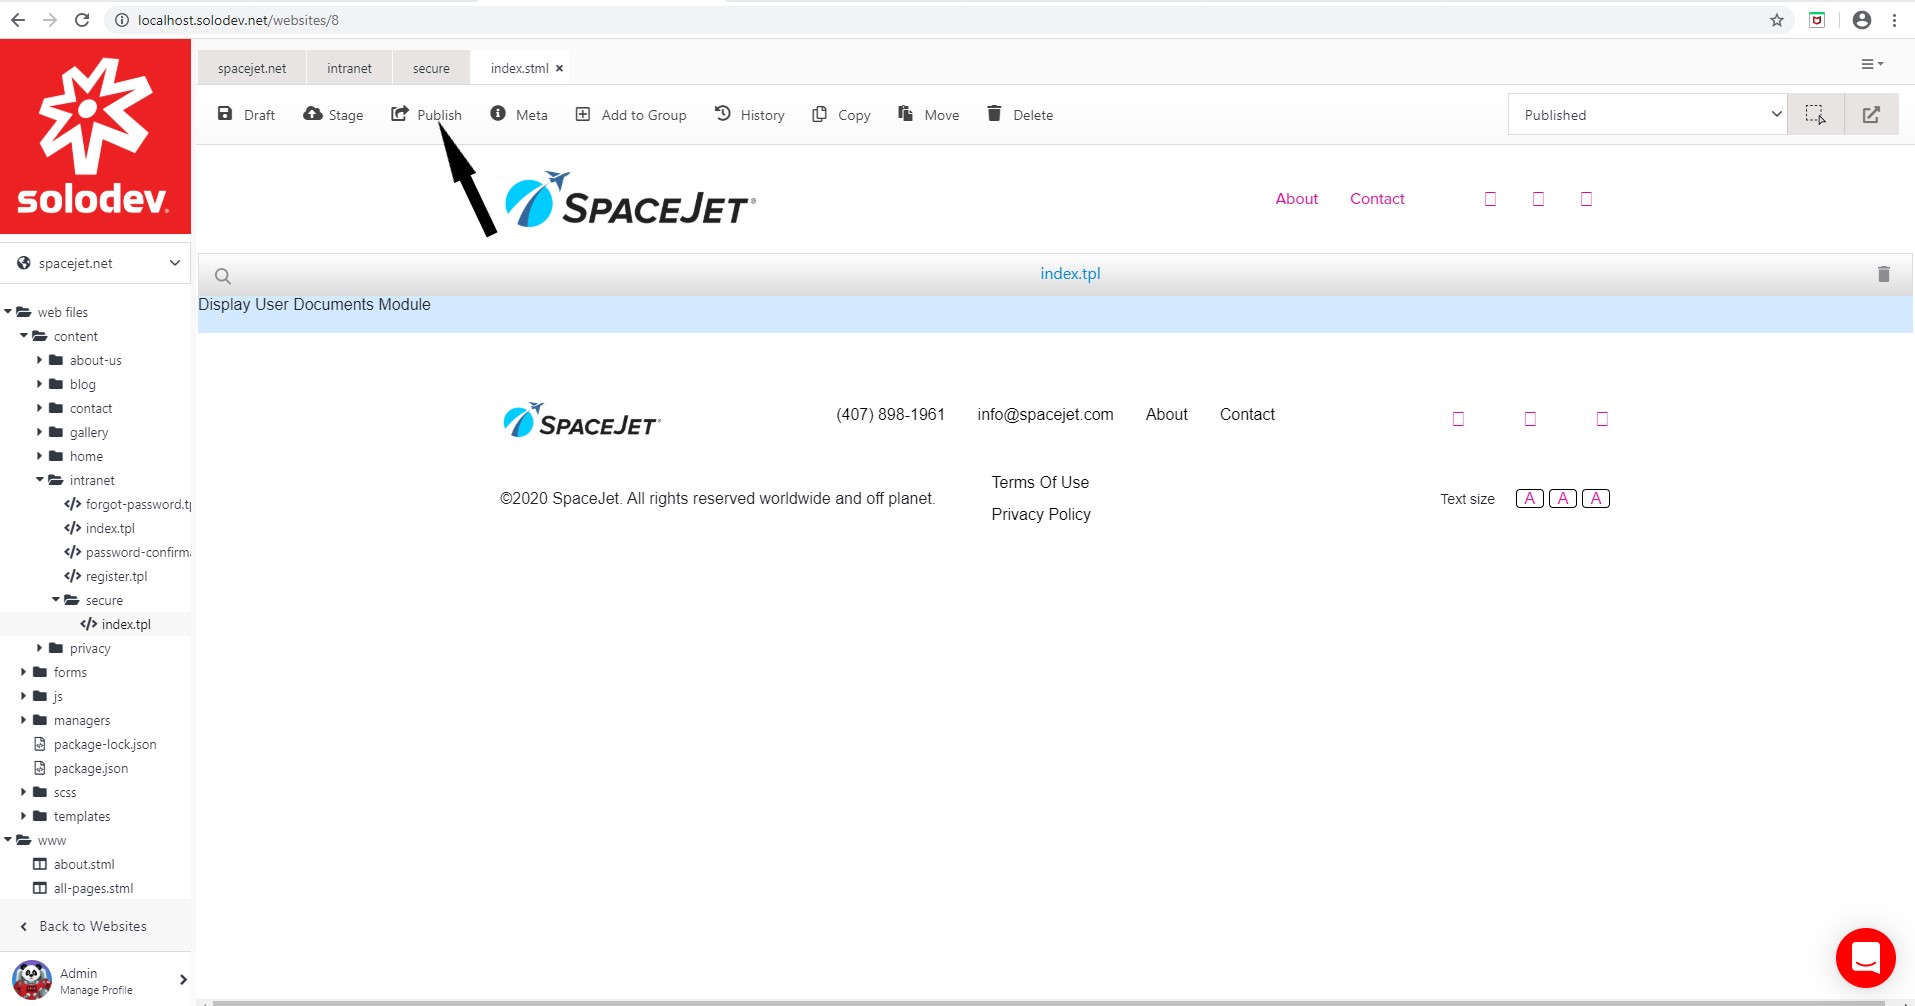
- The user is directed to the index page.
- Click the empty dynamic div in the index.stml page.
- Click the index.tpl file located in web files -> content -> intranet -> secure folder.
- Click Publish.
Note:
Any files placed in the "secure" folder will only be accessible to authorized users granted access to the Intranet.