#
How to create a module in your CMS
In Solodev, modules – sometimes called managers – are tools that simplify the content management process for editors. Modules empower a user to manage various types of content and data without updating code, and can range from very simple to highly complex.
Modules incorporate a set of HTML-based form fields and WYSIWYG editors, powered by backend mapping to specific pages or sections of your website. Some common examples of Solodev modules include web forms, event calendars, photo galleries, hero sliders, landing pages, and more.
In this tutorial, you will learn about the different types of modules in Solodev and how to install a blog module based on the SpaceJet theme. You will also learn how to add both a repeater and detail template to your blog.
#
Prerequisites
- You will need to complete the How to add a website tutorial.
- You will need to complete the How to add a page to a website tutorial.
- You will need to be familiar with using shortcodes.
- For the examples in this tutorial, we will continue using the Solodev SpaceJet theme package for images and assets.
- As you are building with this tutorial, you can refer to the Solodev SpaceJet website to compare your progress.
#
Types of Solodev modules
While there are a wide range of experiences you can power with a module, there are two basic types in the Solodev system:
Calendar: Ideal for date-based applications such as events, blogs, landing pages, and other custom experiences.
Data table: Perfect for database-dependent applications such as schemas. Data table modules can also be used for publishing information to external channels, expose data via RESTful API, and more.
#
How to install a module in Solodev
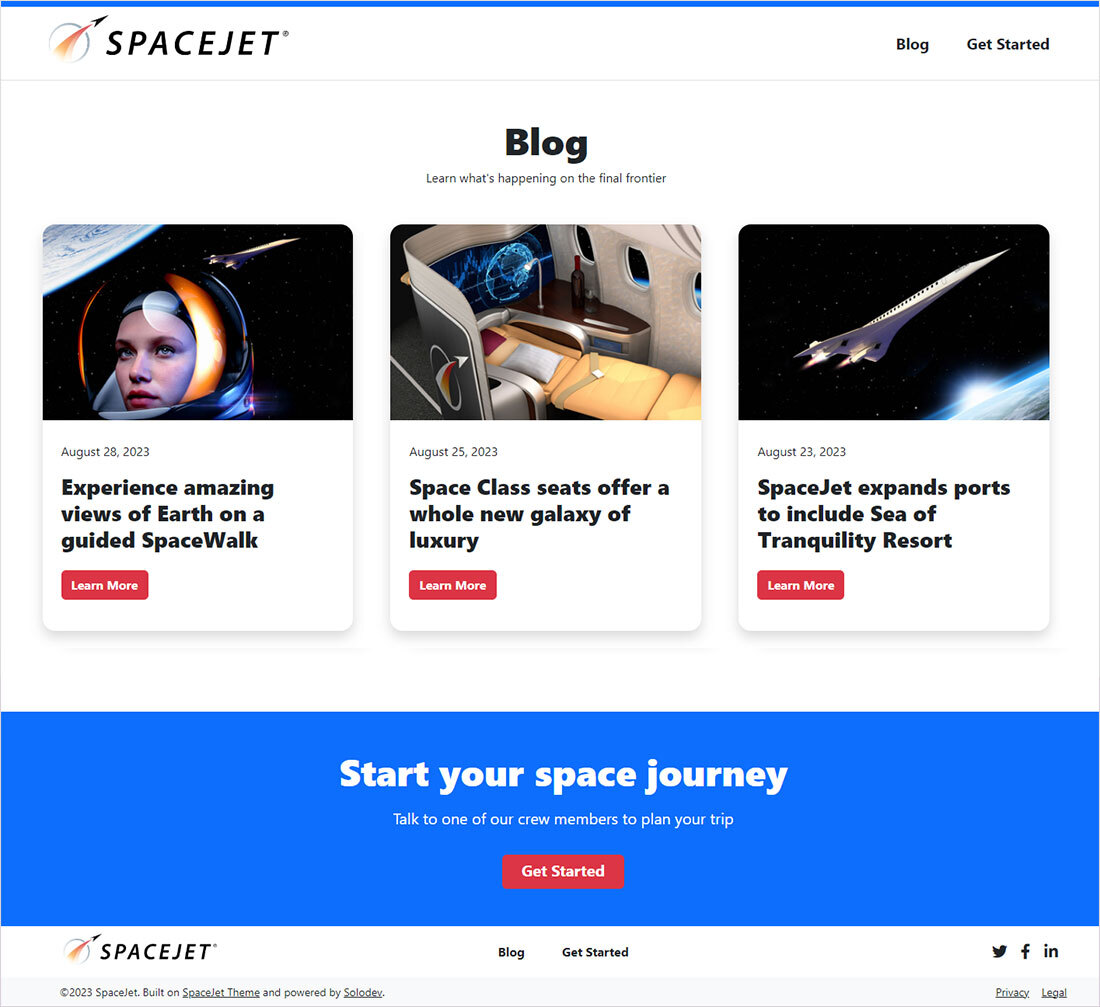
As previously mentioned, you will be creating a blog module using the SpaceJet theme, which you can experience via the sample site by clicking Blog in the top navigation.
The tutorial will cover the main blog page, the blog detail page, and the repeater – which will display your entries on the main Blog page, as well as the homepage.
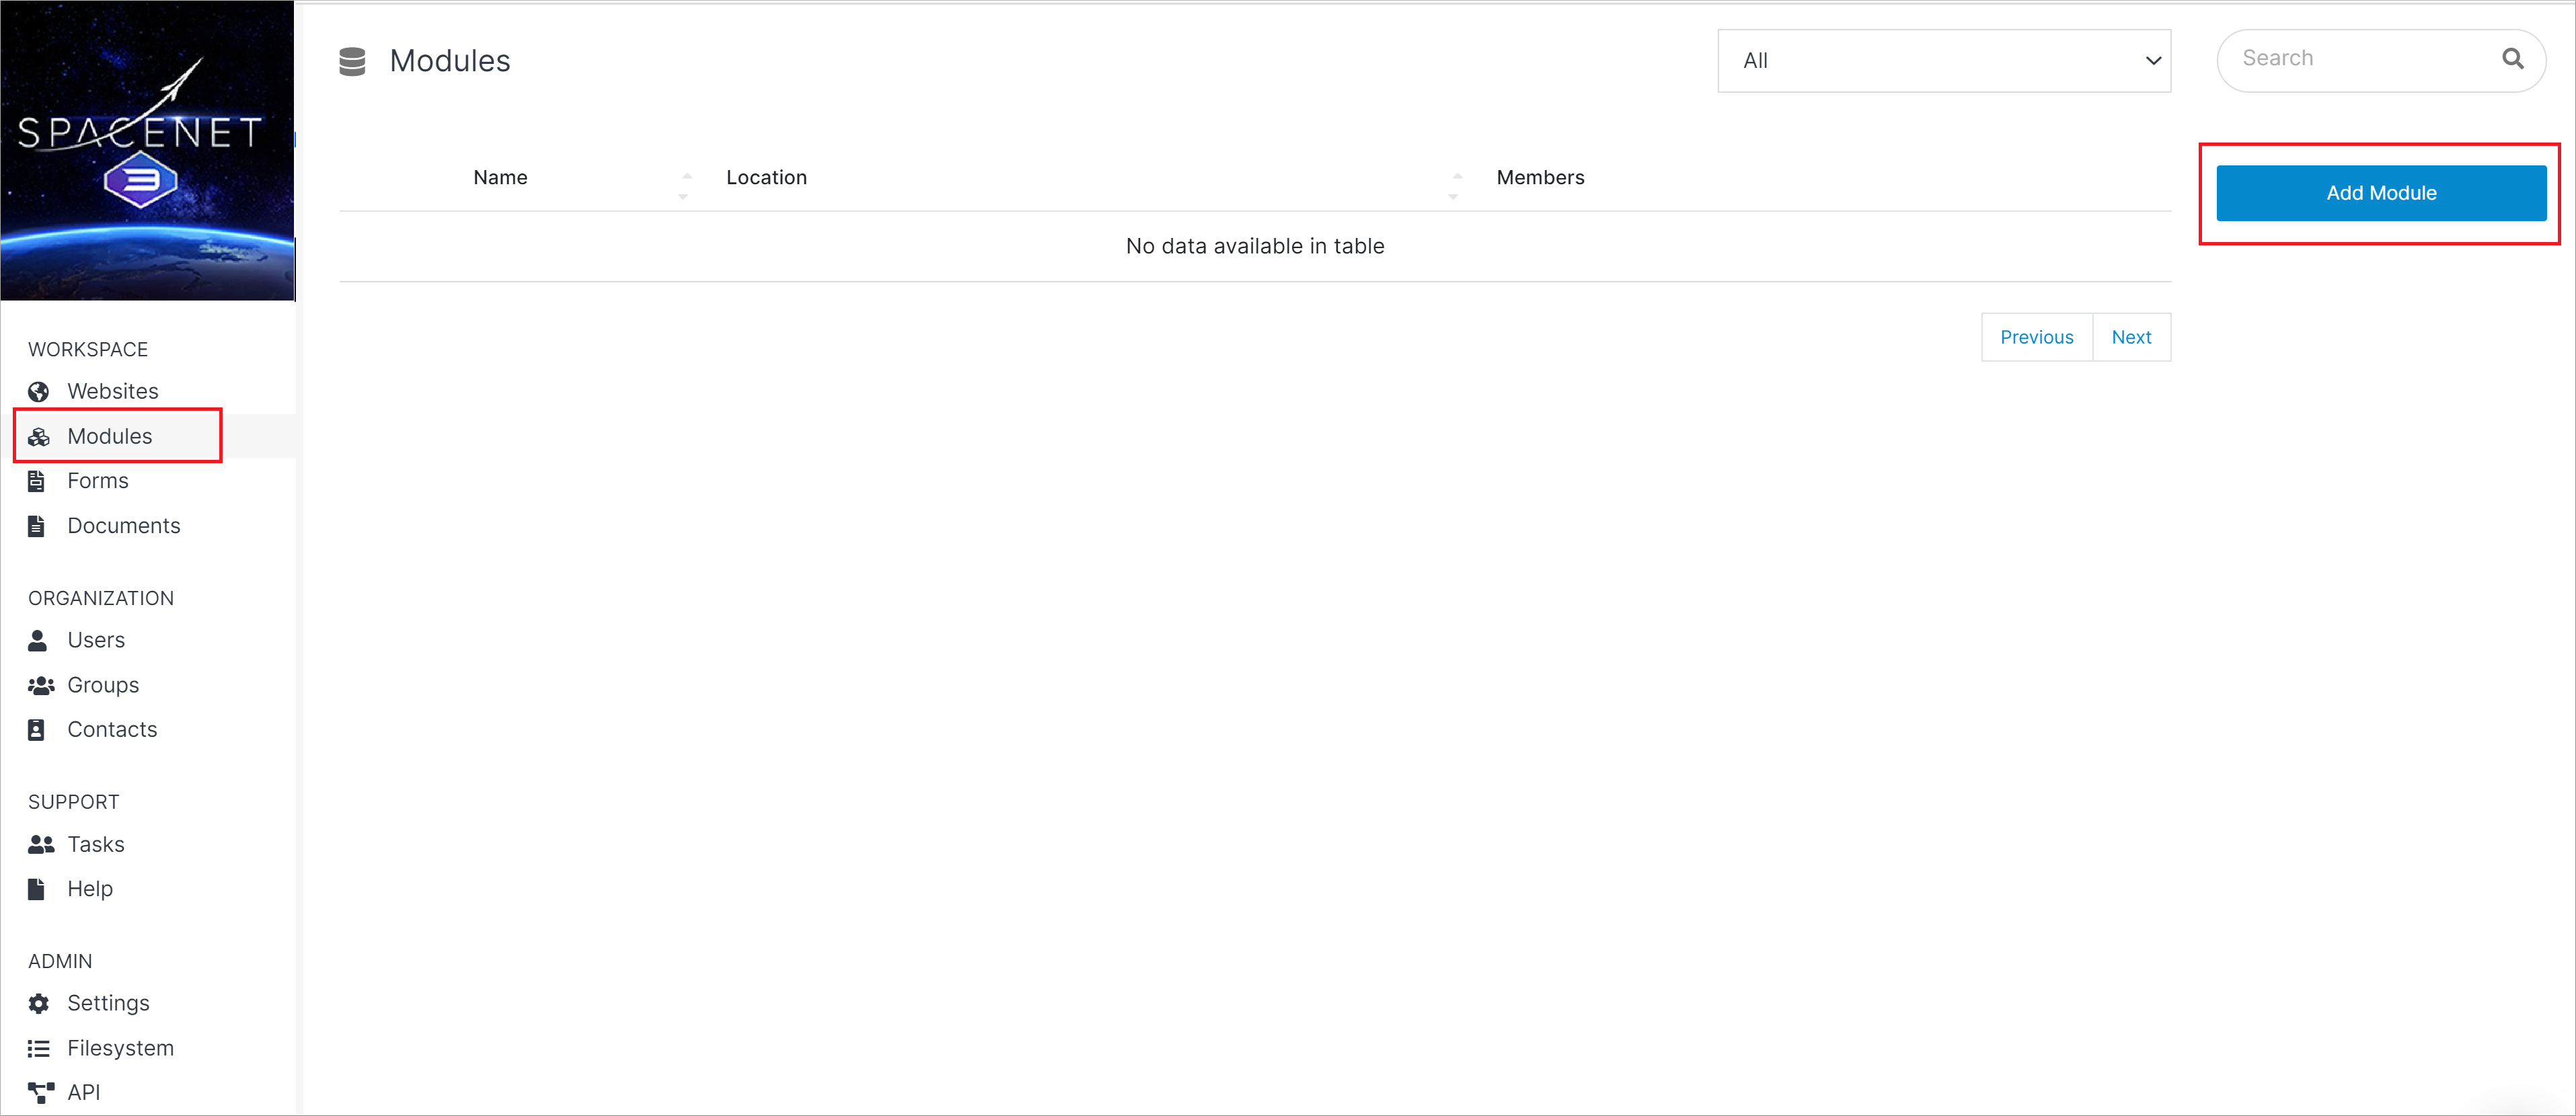
Step 1: From your main CMS dashboard, click Modules in the left-hand menu.
Step 2: On the Modules dashboard, click Add Module in the upper right corner.
Step 3: In the Add Module form, give your module a Name, then select the module Type from the dropdown menu. Finally, choose a Location for your module in the CMS, such as the data center.
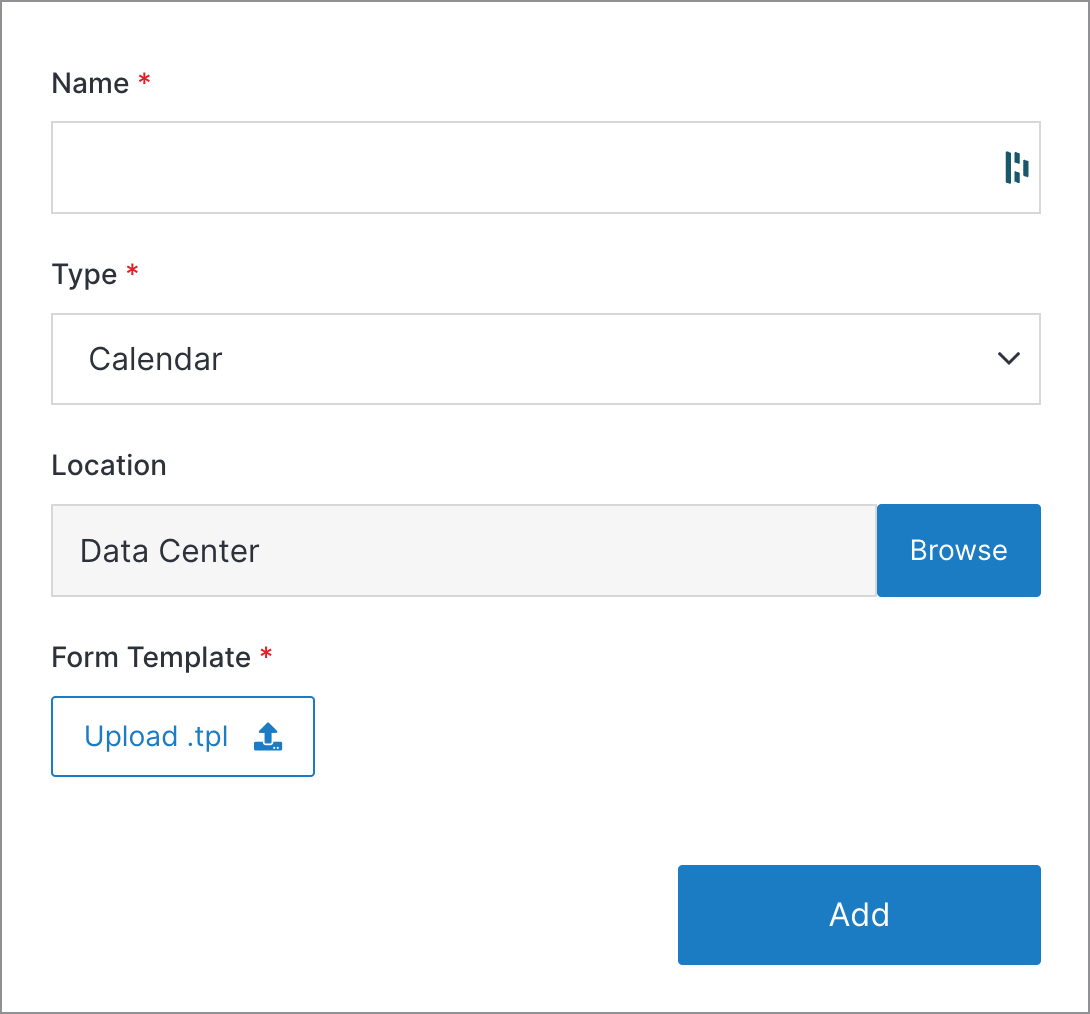
Note:
Solodev recommends installing modules into the web files -> managers folder.
Step 4: Upload your module's .tpl file. If you don't have one yet, you can use this sample code for a basic blog module:
Once complete, click Add.
Note:
You can also add users to your form module. To learn more, read the Add Form article.
#
How to add entries to your module
In Solodev, a module consists of entries. For example, in the case of a blog module, an entry would reflect a blog post. In this section, you will learn how to add entries to a module's data table.
Note:
Before getting started, locate these images in the theme package that you previously downloaded:
- SpaceJet-2023-Jet-Image-2.jpg
- SpaceJet-2023-Cabin-Image.jpg
- SpaceJet-2023-Astronaut-Image.jpg
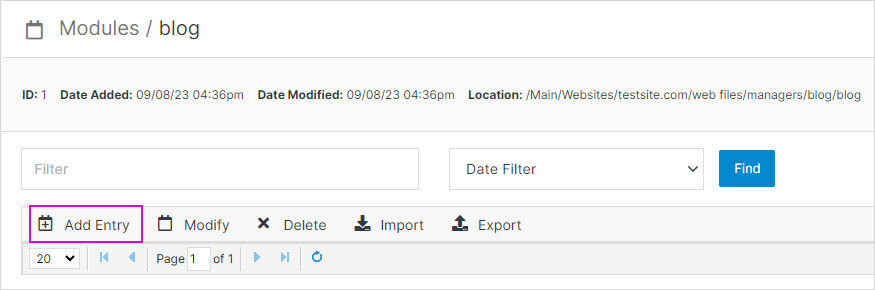
Step 1: Go back to your module and click on Add Entry.
Note:
To learn more about Add Entry please click here.
Step 2: On the Add Entry modal, add the name of your blog post and select publish from the status dropdown. Click Submit.
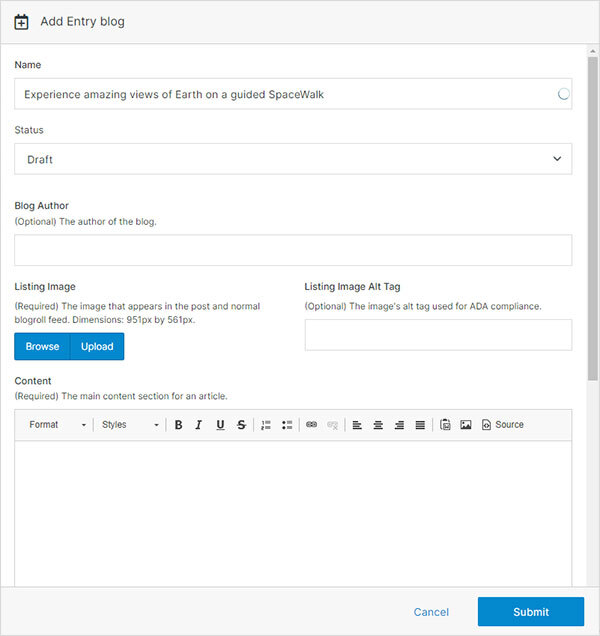
Note:
You can fill out the other input fields in this step if you prefer.
Step 3: After you have filled all the information required on the Entry screen, click Save.
Note
You can use the blog example on the Solodev SpaceJet website for your entries.
#
How to add a repeater template
The repeater template, although optional, displays all entries in the module used. The repeater is written in Solodev shortcodes and refers to the user interface template, printing fields in the form of PHP variables through an $item array.
Step 1: From the Dashboard, or from the left navigation, go to your site and under web files > content add a folder called blog.
Step 2: In that folder, add a file for the module repeater called index.tpl.
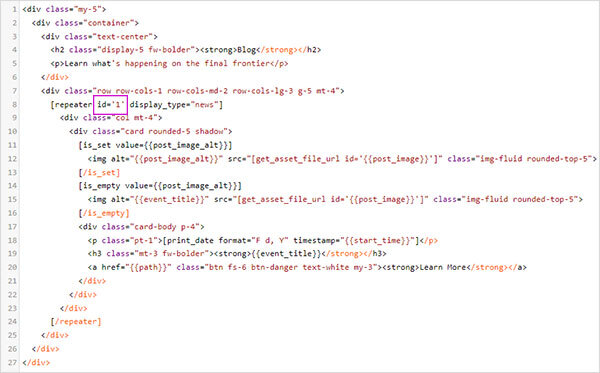
Step 3: Add the code below for the blog repeater and click Publish. This code contains shortcodes to show your blog content, for more information on shortcodes, please click here.
<div class="my-5">
  <div class="container">
    <div class="text-center">
      <h2 class="display-5 fw-bolder"><strong>Blog</strong></h2>
      <p>Learn what's happening on the final frontier</p>
    </div>
    <div class="row row-cols-1 row-cols-md-2 row-cols-lg-3 g-5 mt-4">
      [repeater id='1' display_type="news"]
        <div class="col mt-4">
          <div class="card rounded-5 shadow">
            [is_set value={{post_image_alt}} ]
              <img alt="{{post_image_alt}}" src="[get_asset_file_url id='{{post_image}}']" class="img-fluid rounded-top-5">
            [/is_set]
            [is_empty value={{post_image_alt}}]
              <img alt="{{event_title}}" src="[get_asset_file_url id='{{post_image}}']" class="img-fluid rounded-top-5">
            [/is_empty]
            <div class="card-body p-4">
              <p class="pt-1">[print_date format="F d, Y" timestamp="{{start_time}}"]</p>
              <h3 class="mt-3 fw-bolder"><strong>{{event_title}}</strong></h3>
              <a href="{{path}}" class="btn fs-6 btn-danger text-white my-3"><strong>Learn More</strong></a>
            </div>
          </div>
        </div>
      [/repeater]
    </div>
  </div>
</div>
Step 4: In the module, locate the repeater ID in the upper left corner. In this example, the repeater ID is “1”.
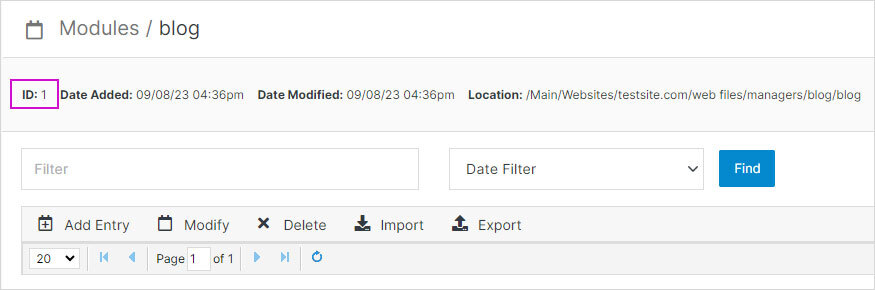
Step 5: Go back to web files > content, and under the blog folder, click on the index.tpl file to access the code. In line 8, replace the repeater ID with the actual ID from your module. As previously noted, “1” is a placeholder. Once complete, click Publish.
Step 6: Under www add a folder called blog and add a page called index.stml.
Step 7: Add the index.tpl to the index.stml.
Step 8: Publish your page.
See also
Once you have set up a new website in your Solodev CMS, you can begin creating pages to build out your experience. In this tutorial, you will learn
A homepage is the introductory page of a website. It is often the first page a visitor sees, acting as a “table of contents” for the rest of the