#
How to make a website theme
In Solodev, you have the option of installing a theme to any new website that you deploy or creating your own theme. In this article, you will learn what a theme is, how to get started with the Solodev SpaceJet theme, and how to create your own.
#
What is a theme?
A theme is a pre-set framework of files that manages the frontend design of your website, establishing the overall appearance and general functionality. A theme typically includes things like fonts/typography, color palettes, headers and footers, and other foundational elements that govern how your website behaves. Themes often provide templates for homepage and content pages, and sometimes offer forms and other more advanced layout and features.
Note:
While a theme provides the frontend visual “skin” for your website, it does not limit your ability to customize it with your logo, graphics, and other brand features.
#
Prerequisites
- Download the Solodev SpaceJet theme package (.zip file)
- Once downloaded, you will need to add a website to your Solodev CMS and follow the prompts to upload an optional theme.
Warning:
A theme can only be installed when creating a new website. Themes cannot be applied retroactively once a website has been fully deployed.
#
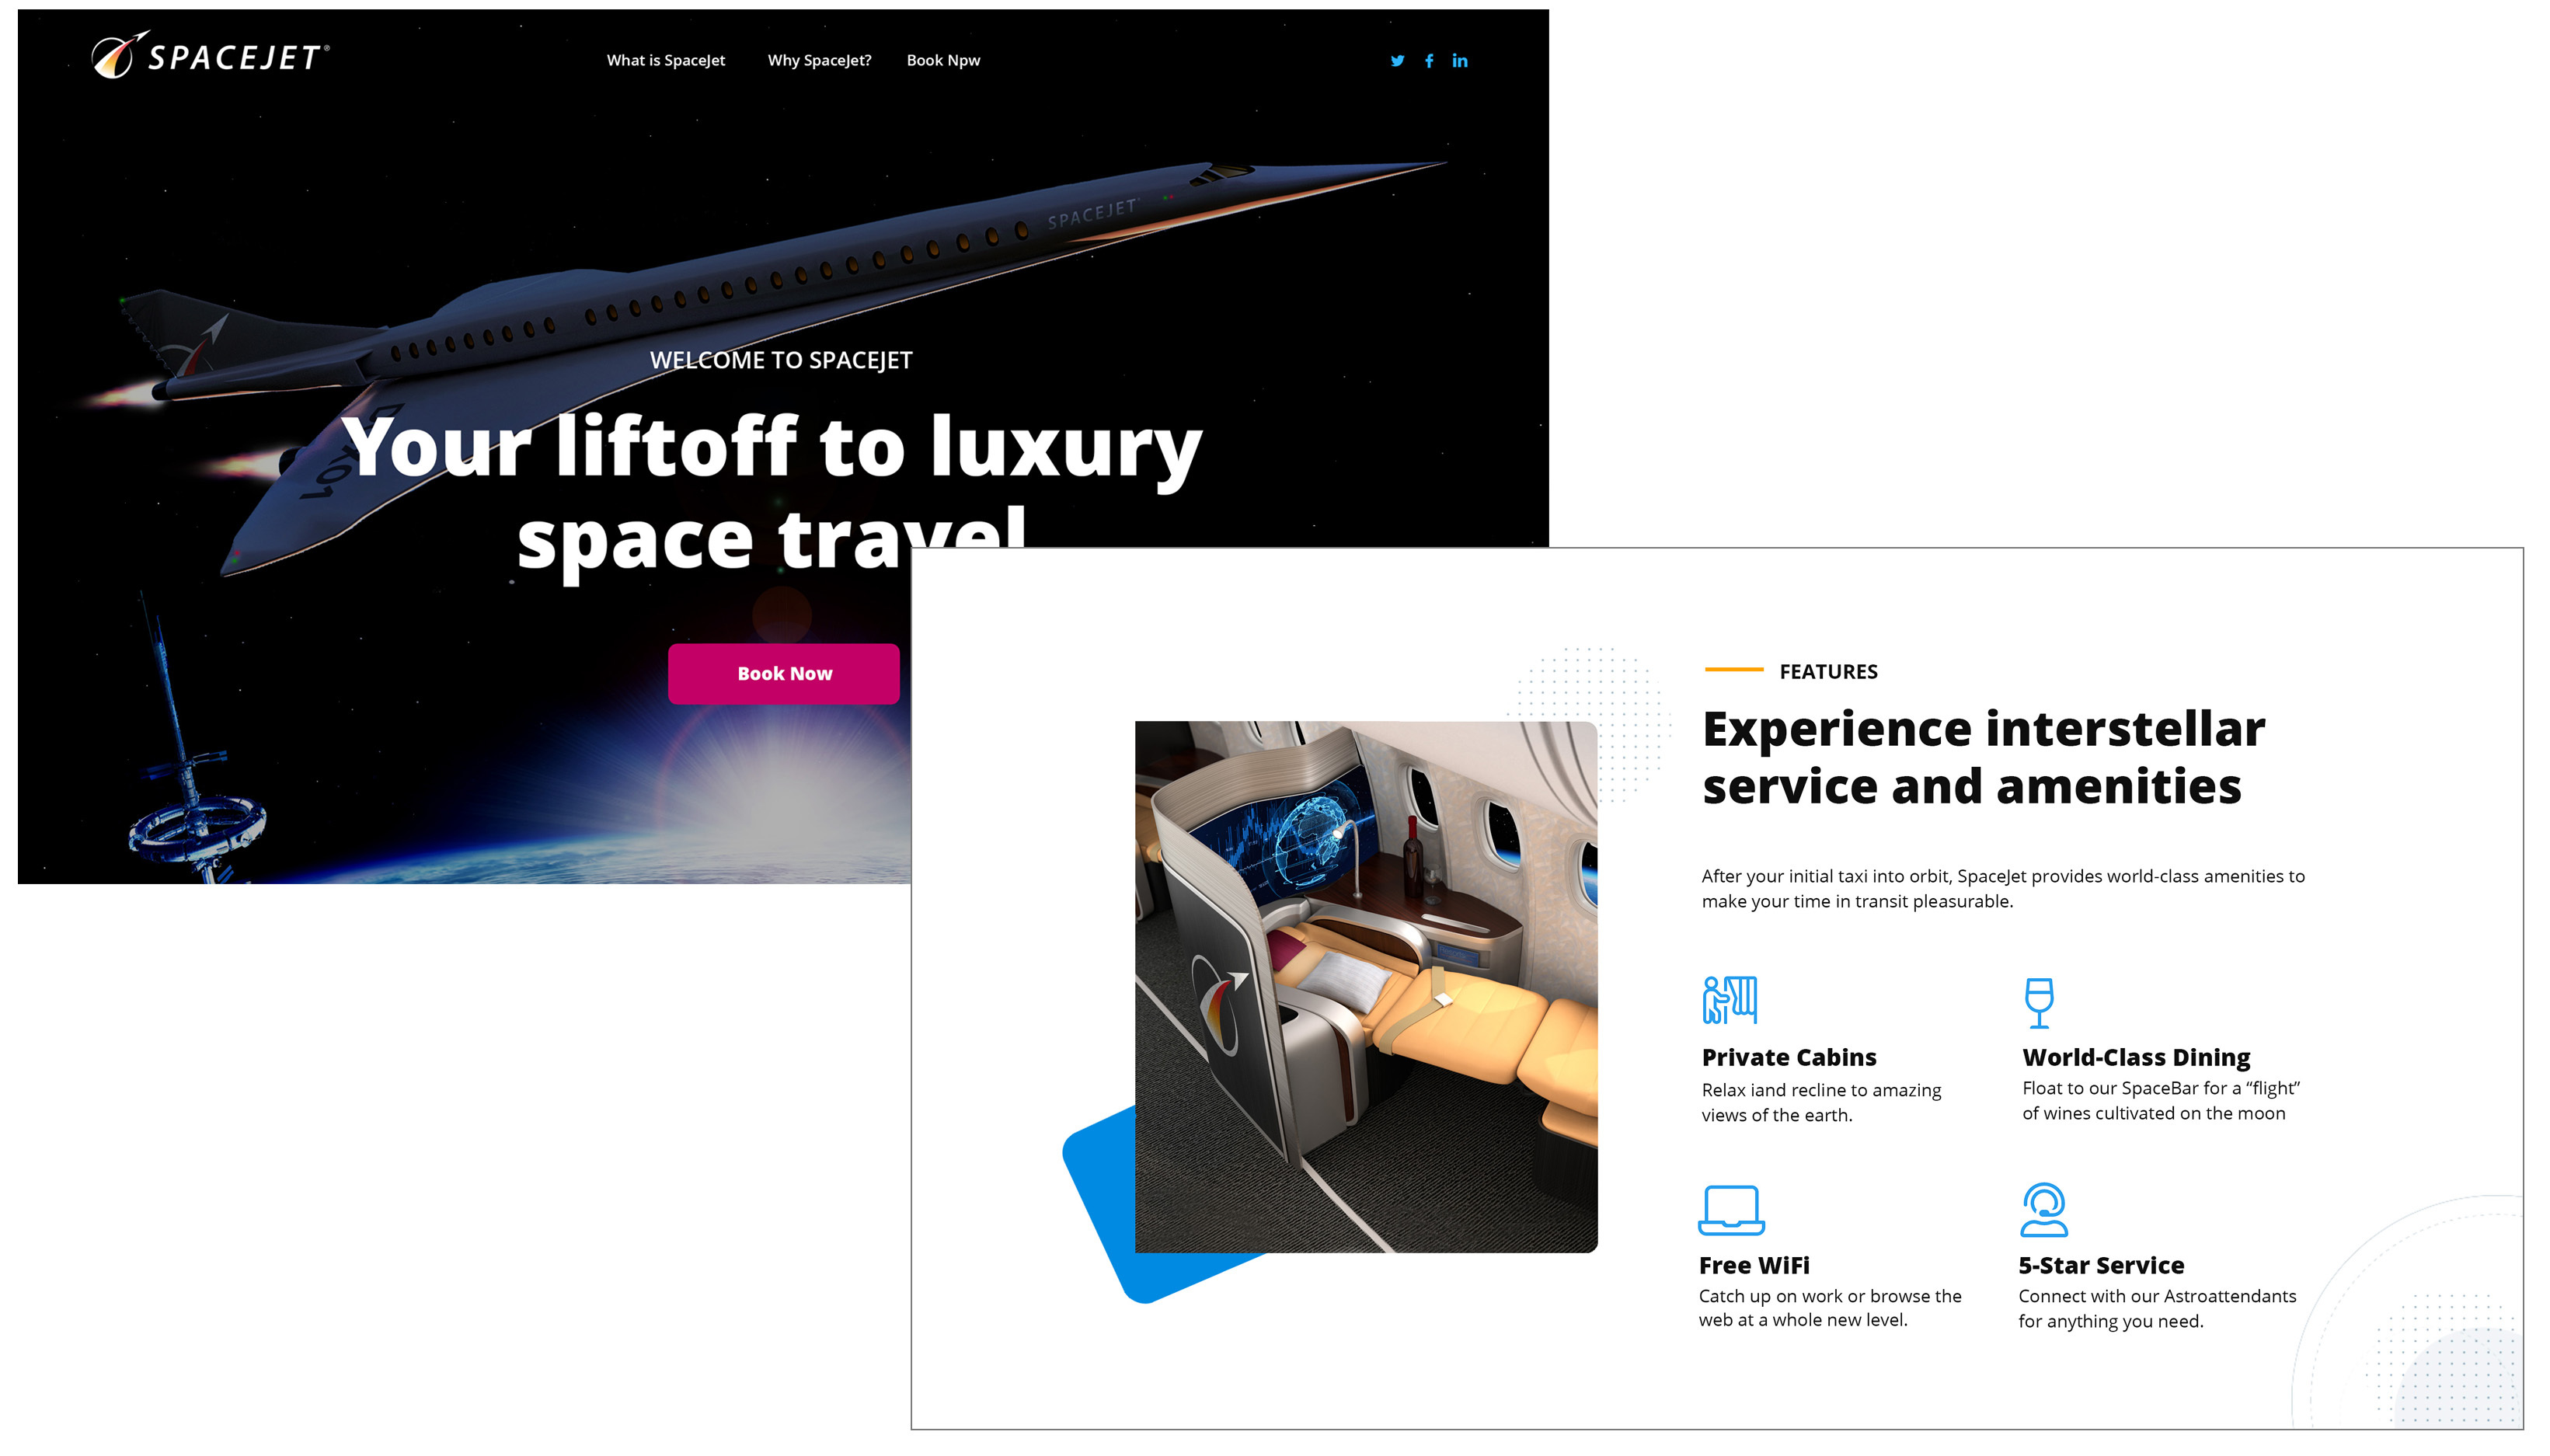
Solodev SpaceJet Theme
SpaceJet is a lightweight, single-page website theme exclusively designed for the Solodev CMS. Built using HTML and Bootstrap, SpaceJet reflects modern web standards and is mobile responsive out of the box. It also utilizes common libraries and frameworks like FontAwesome, making it incredibly extensible and compliant. Theme elements can be modified – such as logo and colors – based on your brand requirements.
The SpaceJet theme package is hosted on GitHub and can be saved to your computer and uploaded into your Solodev CMS. To get started, download the SpaceJet .zip package.
Note:
SpaceJet offers a simple starting point for creating a website, but you can also create and upload your own custom theme to your Solodev CMS. Packages must include the source web and www files for your theme, and need to be compiled into a .zip archive file for uploading into the system. For guidance on how to compose your theme package, visit our SpaceJet GitHub page .
#
How to install a theme to your website
Adding a theme to your Solodev website is simple. Installation occurs during the initial steps of adding a website to your Solodev CMS.
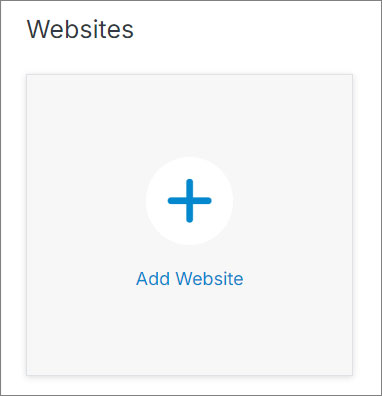
Step 1: On the main dashboard in Solodev, click Add Website.
Step 2: In the form fields, enter your website address and select your timezone.
Step 3: Click Upload .zip and browse your local system for your theme package.
Note:
Uploading a theme package may take a few minutes to complete. During this period, you will see a listing of the files from the package in the large field at the bottom of the form. When the button reads Processing, do not leave or refresh the page.
Step 4: Once complete, you will be automatically redirected back to your dashboard, where your new site will appear.
#
How to create a theme
To create a theme, you need to first create a website. Solodev consists of 2 main folders, web files and www folder. Web files is where all your files reside and www where your pages live.
Step 1: Follow the steps to create a website.
Step 2: Add your folders and pages.
Step 3: Include your js and scss/css files on the web files folder. If you are using a package manager like webpack, you need to add these on the web file folder, the same way your package.json would be.
Step 4: If you use a compiler, make sure to add the path for your compiled files to be under www.
Step 5: Create your modules and forms under their respective folders under web files.
Step 6: After you have your site completely built, you can go to the website tab, and click on settings. On the modal and at the bottom of it, open the Advanced accordion and click on Export.
Step 7: If you have modules with entries, you can check the “Include manager entries in export.”
Step 8: After a few seconds you will see a button for downloading your theme.