#
Create an Interior Template
The interior template is typically placed in the base template and serves as the interior of a "Section" of your website. The benefit of a content template is it can be re-used for sections of your website that require multiple pages, allowing you to re-use your content template to build out your web pages. In this article we will show you how to create a two-column content template with a left navigation and a content area, using Bootstrap 5.
Here's the code for the two-column template:
<!-- Start of Header -->
<div class="container">
  <h1>[page_title]</h1>
</div>
<!-- End of Header -->

<!-- Start of Breadcrumb -->
<div class="dynamicDiv"></div>
<!-- End of Breadcrumb -->

<!-- Start of Main Content -->
<div class="container my-5" id="main-content">
  <div class="row">
    <div class="col-lg-4">
      <!-- Start of Left Navigation -->
      <aside class="pr-lg-5">
        <div class="dynamicDiv"></div>
        <div class="dynamicDiv"></div>
        <div class="dynamicDiv"></div>
        <div class="dynamicDiv"></div>
      </aside>
      <!-- End of Left Navigation -->
    </div>
    <div class="col-lg-8">
      <!-- Start of Content Section -->
      <article>
        <div class="dynamicDiv"></div>
      </article>
      <!-- End of Content Section -->
    </div>
  </div>
</div>
<!-- End of Main Content -->
#
Step 1 - Create the file for the template
Go to the templates folder under web files, and on the right-side menu, click on "Add a file", name the file, i.e. two-column-template.tpl, select "Code" from the File Type dropdown and click the submit button. Add your code and hit "Publish".
#
Step 2 – Add a page
In Solodev CMS, all pages are given a ".stml" extension. STML files are HTML files containing server-side includes (SSI), which are used to generate page-generated content. When you create a page in Solodev, it will automatically have the ".stml" extension. Still, if you're creating a page with a code editor, you need to manually give it an extension of ".stml" before you upload the file to Solodev.
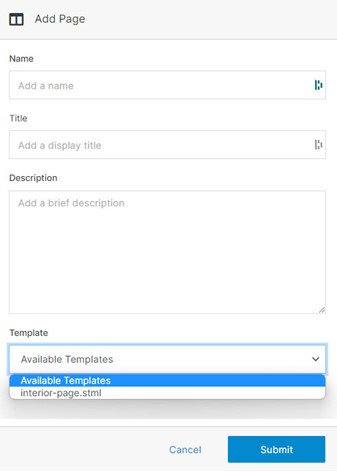
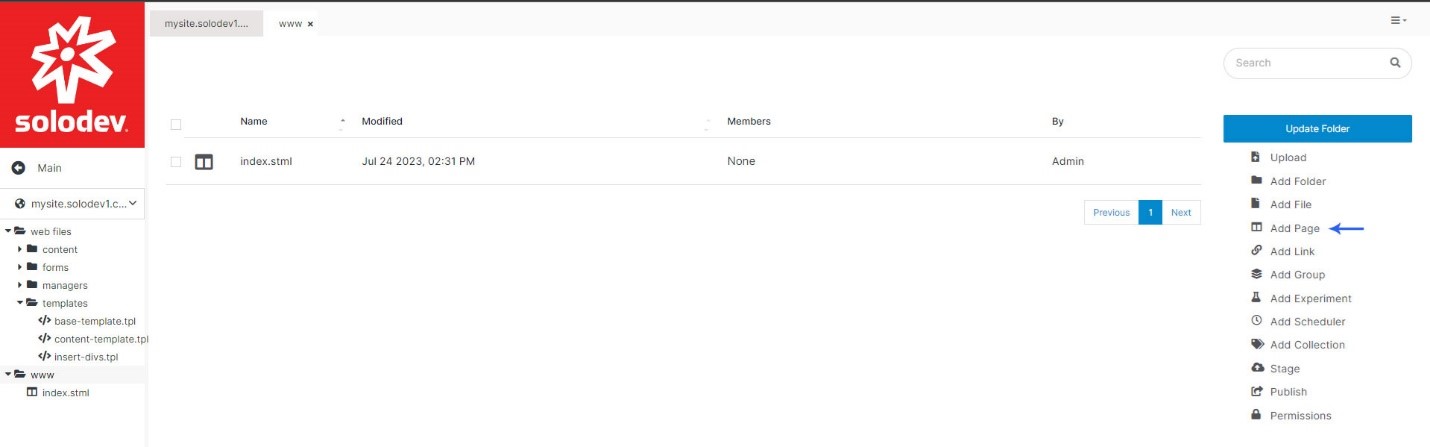
Go to the www folder, and on the right-side menu, click Add Page.
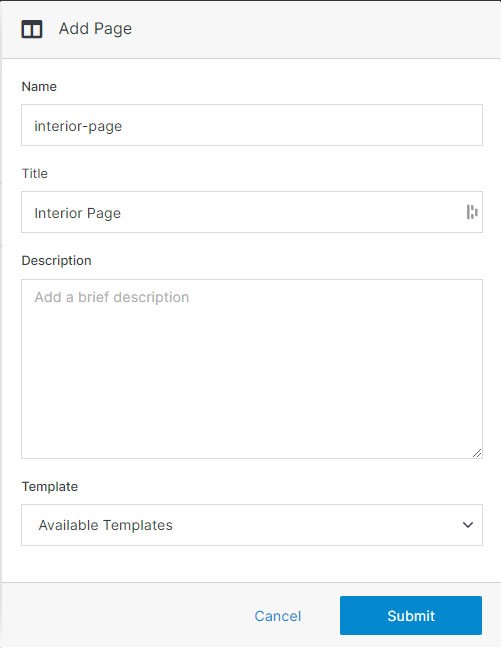
On the Add Page modal, add a name and a title. Your name must be lowercase and separated with hyphens. You can also add a description of the page and/or use one of the templates to define the look of the new page. Click Submit.
#
Step 3 – Add content to your page
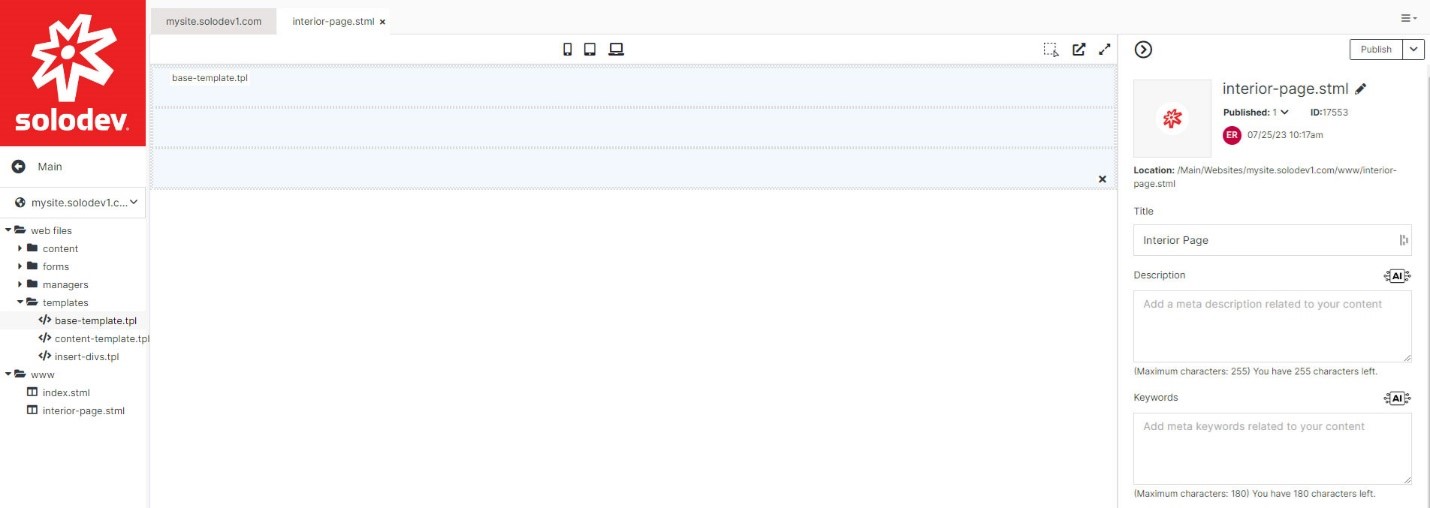
Click on the content area and click on the base-template.tpl file to insert it to your page. Click Publish on the right-hand side.
Now we are ready to add the navigation and the footer to the page. If you need help learning how to add a file, please click here.
#
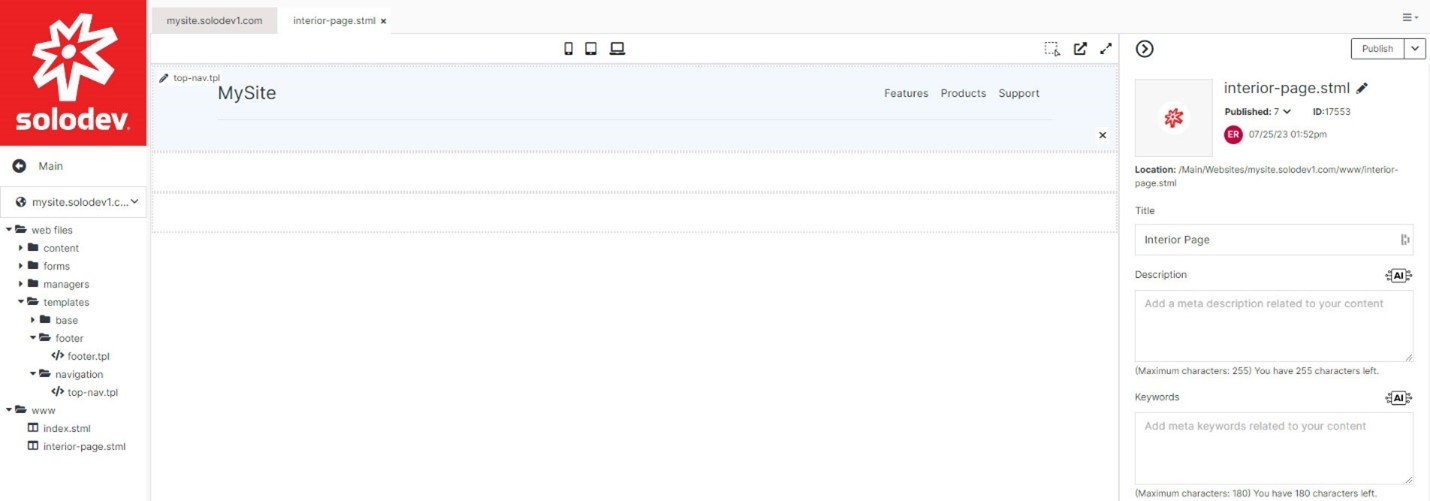
Step 3.1 – Add top navigation to your page
Click the first dynamicDiv on the content area and then click on the top-nav.tpl on the left nav.
#
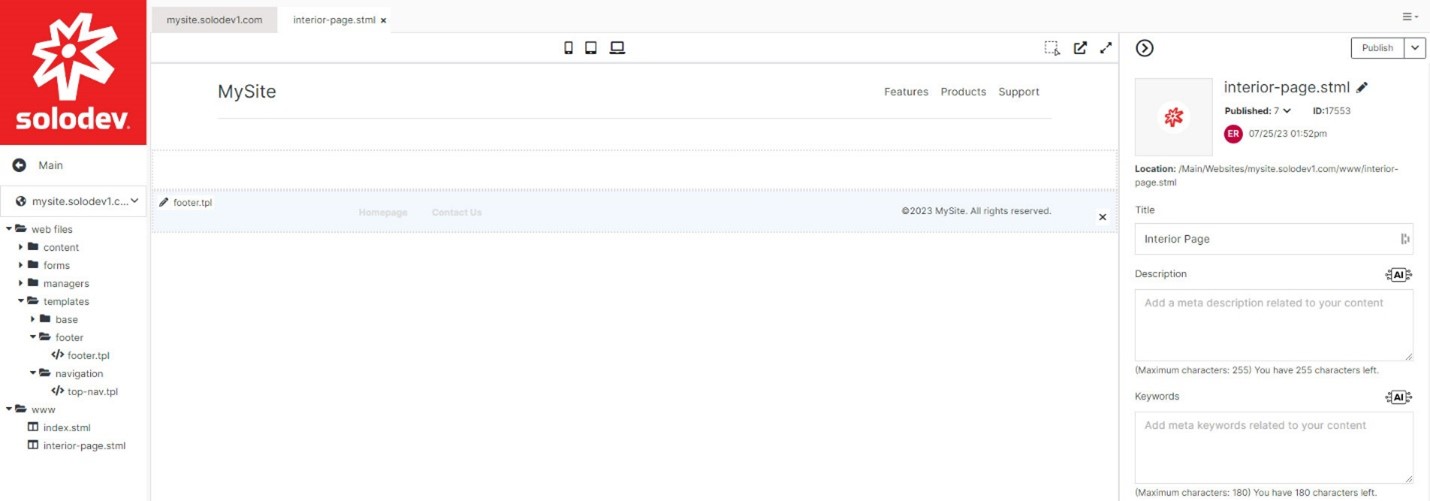
Step 3.2 – Add footer to your page
Then click on the last dynamicDiv and click to insert footer.tpl. Click Publish.
#
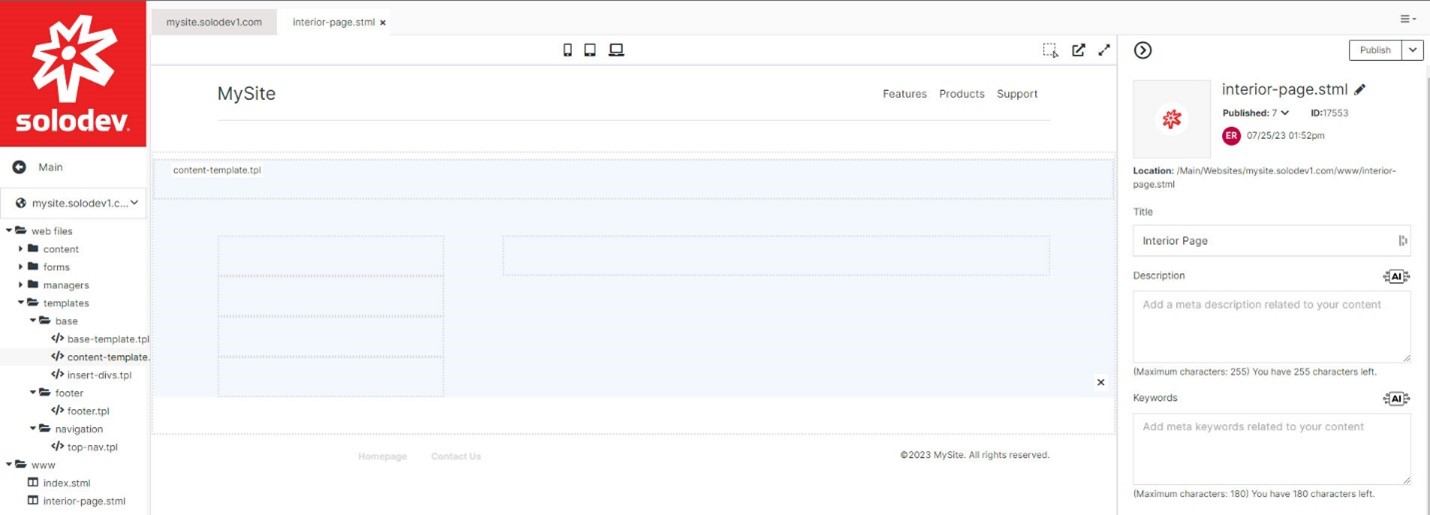
Step 3.3 – Add content-template to your page
Click on the middle dynamicDiv and insert the content-template.tpl previously created. Hit Publish.
#
Step 4 – Make your page a template
You can make this page a template to reuse as you add new pages.
On the right menu, go down to the Advanced accordion, click on it and at the bottom of the accordion, check the Is Template checkbox. Hit Publish.
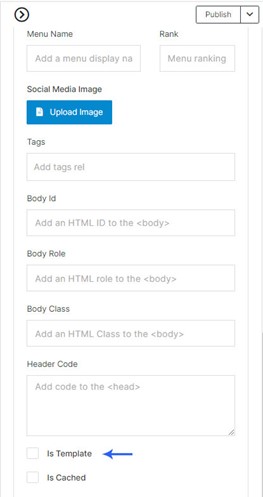
Once added as a template, this will show under Available Templates when adding a new page.