
System API
System APIs unlock data from the core systems of record within an organization.
The System API page will display the Swagger-UI, which takes an existing JSON or YAML document and creates interactive documentation.
Please check the server list at the top.
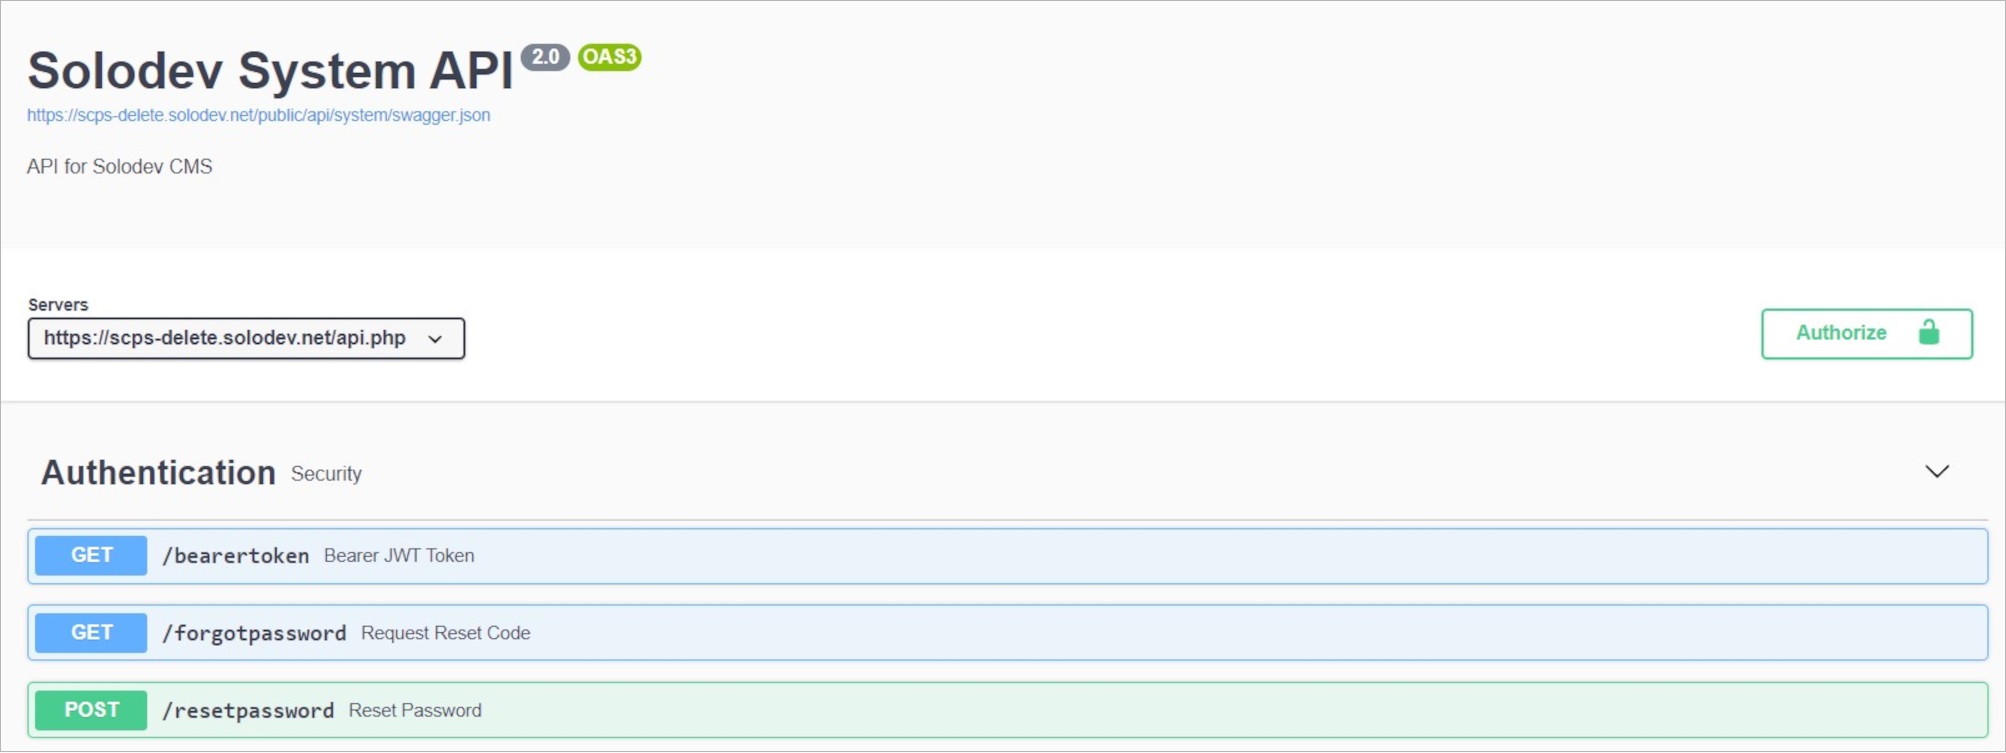
Authorize
Gain access to Swagger.
Bearer Authentication (token authentication) is an HTTP authentication scheme involving security tokens called bearer tokens. The name "bearer authentication" can be understood as "giving access to the bearer of this token." The token is a cryptic string usually generated by the server in response to a login request. The client must send this token in the Authorization header when requesting protected resources.
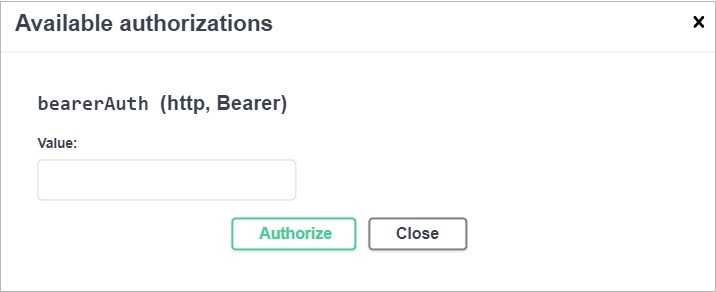
Swagger Management
Use Swagger. Any action method in controllers can be tested from the user interface. Select a method name to expand the section.
The executed response will be listed at the bottom.
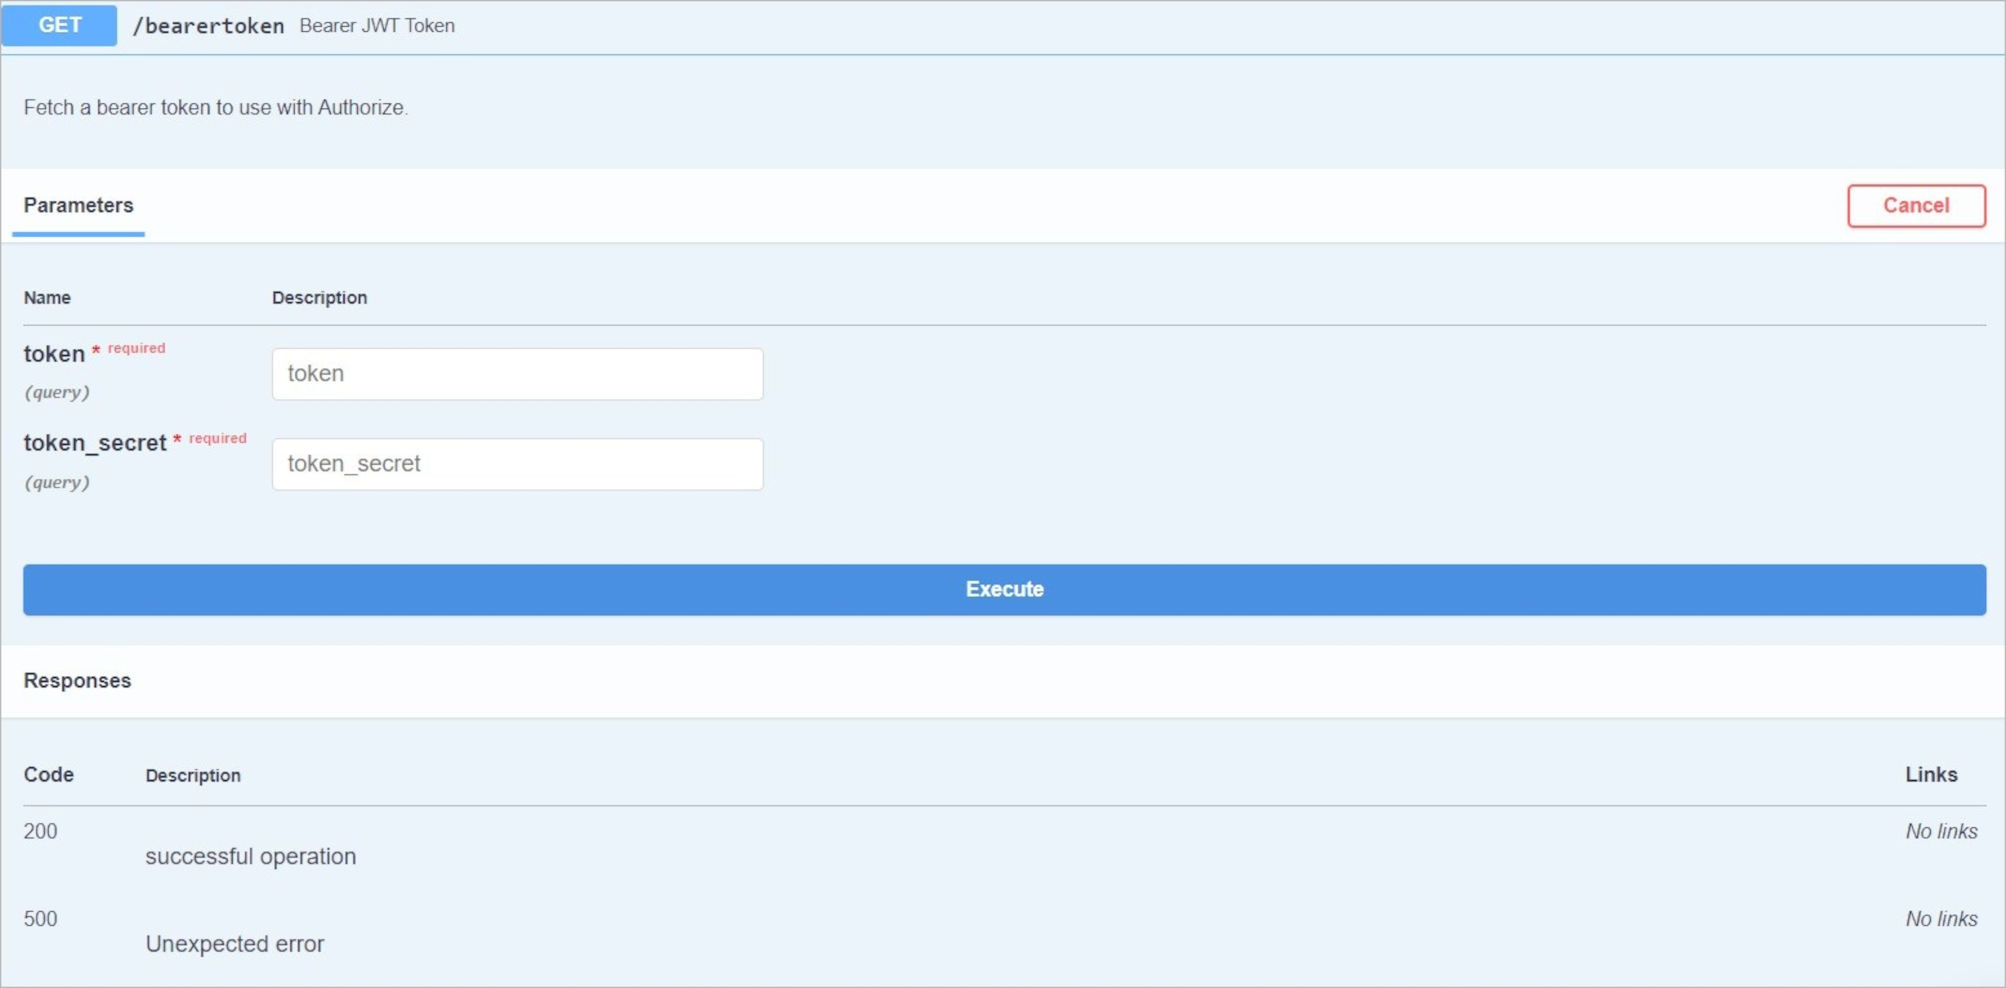
Note:
Click on Cancel to cancel the action.
Example: Full File CRUD with curl
The Swagger-UI on this page is served from /public/api/system, but the endpoints it documents actually live under /api/v2 on your CMS domain — that's the base URL every request below uses. Every request needs an Authorization: Bearer <your API key> header; get a key from Profile > API Tokens or API Keys.
This walks through the full lifecycle of an Asset File (any file or page in the CMS) using nothing but curl: find a folder, create a file, read it back, update it, publish it, and delete it.
1. Find the folder to create the file in
Files are created inside an Asset Category (a folder). Search by name to get its asset_category_id:
curl -s -H "Authorization: Bearer YOUR_API_KEY" \
  "https://yoursite.com/api/v2/asset_category?qry={\"name\":\"content\"}"
The response includes asset_category_id — use that as parent_category_id below.
2. Create the file
curl -s -X POST \
  -H "Authorization: Bearer YOUR_API_KEY" \
  -H "Content-Type: application/json" \
  -d '{
        "name": "api-demo-block.html",
        "type": "html",
        "parent_category_id": 23,
        "pageContent": "<div class=\"promo\"><h2>Created via the System API</h2></div>"
      }' \
  "https://yoursite.com/api/v2/asset_file"
The response includes the new asset_file_id. This example uses a plain HTML file — content is just markup, written to disk as-is. Solodev pages (type: stml) work the same way but expect native STML XML wrapped in a root <div id="dd.0"> instead of plain HTML — see Dynamic Div if you're creating a page rather than a content file.
3. Read the file
curl -s -H "Authorization: Bearer YOUR_API_KEY" \
  "https://yoursite.com/api/v2/asset_file/47"
4. Update the file
Send only the fields you want to change:
curl -s -X POST \
  -H "Authorization: Bearer YOUR_API_KEY" \
  -H "Content-Type: application/json" \
  -d '{"pageContent": "<div class=\"promo\"><h2>Updated via the System API</h2></div>"}' \
  "https://yoursite.com/api/v2/asset_file/47"
5. Publish or stage the file
Every save creates a new version, but it isn't live until it's published. Set fileState to publish (or stage) in the same update call:
curl -s -X POST \
  -H "Authorization: Bearer YOUR_API_KEY" \
  -H "Content-Type: application/json" \
  -d '{"fileState": "publish"}' \
  "https://yoursite.com/api/v2/asset_file/47"
Or use the dedicated action endpoints, which do the same thing without also touching content:
curl -s -H "Authorization: Bearer YOUR_API_KEY" \
  "https://yoursite.com/api/v2/asset_file/47/publish"

curl -s -H "Authorization: Bearer YOUR_API_KEY" \
  "https://yoursite.com/api/v2/asset_file/47/stage"
Note:
Publish and Stage each require their own permission grant (separate from the general Modify permission that lets you update content), matching how the editor itself decides whether to show those buttons for a given user.
6. Delete the file
curl -s -X DELETE \
  -H "Authorization: Bearer YOUR_API_KEY" \
  "https://yoursite.com/api/v2/asset_file/47"
This removes both the database record and the file on disk.
Note:
Every module in the System API (asset_category, file_group, datatable, calendar, and so on) follows this same pattern: GET /api/v2/{object} to search, POST /api/v2/{object} to create, GET /api/v2/{object}/{id} to read one, POST /api/v2/{object}/{id} to update, and DELETE /api/v2/{object}/{id} to delete. Expand any section in the Swagger-UI above to see the exact fields a specific object accepts.
Example: Replacing binary file content (PDFs, images, and other non-text files)
The steps above write pageContent straight to disk, which only works for text-based files (HTML, STML, CSS, JS, and similar). For binary files — a PDF is the common case: find one via the API, download it for remote accessibility remediation, then upload the fixed version back — creating or updating pageContent through /asset_file isn't enough; the bytes never reach the file on disk. Use the CMS's upload endpoint instead, which accepts the same Bearer token as everything else here.
1. Find the file
Search like any other object, filtering by type:
curl -s -H "Authorization: Bearer YOUR_API_KEY" \
  "https://yoursite.com/api/v2/asset_file?qry={\"type\":\"pdf\"}"
2. Download it
curl -s -H "Authorization: Bearer YOUR_API_KEY" \
  "https://yoursite.com/file/23/handbook.pdf" \
  -o handbook.pdf
3. Upload the replacement over the existing file
Run the downloaded file through your remediation tool, then post it back with asset_file_id so it replaces this file's content instead of creating a new one:
curl -s -X POST \
  -H "Authorization: Bearer YOUR_API_KEY" \
  -F "Filedata=@handbook.pdf" \
  -F "asset_file_id=48" \
  "https://yoursite.com/upload"
This bumps the file's version the same way a normal edit does — publish or stage it with the same /asset_file/{id}/publish (or fileState) call from the CRUD example above once you're ready for the remediated version to go live.
Note:
The same /upload call also creates a brand-new file when you send asset_category_id instead of asset_file_id — useful for adding a PDF that doesn't exist in the CMS yet.