#
Contact
Make it easy for visitors to connect with you directly on your website.
The Solodev Contact provides a simple way to collect inquiries, feedback, and requests. Customize fields, manage submissions, and ensure every message reaches your team.
Create and manage forms with ease – Build and update forms quickly through an intuitive module. Add or remove fields as needed to capture the right information.
Fully customizable fields and design – Control how your form looks and functions. Match your brand’s style while tailoring inputs to fit your communication needs.
Keep your audience connected – Give users a direct line to your team. From support requests to general questions, make sure every interaction is seamless and reliable.
#
Prerequisites
- Have a Solodev CMS.
- Have a Website.
Note:
We use Bootstrap 5 in our packages. You can update your code to match your own framework, styles, or preferences as needed.
#
Step-by-Step Setup Guide
These steps will guide you through the process of installing the Contact Form Module and getting it live on your page.
- Navigate to Modules
- In your CMS dashboard, click Modules in the left navigation menu
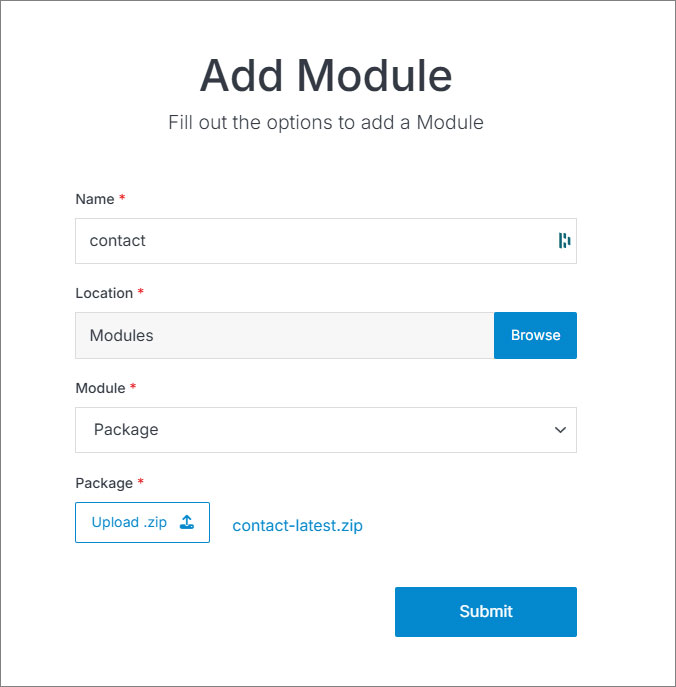
- Click the Add Module button
- Give your contact form a name
- Select from the three options:
- Datatable: Creates a simple data table structure
- Module: Builds a custom module from scratch
- Package: Installs a pre-built module from a zip file
- For the purpose of this tutorial, select Package: and use this zip file .
- Click Submit.
- Navigate to
Websites > example.com > web files > content
- Create a folder called
contact - In the contact folder, create a new code file called
contact.tpl
- Add the contact code using the example template provided below.
<div class="container my-5">
<div class="row justify-content-between mt-5">
<div class="col-lg-7 col-xl-6">
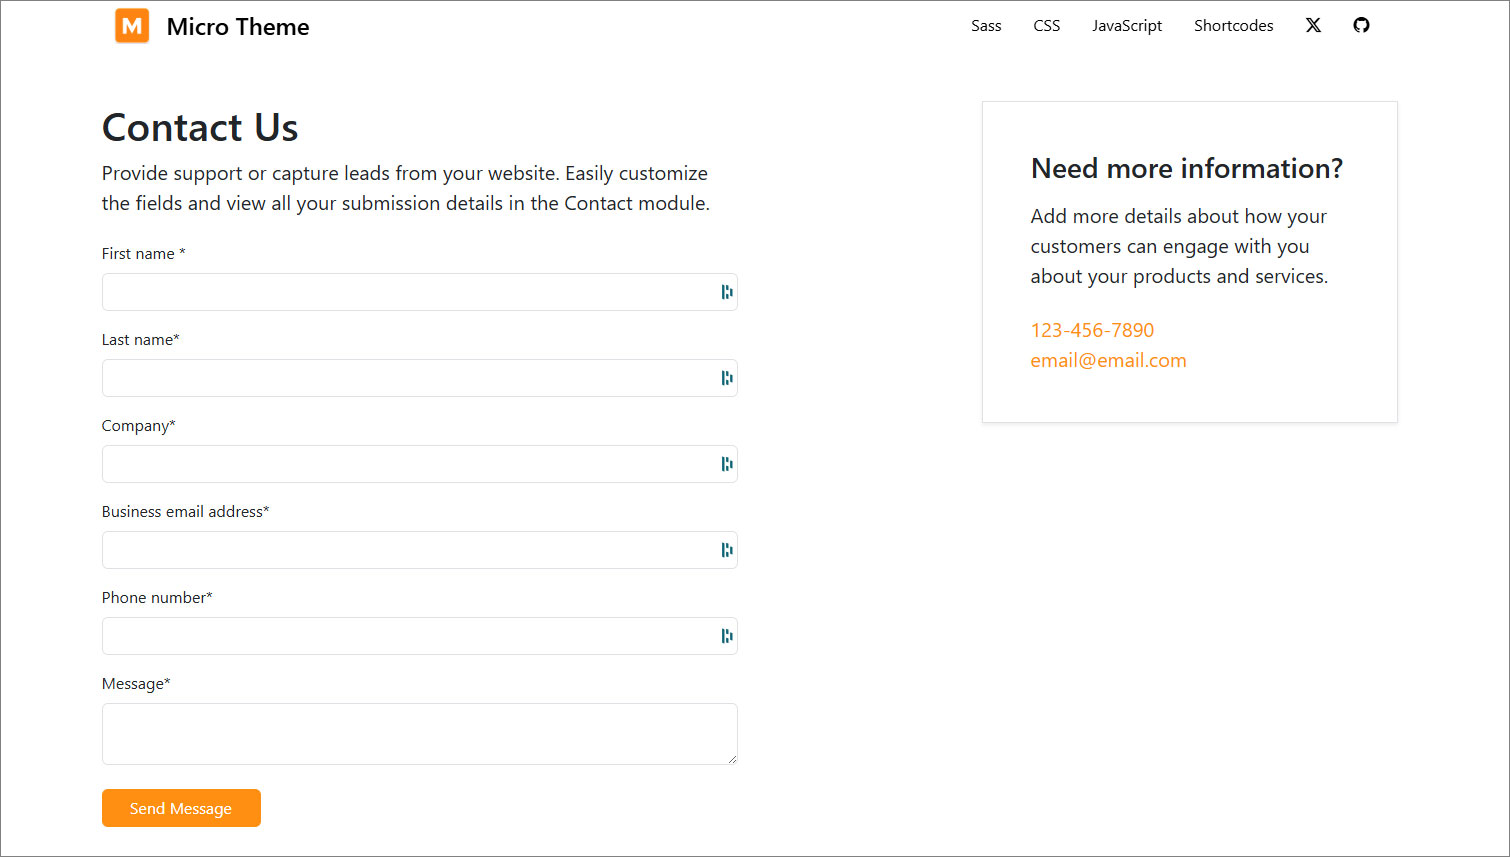
<h1>Contact Us</h1>
<p class="fs-5">Provide support or capture leads from your website. Easily customize the fields and view all your submission details in the Contact module.</p>
<div class="mt-4">
[form id=""]
</div>
</div>
<div class="col-lg-5 col-xl-4 mt-lg-0 mt-4">
<div class="border shadow-sm p-5">
<h2 class="h3">Need more information?</h2>
<p>Add more details about how your customers can engage with you about your products and services.</p>
<p class="mb-0">
<a href="tel:1234567890">123-456-7890</a> <br>
<a href="mailto:email@email.com">email@email.com</a>
</p>
</div>
</div>
</div>
</div>Important!
You need to add the ID number of your contact datatable to the form shortcode within the id="" attribute.
Click Publish.
Navigate to
Websites > example.com > www
- Create a folder called
contact - In the contact folder, create a page called
index.stml
Insert your contact form file into the page you just created.
Click Publish.
Go to your website and refresh the page to see your contact form in action.
#
Support
Support for Contact form is handled directly through Solodev's global help desk. For more information regarding support queries, go to www.solodev.com.
Note:
To learn more about shortcodes and how they work, visit our shortcodes documentation.