#
News
Keep your users informed about your company happenings or press releases
with the News Desk.
Keep your users informed about your company happenings or press releases with the News Desk. Complete with categories, the News Desk can be used in multiple locations throughout your website.
#
Prerequisites
- Have a Solodev CMS.
- Have a Website.
Note:
We use Bootstrap 5 in our packages. You can update your code to match your own framework, styles, or preferences as needed.
#
Step-by-Step Setup Guide
These steps will guide you through the process of installing the News Module and getting it live on your page.
- Navigate to Modules
- In your CMS dashboard, click Modules in the left navigation menu
- Click the Add Module button
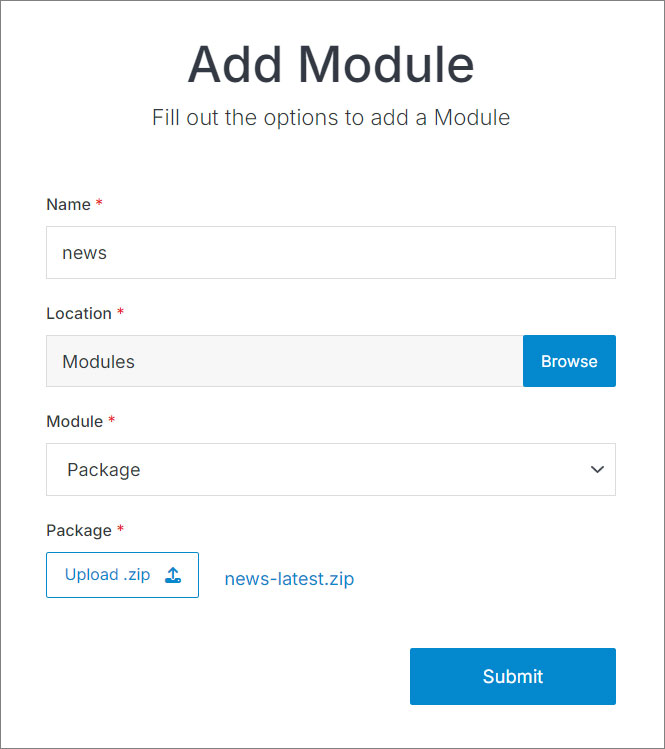
- Give your news module a name
- Select from the three options:
- Datatable: Creates a simple data table structure
- Module: Builds a custom module from scratch
- Package: Installs a pre-built module from a zip file
- For the purpose of this tutorial, select Package: and use this zip file .
- Click Submit.

- Navigate to
Websites > example.com > web files > content
- Create a folder called
news - In the news folder, create a new code file called
news-repeater.tpl
- Add the news code using the example template provided below.
<div class="container my-6">
  <div class="row text-center justify-content-center">
    <div class="col-lg-8 col-xxl-7">
      <h1>News</h1>
      <p class="fs-5">The News module lets you customize your events with a clean, visual organization and update your published schedule with total ease.</p>
    </div>
  </div>
  <div class="row mt-5">
    [repeater id="" pages="10" display_type="news"]
      <div class="col-lg-3 py-4 text-center">
        [is_set value="{{news_image_alt_tag}}"]
          <img alt="{{news_image_alt_tag}}" src="[get_asset_file_url id='{{news_image}}']" class="img-fluid">
        [/is_set]
        [is_empty value="{{news_image_alt_tag}}"]
          <img alt="{{event_title}}" class="img-fluid" src="[get_asset_file_url id='{{news_image}}']" />
        [/is_empty]
      </div>
      <div class="col-lg-9 py-4">
        <h2>
          <a class="mt-2 text-primary-color font-weight-bold" aria-label="link to {{event_title}}" href="{{path}}">{{event_title}}</a>
        </h2>

        <p class="text-muted small">
          [print_date format="F d, Y" timestamp="{{start_time}}"]
        </p>

        <p>{{news_intro}}</p>

        <p><a class="text-primary-color font-weight-bold" aria-label="read more about {{event_title}}" href="{{path}}">Read More</a></p>
      </div>
    [/repeater]
  </div>
</div>
Important!
You need to add the ID number of your news module to the repeater shortcode within the id="" attribute.
Click Publish.
Navigate to
Websites > example.com > www
- Create a folder called
news - In the news folder, create a page called
index.stml - Give your page a Title, and select a Template (optional)
Insert your news repeater file into the page you just created.
Click Publish.
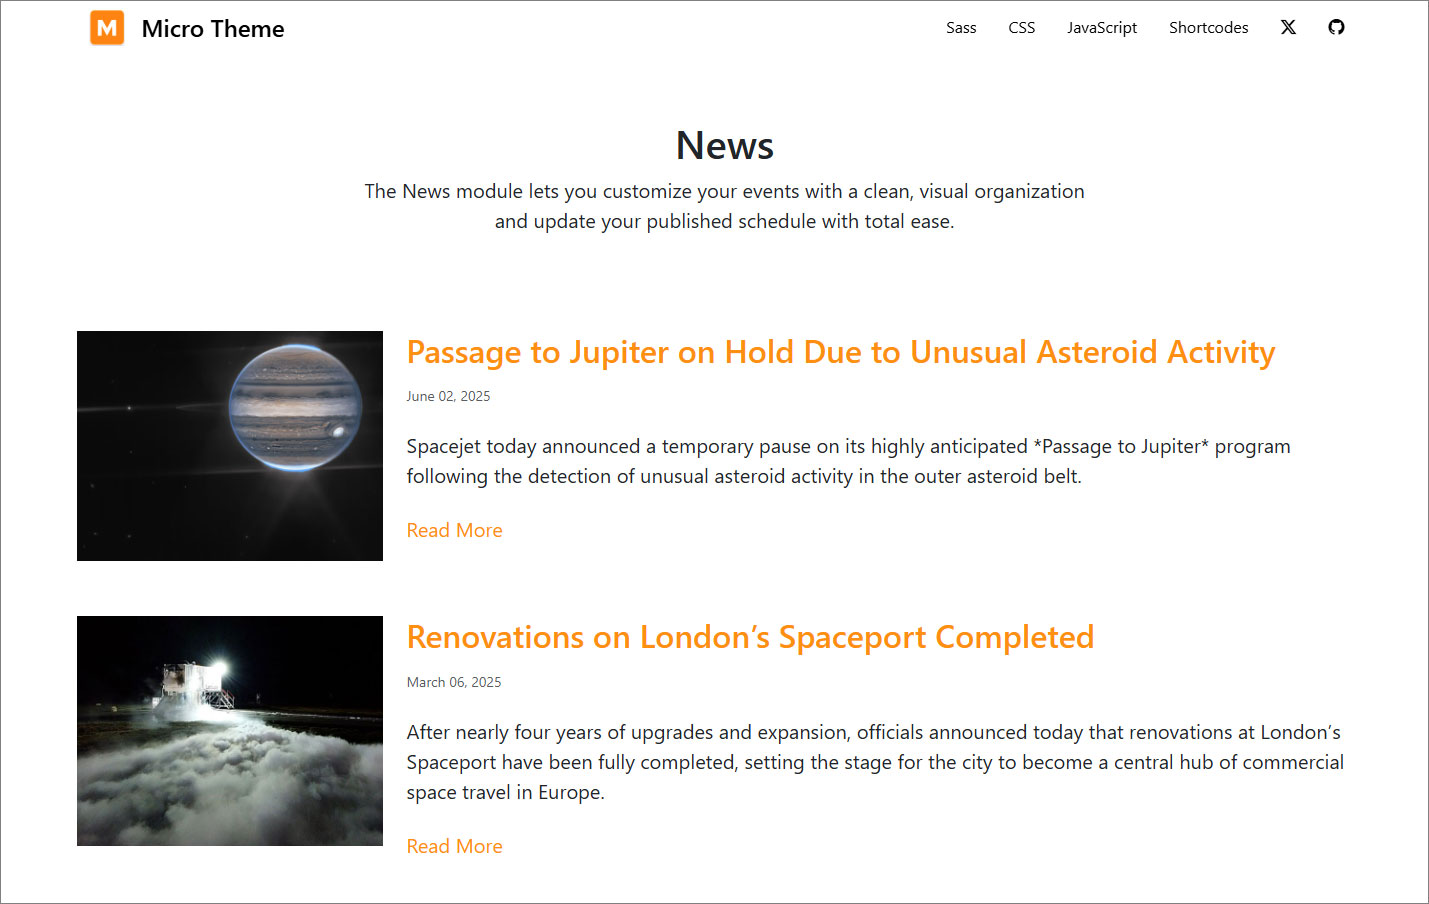
Go to your website and refresh the page to see your news in action.

Navigate to
Websites > example.com > web files > content > newsand create a new code file callednews-detail.tpl.Add the news detail code using the example template provided below.
<div class="container">
  [entry]
    <h1 class="mt-2 text-center">{{event_title}}</h1>
      [is_set value="{{news_image_alt_tag}}"]
        <img alt="{{news_image_alt_tag}}" src="[get_asset_file_url id='{{news_image}}']" class="img-fluid d-block mx-auto">
      [/is_set]
      [is_empty value="{{news_image_alt_tag}}"]
        <img alt="{{event_title}}" class="img-fluid d-block mx-auto" src="[get_asset_file_url id='{{news_image}}']" />
      [/is_empty]
    <p>{{news_content}}</p>
  [/entry]
</div>
Click Publish.
Navigate to
Websites > example.com > www > newsand create a new page calleddetail.stml. Select a template (optional).Insert your news detail file into the page you just created.
Click Publish.
Map your Module to your page:
- In your Module, click Modify
- Under Websites Properties
- On Detail Page Template, select the .stml file for your detail page
- Under Detail Folder Location, select the folder where your detail file is located
- Click Submit
Important!
If you already have entries added to your module, you will need to resave them to generate the path. To do this, go to Modify, scroll to Advanced, check the Resave All Entries option, and then click Submit
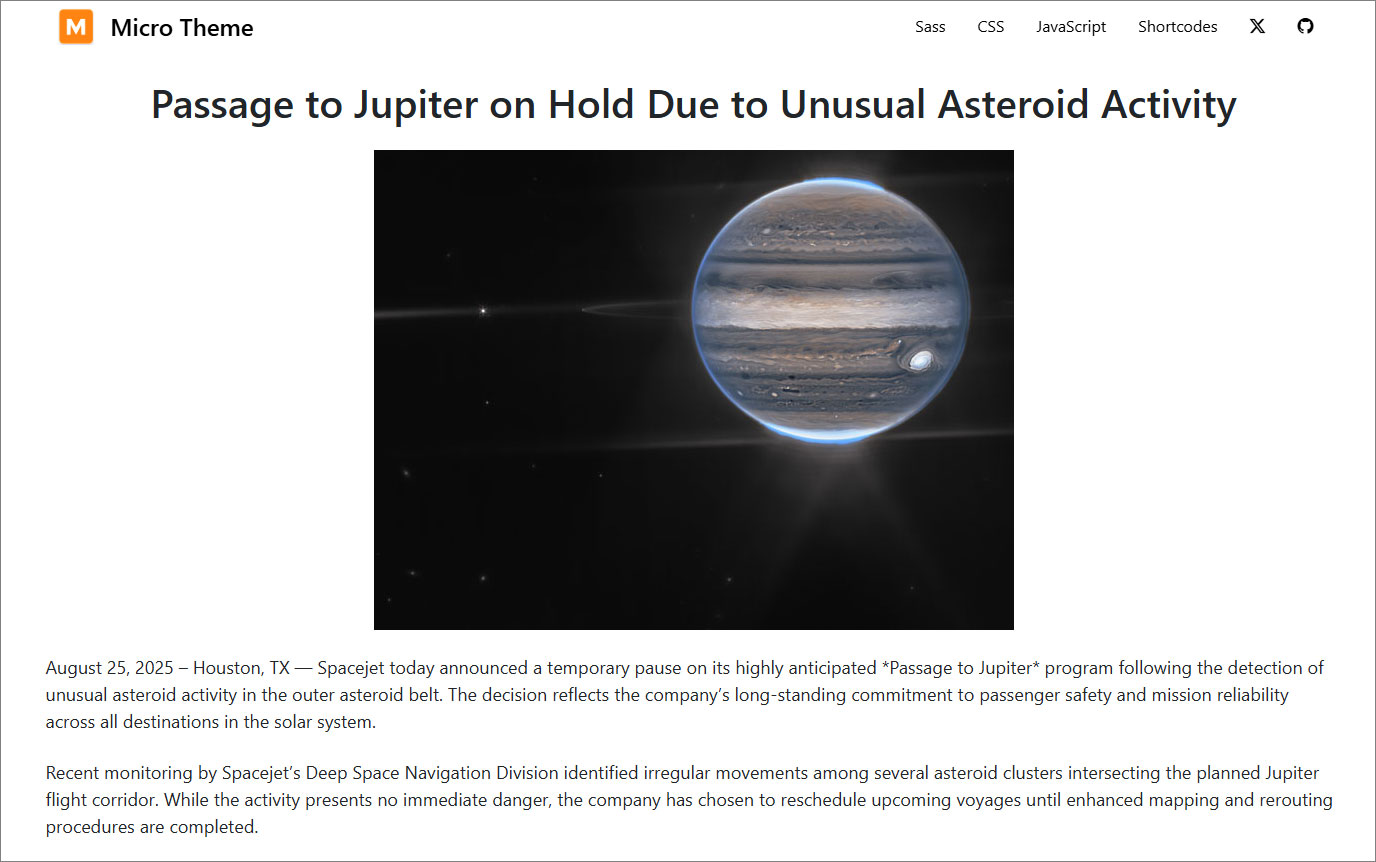
- Go to your website, refresh the news page, and click on an entry

#
Support
Support for News Module is handled directly through Solodev's global help desk. For more information regarding support queries, go to www.solodev.com.
Note:
To learn more about shortcodes and how they work, visit our shortcodes documentation.
