#
Quick Links
Give visitors faster access to the most important pages on your site.
The Solodev Quick Links Module makes it easy to streamline navigation by providing direct paths to key content. Save users time, improve efficiency, and guide them exactly where they need to go.
Create and manage links with ease – Add, edit, and organize links quickly through an intuitive module. Update navigation as your content grows and priorities change.
Fully customizable display and organization – Control how links are grouped, ordered, and styled. Tailor the layout to fit your site’s design and user needs.
Keep your audience on track – Help visitors find information instantly, whether it’s resources, support, or featured content. Deliver a seamless browsing experience that boosts engagement.
#
Prerequisites
- Have a Solodev CMS.
- Have a Website.
Note:
We use Bootstrap 5 in our packages. You can update your code to match your own framework, styles, or preferences as needed.
#
Step-by-Step Setup Guide
These steps will guide you through the process of installing the Quick Links Module and adding it to your page.
- Navigate to Modules
- In your CMS dashboard, click Modules in the left navigation menu
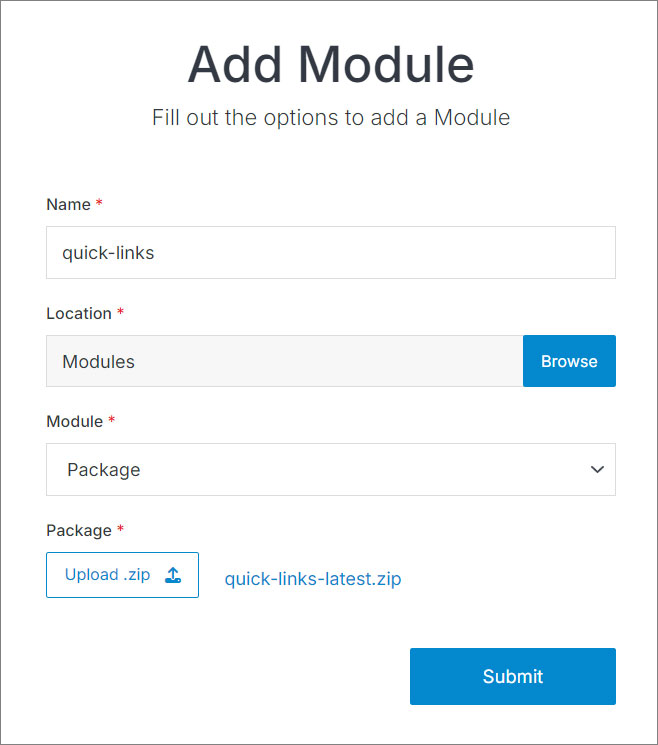
- Click the Add Module button
- Give your quick links module a name
- Select from the three options:
- Datatable: Creates a simple data table structure
- Module: Builds a custom module from scratch
- Package: Installs a pre-built module from a zip file
- For the purpose of this tutorial, select Package: and use this zip file .
- Click Submit.
Note:
The quick links module comes with pre-configured entries that you can customize by accessing the module entry.
- Navigate to
Websites > example.com > web files > content
- Create a folder called
quick-links - In the quick-links folder, create a new code file called
quick-links-repeater.tpl
- Add the quick links code using the example template provided below.
<div class="container mt-6">
  <div class="row">
    <div class="col-lg-7 col-xl-6 mx-auto text-center">
      <h1 class="h2">Accelerate with Quicklinks</h1>
    </div>
  </div>
  <div class="row row-cols-1 row-cols-sm-2 row-cols-lg-4">
    [repeater id="" display_type="news" limit="0,4"]
      <div class="col mt-4">
        <div class="card py-5 px-xl-4 px-3 text-center d-flex align-items-center flex-column">
          [is_set value="link_icon"]
            <span class="{{link_icon}} text-primary"></span>
          [/is_set]
          [is_set value="link_image"]
            [sub_is_set value="link_image_alt_tag"]
              <img alt="{{link_image_alt_tag}}" class="img-fluid" src="[get_asset_file_url id={{link_image}}]" />
            [/sub_is_set]
            [sub_is_empty value="link_image_alt_tag"]
              <img alt="{{event_title}}" class="img-fluid" src="[get_asset_file_url id={{link_image}}]" />
            [/sub_is_empty]
          [/is_set]
          <h2 class="h4 mt-4 mb-0"><a class="text-black" href="{{link_url}}">{{event_title}}</a></h2>
        </div>
      </div>
    [/repeater]
  </div>
</div>
Important!
You need to add the ID number of your quick links module to the repeater shortcode within the id="" attribute.
Click Publish.
Open your homepage
index.stmlor the desired page where you want to add the quick links boxes.Insert your quick-links file into the page.
Click Publish.
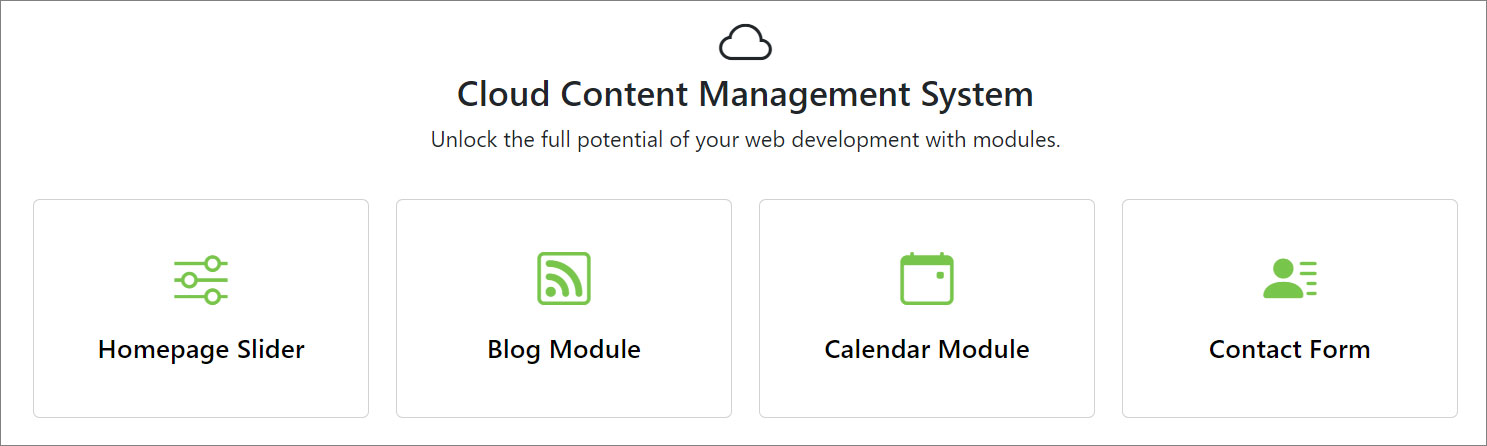
Go to your website and refresh the page to see your quick links boxes in action.
#
Support
Support for Quick Links Module is handled directly through Solodev's global help desk. For more information regarding support queries, go to www.solodev.com.
Note:
To learn more about shortcodes and how they work, visit our shortcodes documentation.