#
Add Page Template
In Solodev, a page template is a reusable component that allows you to build website pages faster and easier. They provide control over your website structure while giving you the freedom to customize where needed. In this article, you will learn the key concepts behind page templates, the importance of dynamic divs, and how to create a base and content template for your website.
#
Prerequisites
- You will need to add a website to your Solodev CMS
- You will need to add a page
#
Page Templates
There is no limit to the kinds of page templates you can create in Solodev, but most websites use these common types as a best practice:
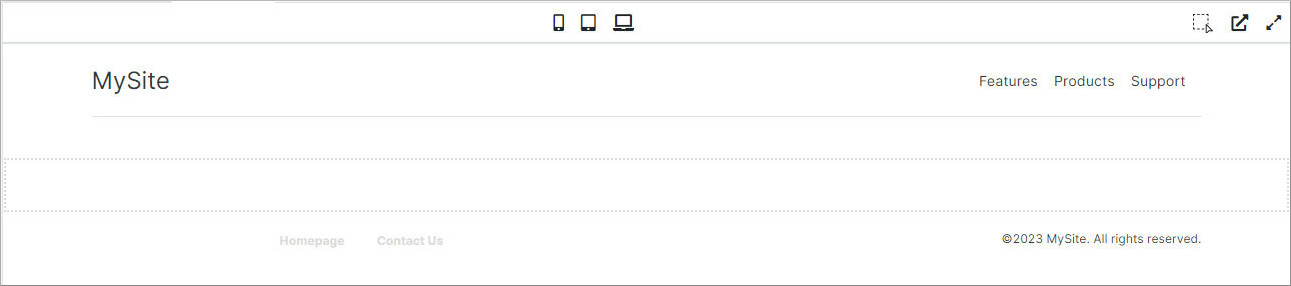
Base Template The base template is the foundation for every page of your website. It typically consists of a header, footer, and dynamic divs for adding content. Because they are universal, any changes made to a base template will be reflected across all pages of your site.
Content template A content template is usually placed within the base template. Sometimes referred to as an “interior template,” content templates power the bulk of your website, and can be reused for various sections that require multiple pages.
#
Dynamic Divs
Page Templates are composed of dynamic divs – or “dropzones” – where HTML and content can be inserted and arranged in various places on your website pages. Dynamic divs work fluidly with the Bootstrap grid system, allowing you to easily insert content once the layout of your page has been created. Here is the simple HTML code to create a dynamic div in Solodev:
<div class="dynamicDiv"></div>Dynamic Divs are the connecting elements between your HTML content and STML pages. Generally speaking, your STML pages will contain several Dynamic Divs. These drop-zones allow you to easily drop HTML content into the page itself.
#
Base Template
- To get started go to web files > templates and add a file.
- Name the file, choose Code from the File Type dropdown, and click Publish.
- Add Dynamic Divs to your file. Below is the code of a sample base template. It includes a dynamicDiv class for the top navigation, content, footer. You can always add more Dynamic Divs as needed.
<div role="main">
  <a class="skip-content" href="#maincontent" tabindex="1">Skip to main content</a>

  <!-- Top Nav -->
  <div class="dynamicDiv"></div>
  <!-- End Top Nav -->

  <!-- Content-->
  <div class="dynamicDiv"></div>
  <!-- End Content -->

  <!-- Footer -->
  <div class="dynamicDiv"></div>
  <!-- End Footer -->
</div>- Add the base template to your page. Go to your page and click on the content area where the 3 dots are. This area will change color and it will show the file currently associated with it. We want to replace it with base template file. To do this, with the area selected, click on the base template file from the left navigation. You will see the area change. Click publish on the right side.
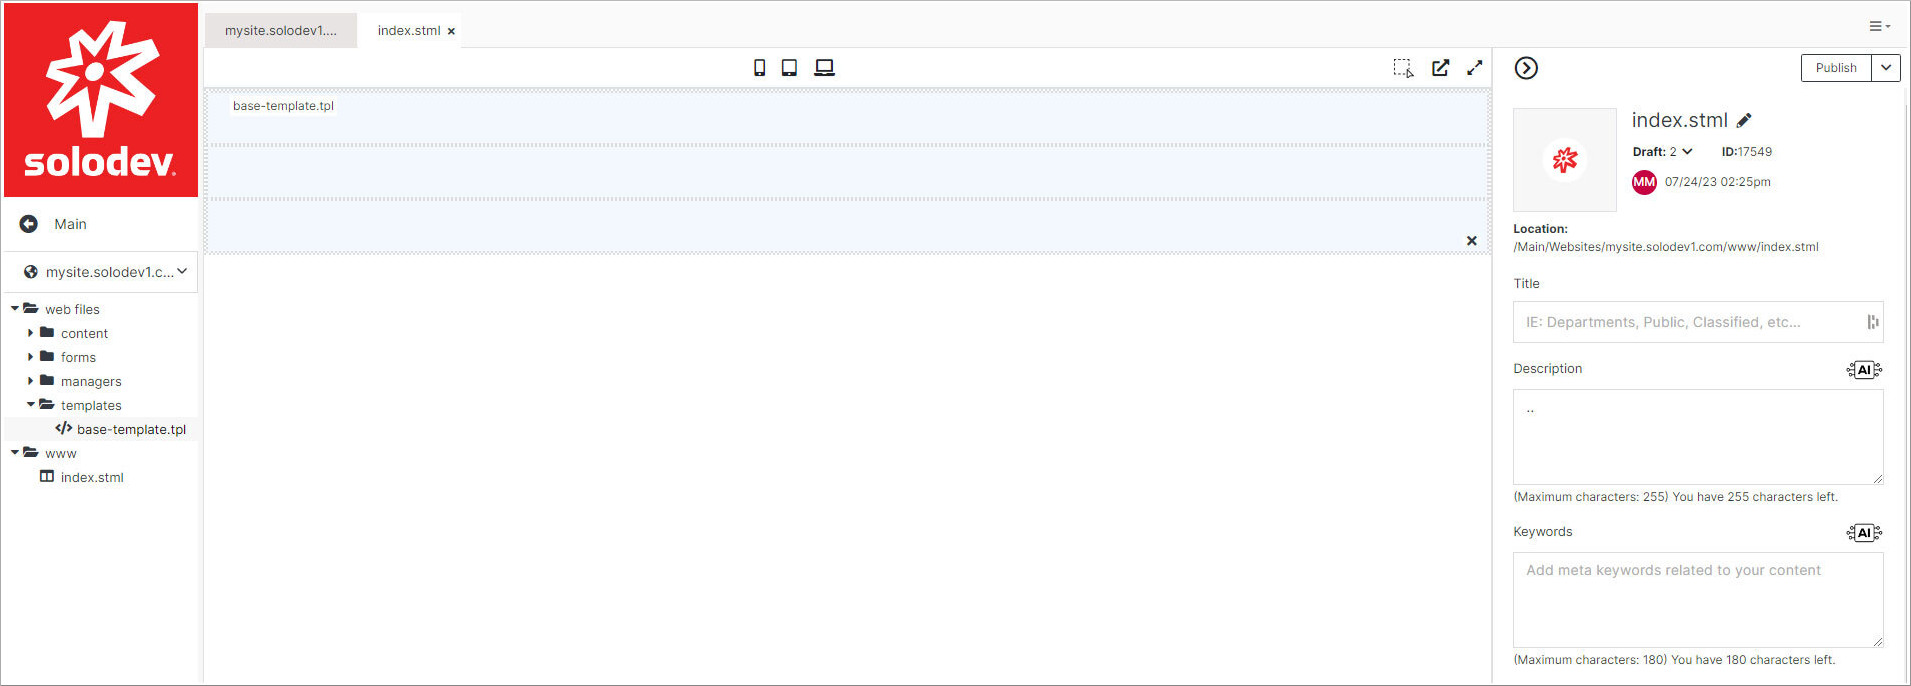
- You can repeat this process to add the content to your page.
#
Content Template

- Go to web files > templates and add a file.
- Name the file, choose Code from the File Type dropdown, and click Publish.
- Follow the above steps to add a base template to the page. Even though it is not required to have a base template, it is highly recommended because it should contain your navigation, footer, and other elements used in your site.
- Add Dynamic Divs to your file. Below is the code of a sample content template. It includes a dynamicDiv class for the breadcrumb, content and a left navigation. It also includes the Page title shortcode (Link to shortcodes). You can always add more DynamicDivs as needed.
<!-- Start of Header -->
<div class="container">
  <h1>[page_title]</h1>
</div>
<!-- End of Header -->

<!-- Start of Breadcrumb -->
<div class="dynamicDiv"></div>
<!-- End of Breadcrumb -->

<!-- Start of Main Content -->
<div class="container my-5" id="main-content">
  <div class="row">
    <div class="col-lg-4">
      <!-- Start of Left Navigation -->
      <aside class="pr-lg-5">
        <div class="dynamicDiv"></div>
        <div class="dynamicDiv"></div>
        <div class="dynamicDiv"></div>
        <div class="dynamicDiv"></div>
      </aside>
      <!-- End of Left Navigation -->
    </div>
    <div class="col-lg-8">
      <!-- Start of Content Section -->
      <article>
        <div class="dynamicDiv"></div>
      </article>
      <!-- End of Content Section -->
    </div>
  </div>
</div>
<!-- End of Main Content -->- Add the content template to your page. Go to your page and click on the content area below your top navigation within the base template. This area will change color when selected. Click on the content template file from the left navigation. You will see the area change. Click publish on the right side.
- Repeat this process to add the content to your page.