#
How to create a content page template
A content template is usually placed within the base template. Sometimes referred to as an “interior template,” content templates power the bulk of your website, and can be reused for various sections that require multiple pages.
#
Content Template
As previously noted, a content template – sometimes referred to as an "interior template" – powers the bulk of your website and can be reused for various sections that require multiple pages. In this lesson, you will learn how to add a sample content template from the SpaceJet theme package.
Note:
Many of the instructions in this lesson will repeat steps from the previous homepage template. Make sure to complete that first and refer back as needed.
#
Setting up your folders and .tpl files
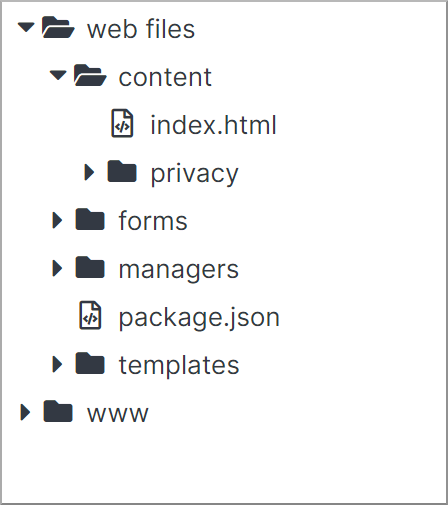
Step 1: Under web files, click on the content folder.
Step 2: Using the right-hand menu, click Add Folder. Under content, add folder called privacy. Click Submit, when complete.
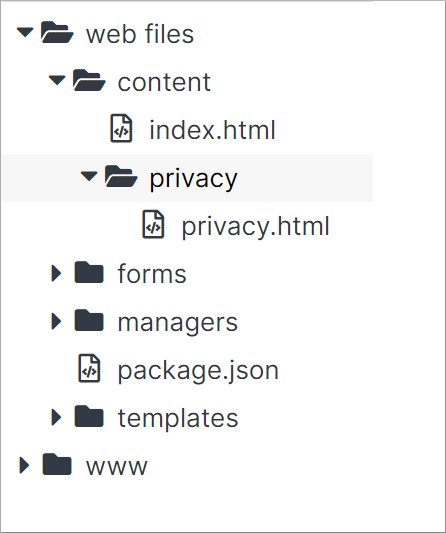
Step 3: Now you will need to add a new .html file into the folder you have just created. Under content, click on the privacy folder and on the right menu, click Add File. Create a new file called privacy.html, and select HTML for the File Type. Once complete, click Submit.
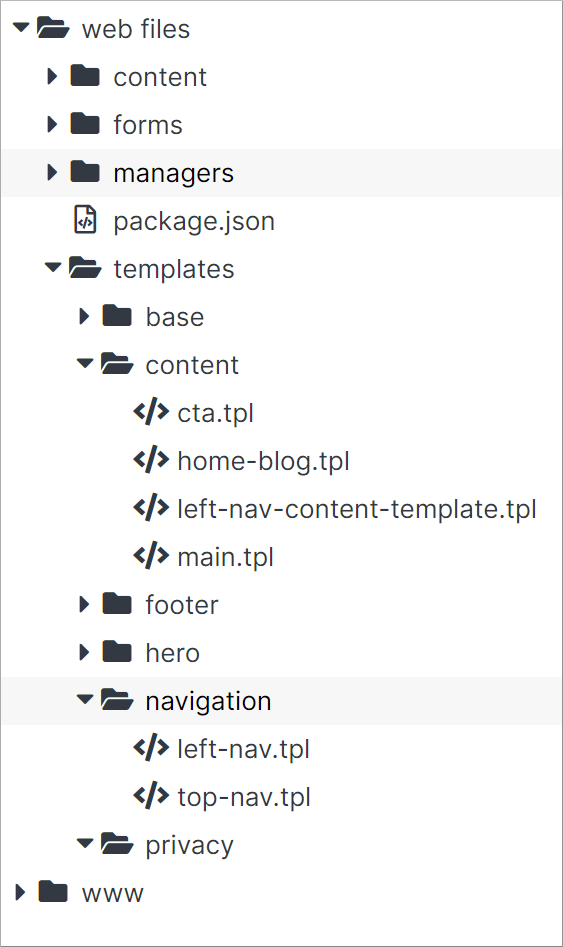
Step 4: You will also need to add a new .tpl files into a folders listed below. Under templates, click on the correct folder and on the right menu, click Add File. Create a new file under each folder, and select Code for the File Type. Once complete, click Submit:
- content: left-nav-content-template.tpl
- navigation: left-nav.tpl
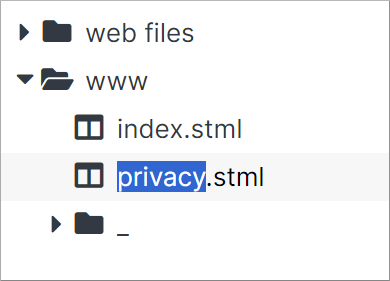
Step 5: Finally click on the www folder and on the right menu, click Add Page. Create a new page called privacy.stml. Once complete, click Submit:
Now you have a complete set of folders and .tpl files to build out your content page.
#
Adding templates to your dynamic divs
Next, you will apply your .tpl files to your dynamic divs just like you did in the case of homepage. For the purposes of this lesson, will continue using sample code from the SpaceJet theme.
Step 1: Under web files, browse to the templates/content folder and click on the left-nav-content-template.tpl file. Copy the code sample below into the editor. When complete, click Publish.
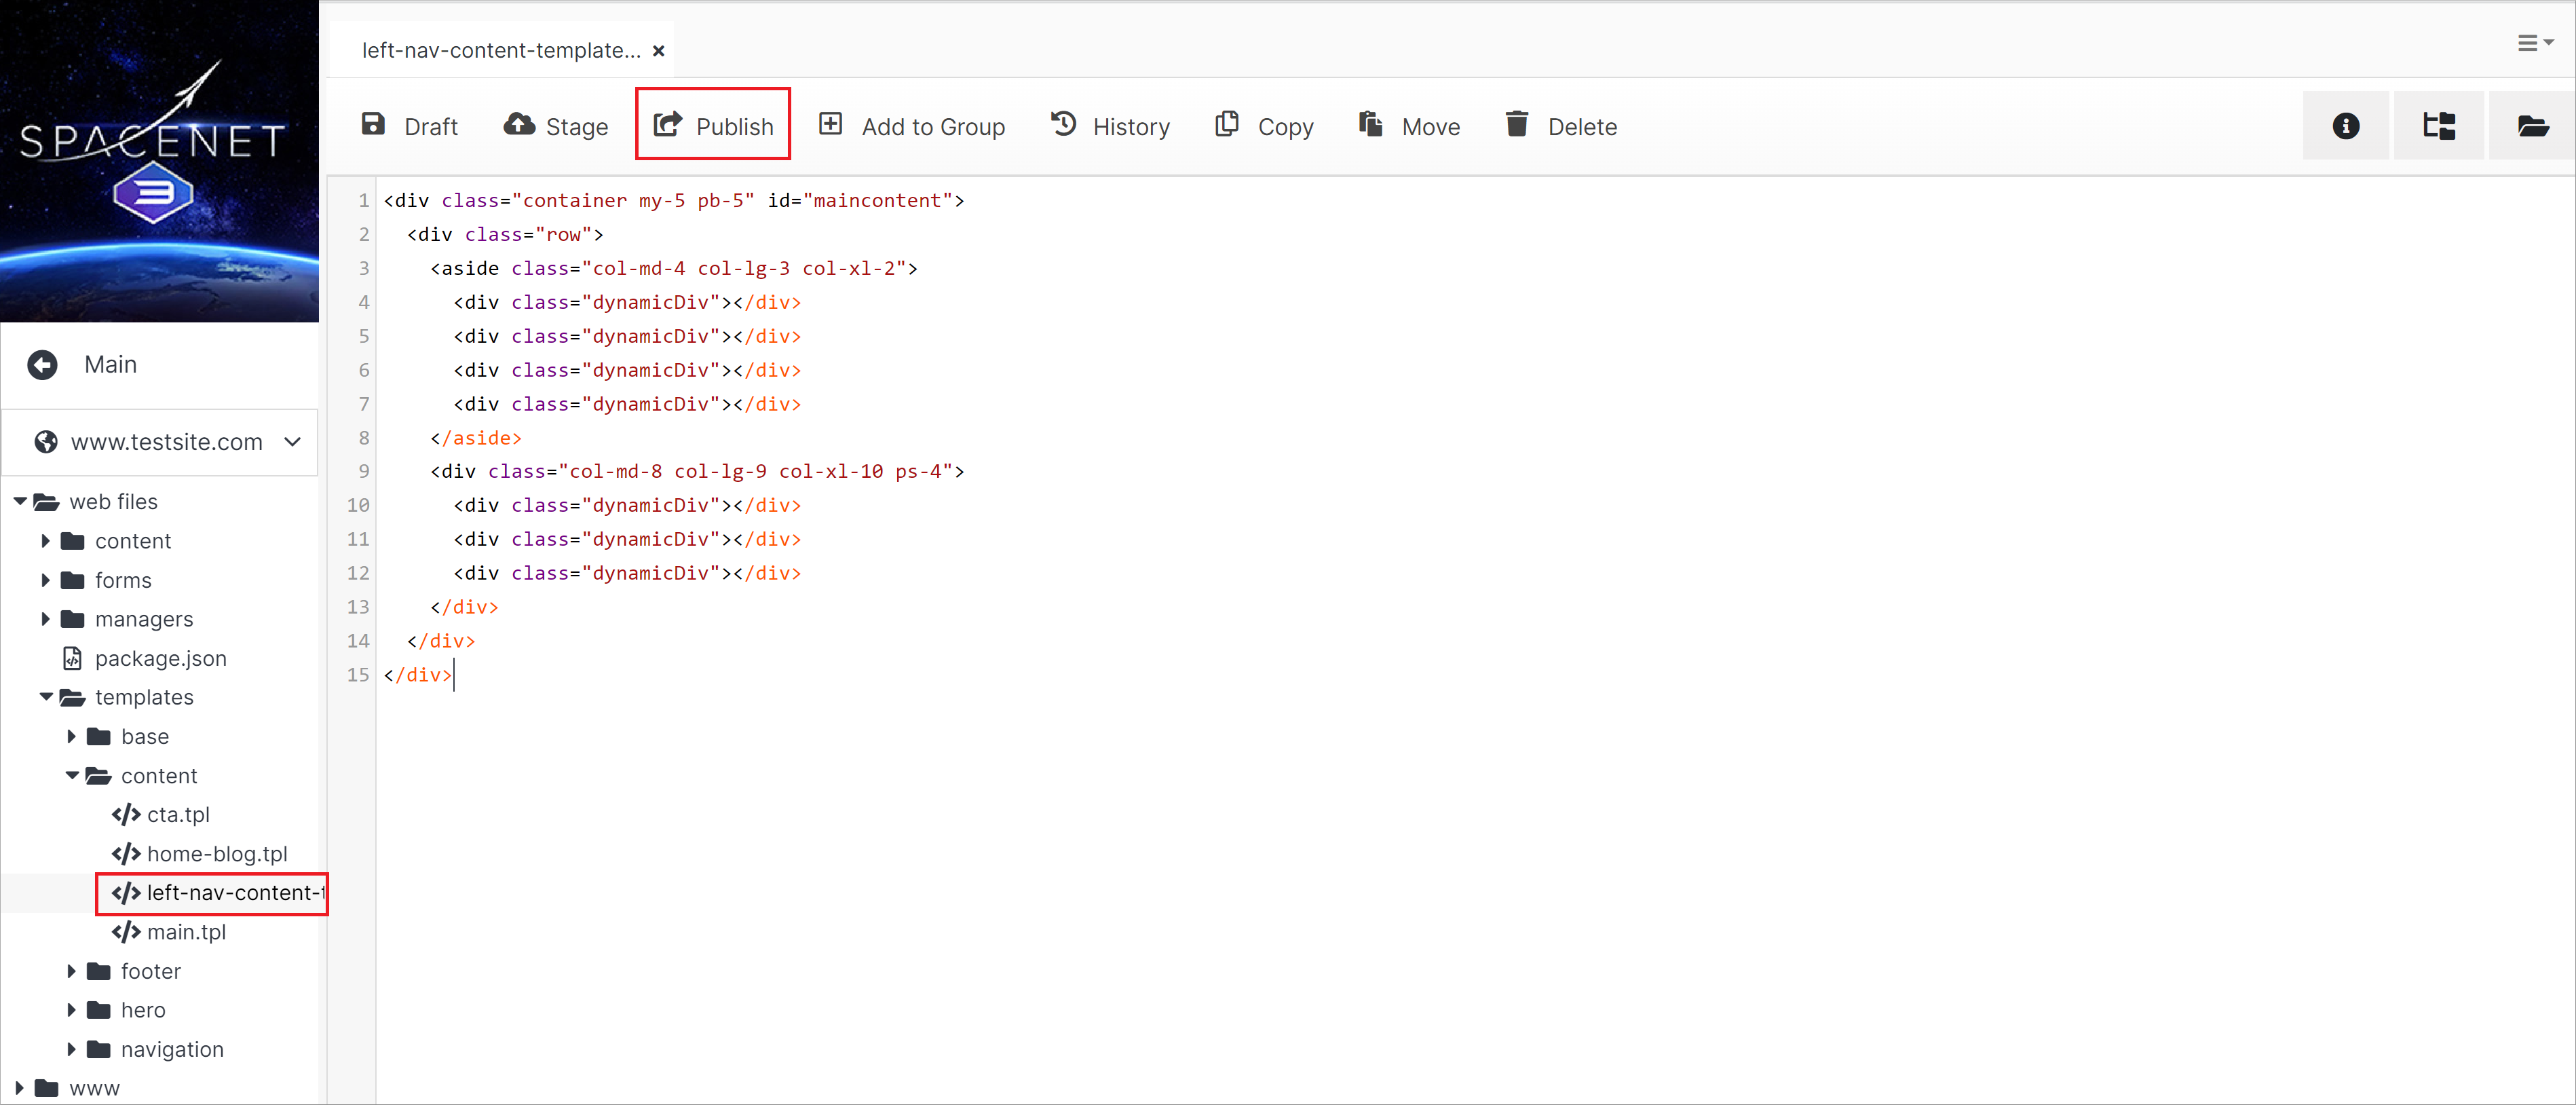
<div class="container my-5 pb-5" id="maincontent">
  <div class="row">
    <aside class="col-md-4 col-lg-3 col-xl-2">
      <div class="dynamicDiv"></div>
      <div class="dynamicDiv"></div>
      <div class="dynamicDiv"></div>
      <div class="dynamicDiv"></div>
    </aside>
    <div class="col-md-8 col-lg-9 col-xl-10 ps-4">
      <div class="dynamicDiv"></div>
      <div class="dynamicDiv"></div>
      <div class="dynamicDiv"></div>
    </div>
  </div>
</div>
Step 2: Under the www folder, click on the privacy.stml file.
Step 3: Next, under web files, open the templates folder and browse to the base folder.
Step 4: Just like in the case of homepage, click in the top dynamic div. Once activated, it will turn blue, indicating that it is ready to have a template applied to it.
Click on the base-template.tpl file.
Once complete, click Publish. After your page reloads, you will see the new layout of your privacy.stml file.
Note:
Solodev provides a rich visual editing experience. The editor renders a preview of your frontend website, but minor differences may occur due to the software’s features and functionality. This can affect the appearance of fonts and images within the editor. You can compare your progress to the live SpaceJet sample site.
Step 5: Repeat step 4, and add top-nav.tpl, and the footer.tpl in correct places. Once done, click Publish.
Step 6: Repeat step 4, and add left-nav-content-template.tpl, cta.tpl, and the footer.tpl in correct places. Once done, click Publish.
Step 7: Repeat step 4, and add the left-nav.tpl with the following code:
 [non_admin_only]
      [solodev_nav nav_type="side" nav_class="list-unstyled" include_categories="1"]
   [/non_admin_only]
Step 8: Repeat step 4, and add privacy.html containing your privacy statement, for example:
Here is my privacy policy.