#
How to add groups, permissions, and users
Admins (or "super users") in Solodev can add users and groups, assign permissions to unlock access to key CMS areas, and control what each user can do within the platform.
#
Step 1: Add a Group
Start by creating a group to organize your users:
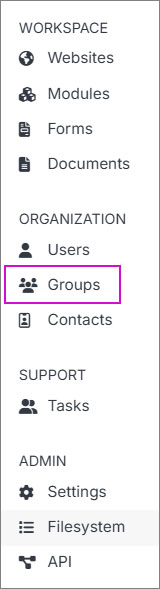
- Navigate to Groups in the left navigation under the Organization section
Click Add Group on the right side
Enter a group name and optional description
Click Submit
Note
Solodev CMS includes a pre-configured Default group that has no permissions assigned. Users added to this group won't have access to anything until you grant permissions.
#
Step 2: Assign Group Permissions
After creating your group, assign permissions to control access:
Go to your newly created group in the Groups section.
Click Manage
Select the desired views and roles to grant access to users in this group.
Roles in Solodev:
- View: Allows members to see items and content.
- Stager: Create or modify content but not publish.
- Editor: View, create, edit, and publish content.
- Admin: Full control, including managing group members.
#
Assign Access to Specific Areas
You can grant group access to Websites, Modules, or specific Folders. Navigate to the area you want to grant access to and follow these steps:
For Websites:
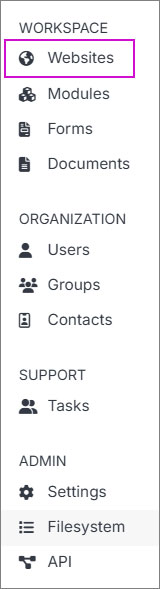
- Navigate to Websites in the left-hand menu
Select the specific Website
Click Permissions from the dropdown menu
Enter the Group Name, choose the Role, and click orange + button
Click Submit
For Folders:
Navigate to the specific folder
Click Permissions
Enter the Group Name, choose the Role, and click orange + button
Click Submit
For Modules:
Navigate to the specific module
Click Permissions
Enter the Group Name, choose the Role, and click orange + button
Click Submit
Best Practice:
Always assign permissions to groups rather than individual users. This makes managing access easier as your team grows.
#
Step 3: Invite or Add Users to the Group
Once permissions are set, you can invite new users or add existing users to the group:
#
Invite New Users
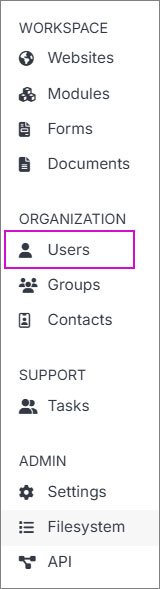
- Click Users in the left navigation under the Organization section
Click Invite User on the right side
Enter the email address(es) of the user(s) to invite
Assign them to the group you created
Optionally customize the invitation email message
Click Submit to send the invite
Note:
Ensure your CMS is configured to send emails. Learn more about email settings.
#
Add Existing Users
Click Groups in the left navigation
Click on Add User(s)
Enter the User(s) Name, choose the Role, and click orange + button
Click Submit
#
Step 4: Verify User Access
After adding users, verify they have the correct access:
Navigate to Users in the left navigation
Select the user and use the Login as User feature to view the CMS from the user's perspective
Confirm the user sees the correct access in the main navigation
Adjust permissions if needed
#
Summary
By following these steps, you've:
- Created a group
- Assigned permissions at the group level (not individual users)
- Added users to the group
- Verified their access
You can always adjust permissions as your team or project evolves. Remember: group-level permissions make management easier and more scalable!