#
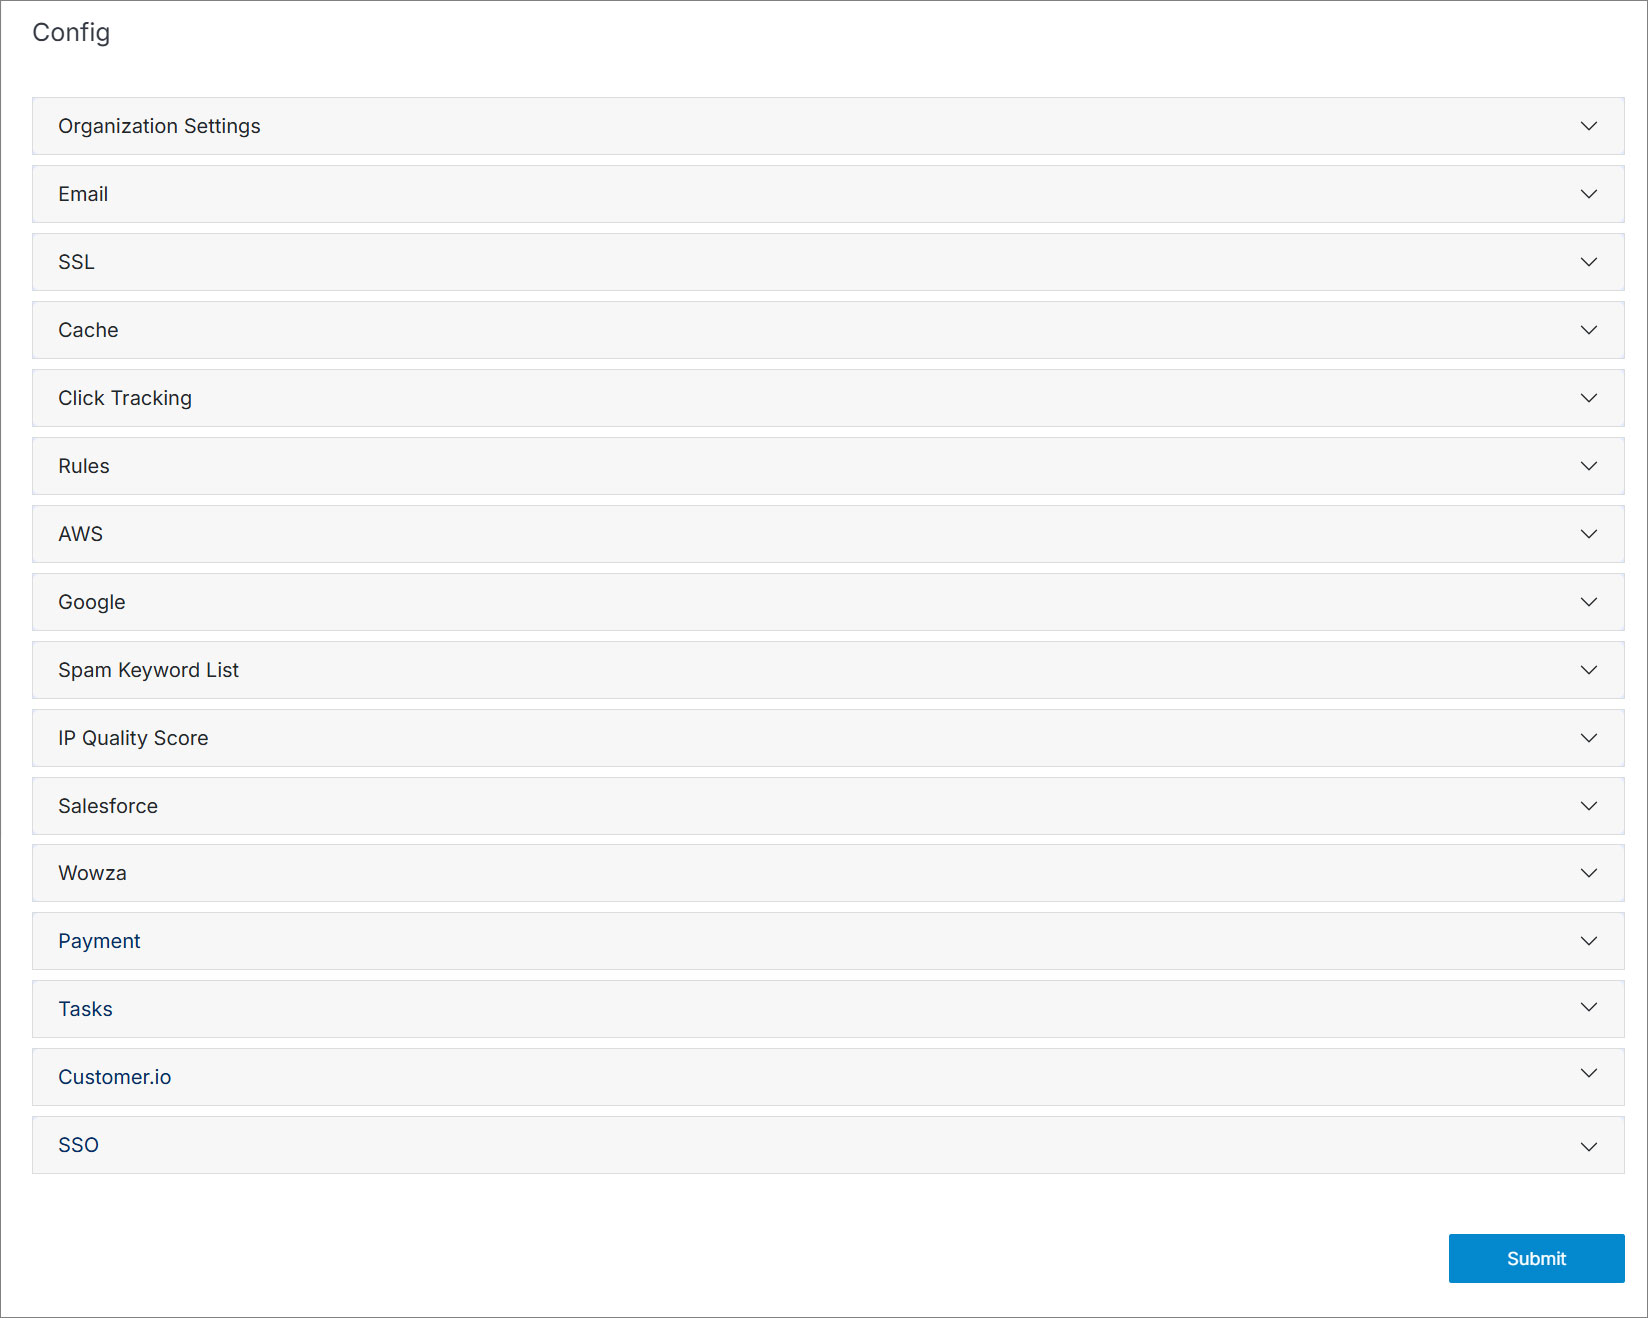
Config
The Config category in settings covers a broad range of configurations that apply to all websites within the CMS system. This section allows you to set up key functionalities such as payment options, SSL security, email settings, click tracking, and much more, ensuring that your sites run smoothly and securely. From managing your organization’s settings to integrating with third-party services like Salesforce and AWS, the Config section gives you full control over essential elements of your CMS environment.
#
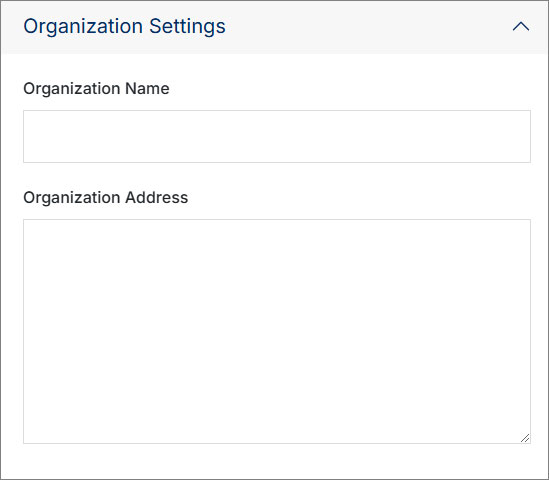
Organization Settings
Use these settings to define the company name and address that appear in transactional emails sent from the CMS.
#
Email
Configure a professional email address for your organization and ensure secure delivery by sending outgoing emails via the SMTP server.

#
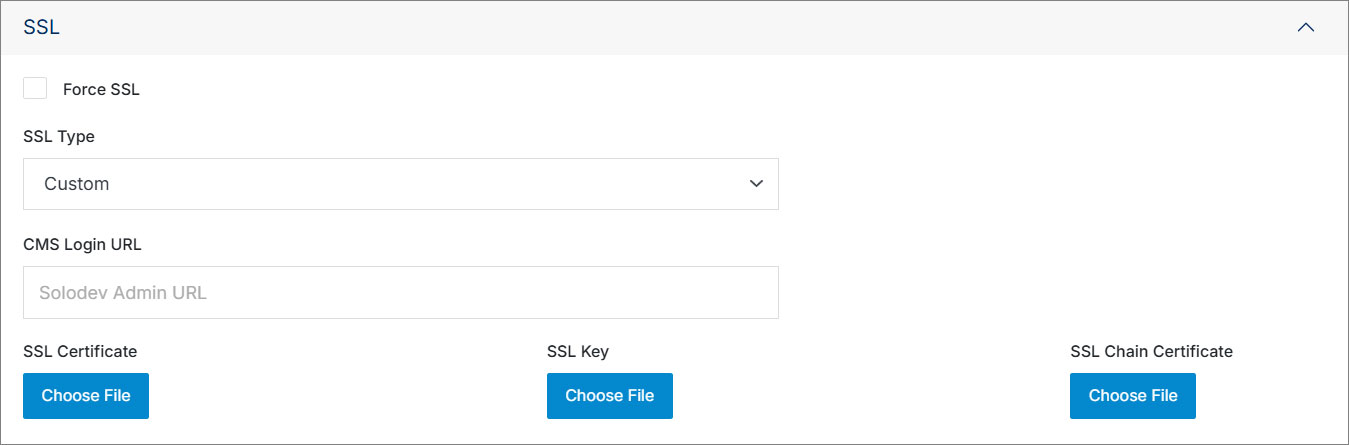
SSL
Secure Sockets Layer (SSL) is the standard technology for creating an encrypted link between a web server and a browser. This encryption ensures that data exchanged between the server and browser remains private and secure.
#
Cache
Control how long files or pages are stored to improve the speed of future requests. The default caching duration is 86400 seconds (or one day). You can also choose from other durations, including 12 hours, 1 hour, 30 minutes, 15 minutes, or no cache.

#
Click Tracking
Monitor user interactions by tracking when they click an external link to leave your website or engage with documents and other assets. This data can be integrated with web analytics to uncover patterns and trends in user behavior.
![]()
#
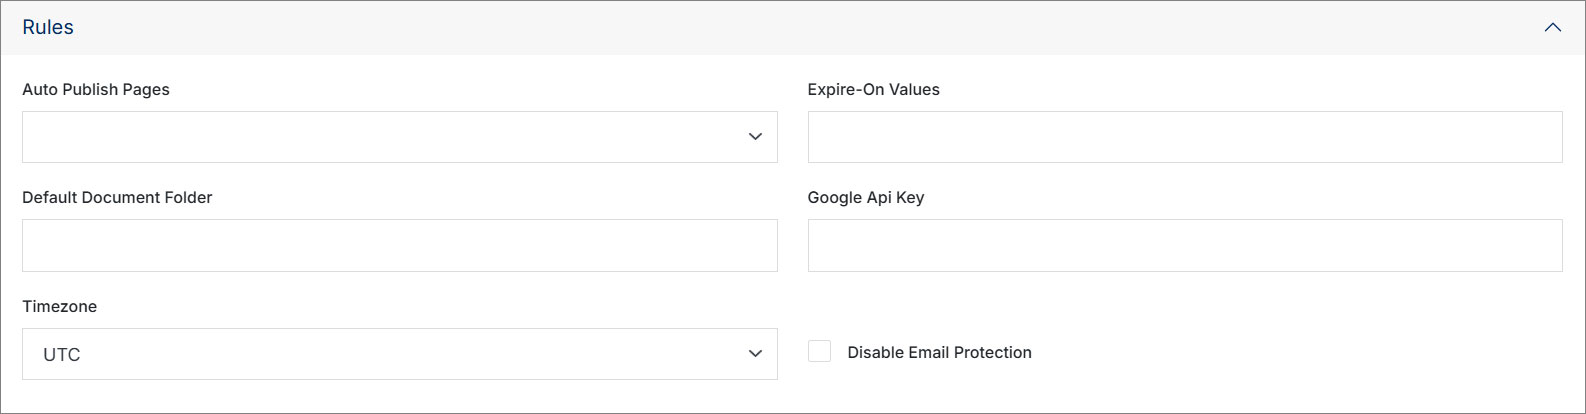
Rules
Establish rules for various resources within the CMS.
#
AWS
If a website built in Solodev is configured to use a CloudFront CDN, you can invalidate the cache on page publishing once AWS keys are specified.

#
Google
Manage your reCAPTCHA access for enhanced security.

#
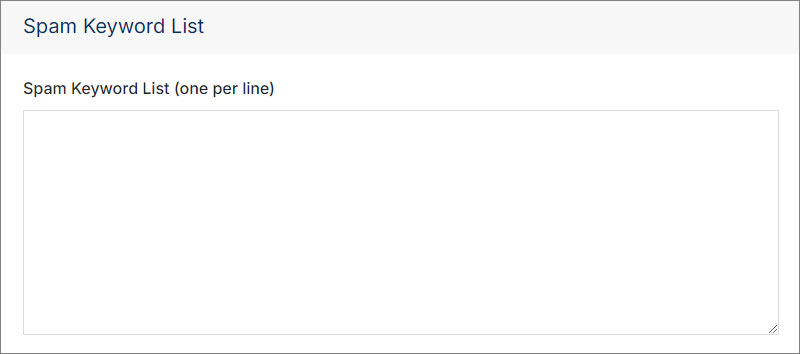
Spam Keyword List
The spam keyword list is a built-in filtering feature designed to minimize form entries containing specific keywords, including profanity. Each entry should be placed on its own line.
Note:
Only Solodev admins will be able to access the Spam Keyword List feature.
#
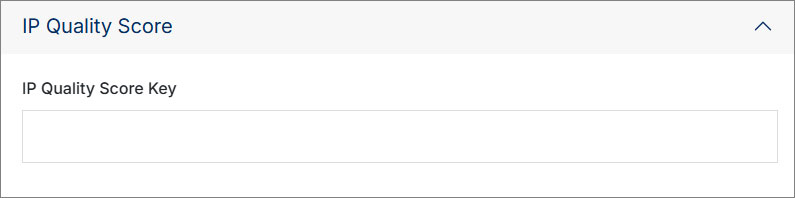
IP Quality Score
An IP quality score is used to analyze IP addresses, phone numbers, email addresses, and URLs/domains to detect sophisticated bad actors or high-risk behaviors from visitors to your website. Enter the IP quality score key.
#
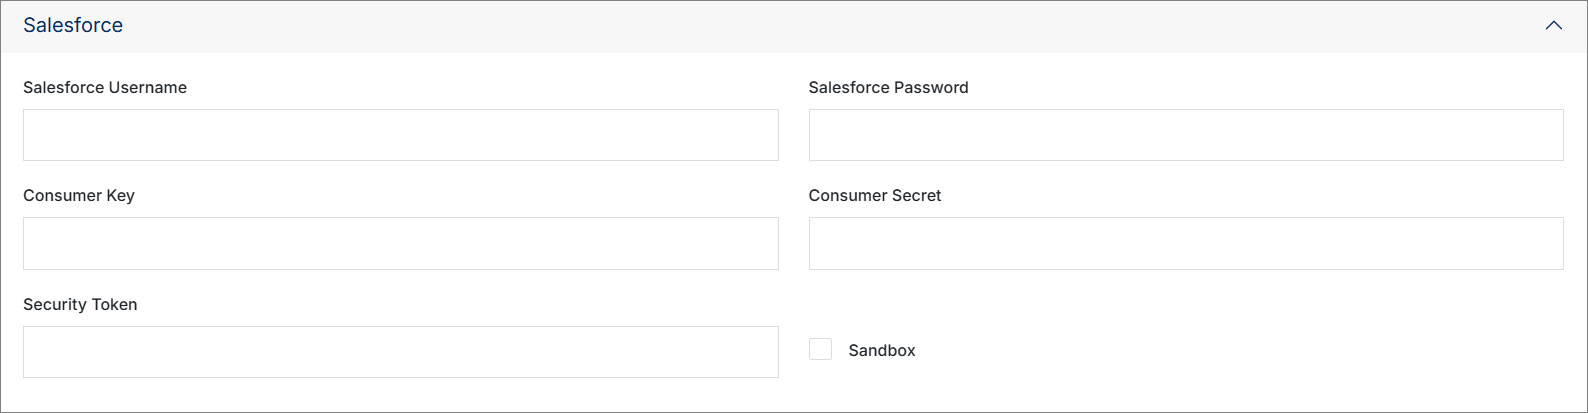
Salesforce
Solodev CMS allows you to integrate with Salesforce, the CRM platform.
#
Wowza
Solodev CMS allows you to use Wowza - a streaming engine.

#
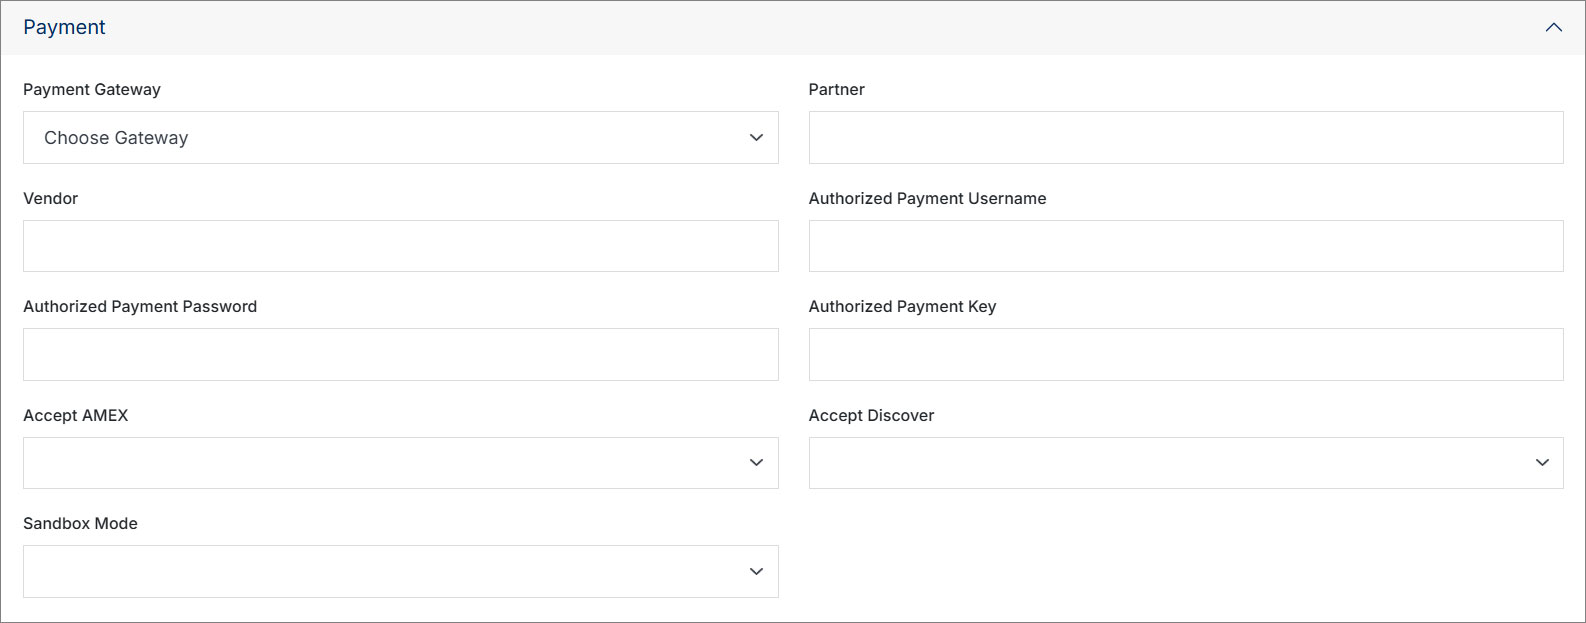
Payment
Process and accept payments on your website through settings in Solodev CMS. Test payment processing in sandbox mode, and remove sandbox mode when testing is completed, and you are ready to process payments. Choose from multiple payment gateway options. Also, you can decide whether to accept AMEX or Discover cards and execute the setting that works for you.
#
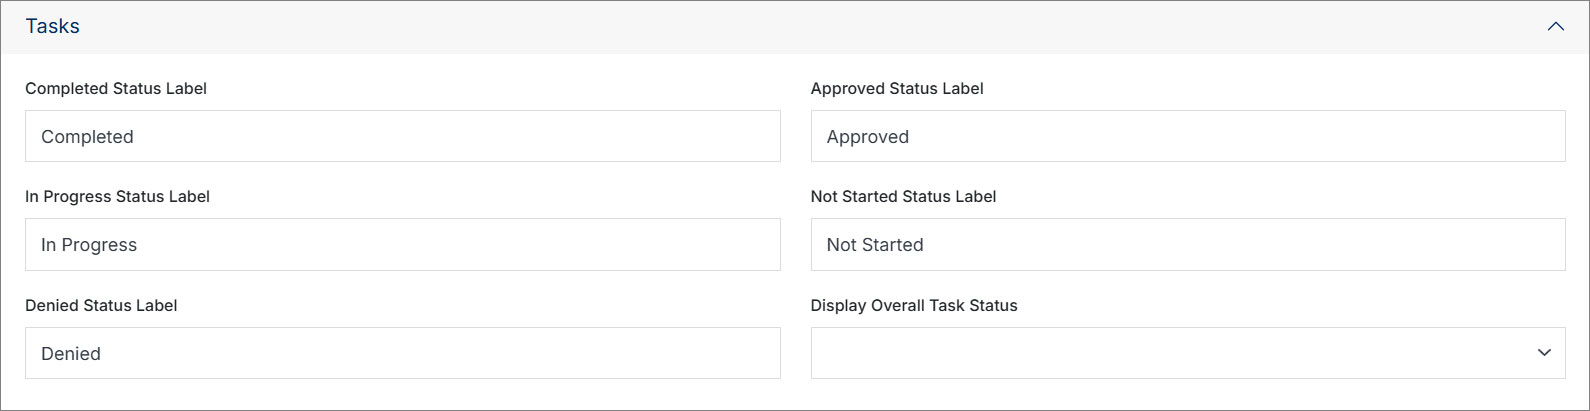
Tasks
Customize task labels for workflows and display overall task status.
#
Customer.io
Customer.io is a marketing automation platform that helps businesses send targeted, personalized messages to customers via email, SMS, and push notifications. To find the credentials needed to integrate Customer.io with Solodev, go to Account Settings > API Credentials.

#
SSO
Single Sign-On (SSO) is an authentication process that allows users to access multiple applications with one set of login credentials.

See also
Admins (or "super users") in Solodev can add users and groups, assign permissions to unlock access to key CMS areas, and control what each user can do
The Settings section offers a versatile range of tools to help you manage and customize your CMS environment. It's divided into six key areas, each
Website Settings applies to your websites in your Solodev CMS. Administrators can configure/change their primary URL here, set a domain for staging,