Add Entry
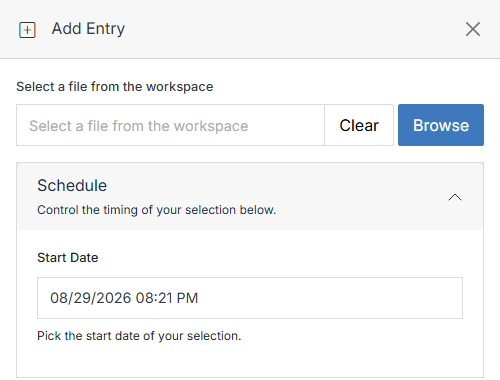
Add a file to the Scheduler along with the date it should go live, the Scheduler will swap it in automatically.
From an Scheduler detail view, click Add Entry.
 v 11.11
Add a file to the Scheduler along with the date it should go live, the Scheduler will swap it in automatically.
From an Scheduler detail view, click Add Entry.