#
How to add Webpack to your website
Webpack is a modular bundler that compiles JavaScript files, SCSS, and CSS files into packages that are used to manage frontend assets at the browser level. You will need these assets installed with your website to add more advanced styling features. In this tutorial, you will learn how to add Webpack and set up both JavaScript and SCSS.
#
Prerequisites
- You will need to complete the How to add a website tutorial.
- You will need to complete the How to add a page to a website tutorial.
- Familiarity with Bootstrap is highly recommended.
#
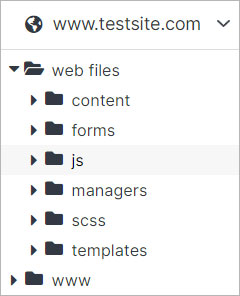
Setting up your web files
First, you will need to install a package.json file to identify and understand how to handle your website's dependencies. It is composed of functional metadata about your project, such as its name and version.
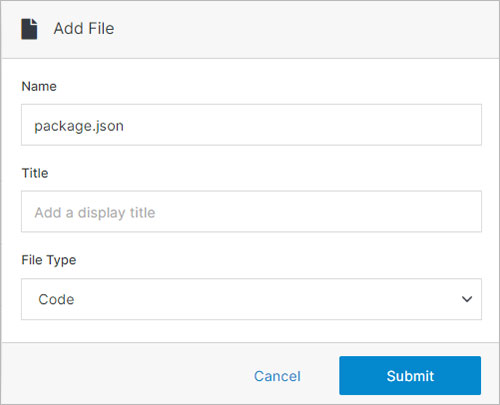
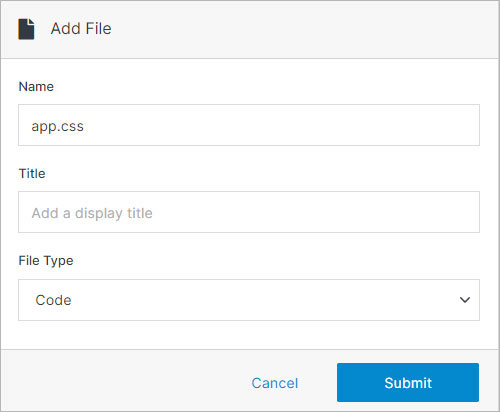
Step 1: Under the web files folder, create a file called package.json, select Code as a File Type and click Submit.
Step 2: Paste the sample json code below into the newly created file and click Submit.
{
"name": "solodev_webpack",
"version": "1.0.0",
"description": "Solodev Webpack",
"scripts": {
"compile": "npm run css && npm run js",
"css": "webpack --config webpack/webpack.css.config.js",
"js": "webpack --config webpack/webpack.config.js"
},
"author": "Solodev",
"dependencies": {
"@popperjs/core": "^2.11.4",
"bootstrap": "^5.2.0",
"jquery": "^3.6.0"
},
"devDependencies": {
"@babel/core": "^7.16.0",
"@babel/preset-env": "^7.22.10",
"@webpack-cli/serve": "^1.7.0",
"babel-loader": "^8.2.3",
"clean-webpack-plugin": "^4.0.0",
"copy-webpack-plugin": "^9.0.1",
"css-loader": "^6.4.0",
"css-minimizer-webpack-plugin": "^3.1.1",
"expose-loader": "^3.1.0",
"html-webpack-plugin": "^5.5.0",
"ignore-emit-webpack-plugin": "^2.0.6",
"mini-css-extract-plugin": "^2.4.3",
"raw-loader": "^4.0.2",
"sass": "^1.66.1",
"sass-loader": "^12.2.0",
"style-loader": "^3.3.1",
"webpack": "^5.88.2",
"webpack-cli": "^4.9.1",
"webpack-dev-server": "^4.3.1",
"webpack-merge": "^5.8.0"
}
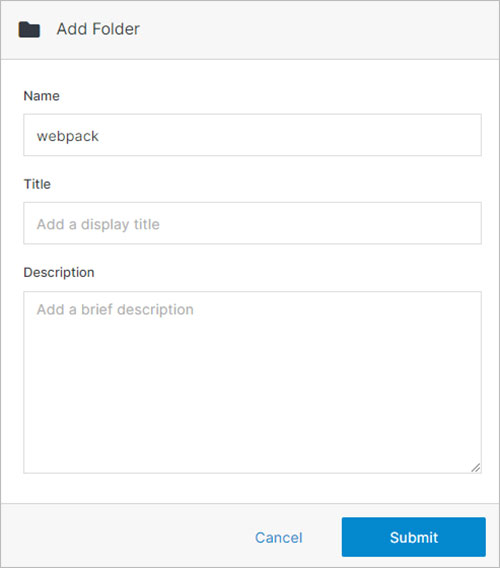
}Step 3: Under web files, create a new folder called webpack. You can add an optional title and description, but it is not required. Once complete, click Submit.
#
How to add SCSS to your site
After uploading your package.json file, you will need to install SCSS, which stands for "Sassy Cascading Style Sheets." As the name implies, these are a more advanced variant of standard web CSS (Cascading Style Sheets), and a syntax for the popular CSS preprocessor called SASS, or "Syntactically Awesome Style Sheets."
SCSS can be used to style more complex visual elements on a web page, including hero sliders, galleries, buttons, images, color palettes, fonts, and even themes and layouts.
Next, we will add Webpack.
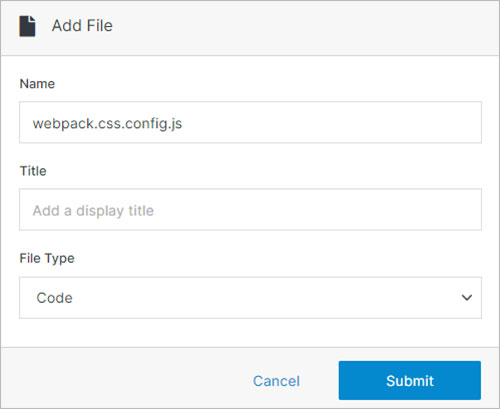
Step 1: Under the web files folder, create a file called webpack.css.config.js, select Code as a File Type and click Submit.
Step 2: Paste the sample code below into the newly created file and click Submit.
'use strict';

const path = require('path');

// Plugins
const { CleanWebpackPlugin } = require('clean-webpack-plugin');
const MiniCssExtractPlugin = require('mini-css-extract-plugin');
const CssMinimizerPlugin = require('css-minimizer-webpack-plugin');
const IgnoreEmitPlugin = require('ignore-emit-webpack-plugin');

module.exports = {
  mode: 'production',
  optimization: {
    minimize: true,
    minimizer: [
      new CssMinimizerPlugin(),
    ],
  },
  context: __dirname,
  entry: {
    app: '../scss/app.scss'
  },
  output: {
    path: path.resolve(__dirname, '../../www/_/css'),
    clean: true,
  },
  resolve: {
    extensions: ['.scss'],
  },
  module: {
    rules: [
      {
        test: /\.(woff|woff2|eot|ttf|otf)$/i,
        type: 'asset/resource',
        generator: {
          filename: 'fonts/[name][ext]'
        },
      },
      {
        test: /\.(jpg|jpeg|gif|png|svg)$/,
        type: 'asset/resource',
      },
      {
        test: /\.s[ac]ss$/i,
        use: [
          MiniCssExtractPlugin.loader,
          // Translates CSS into CommonJS
          'css-loader',
          // Compiles Sass to CSS
          'sass-loader',
        ],
      },
    ]
  },
	plugins: [
    new MiniCssExtractPlugin(),
    new IgnoreEmitPlugin(['app.js']),
    new CleanWebpackPlugin(),
	],
};
Step 3: From the left-hand menu, click on the "_" folder your created in the previous tutorial under www. Using the menu on the right, click Add Folder.
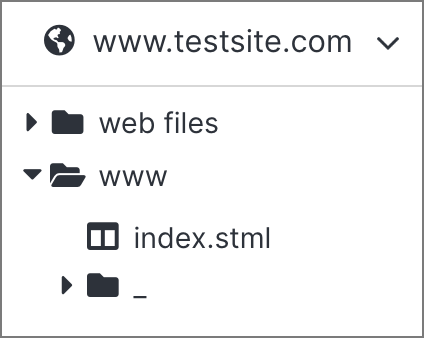
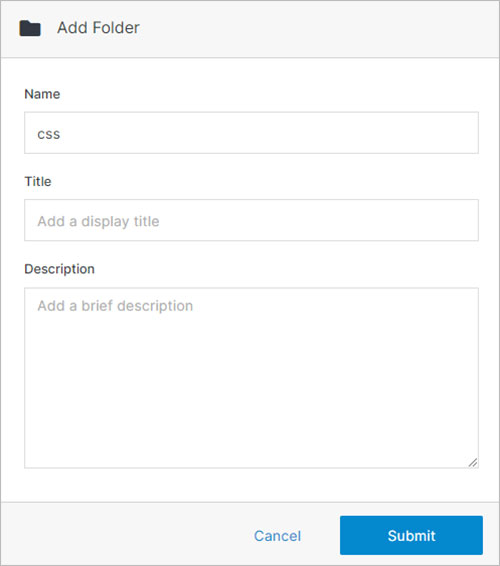
Step 4: In the modal, create a folder called "css". You can add an optional title and description, but it is not required. Once complete, click Submit.
Step 5: Click on the css folder and Add a File called app.css.
Note
Please leave this file empty. This file will dynamically include the compiled CSS for your site.
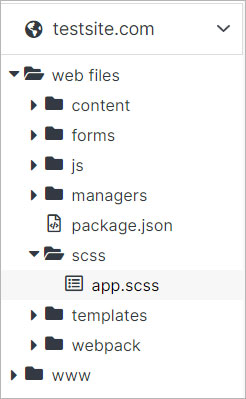
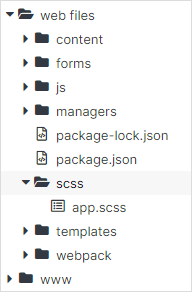
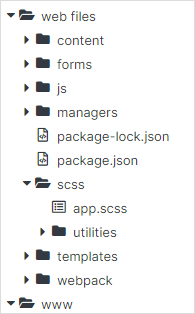
Step 6: Click on web files and Add Folder called scss. Once Complete, click Submit.

Step 7: On the new scss folder, create a file called app.scss:
Step 8: Paste the following sample code into the file. Once Complete, click Submit.
@import '~bootstrap/scss/bootstrap';Step 9: Go to your website dashboard and click on Update Website and navigate to the Meta Information accordion.
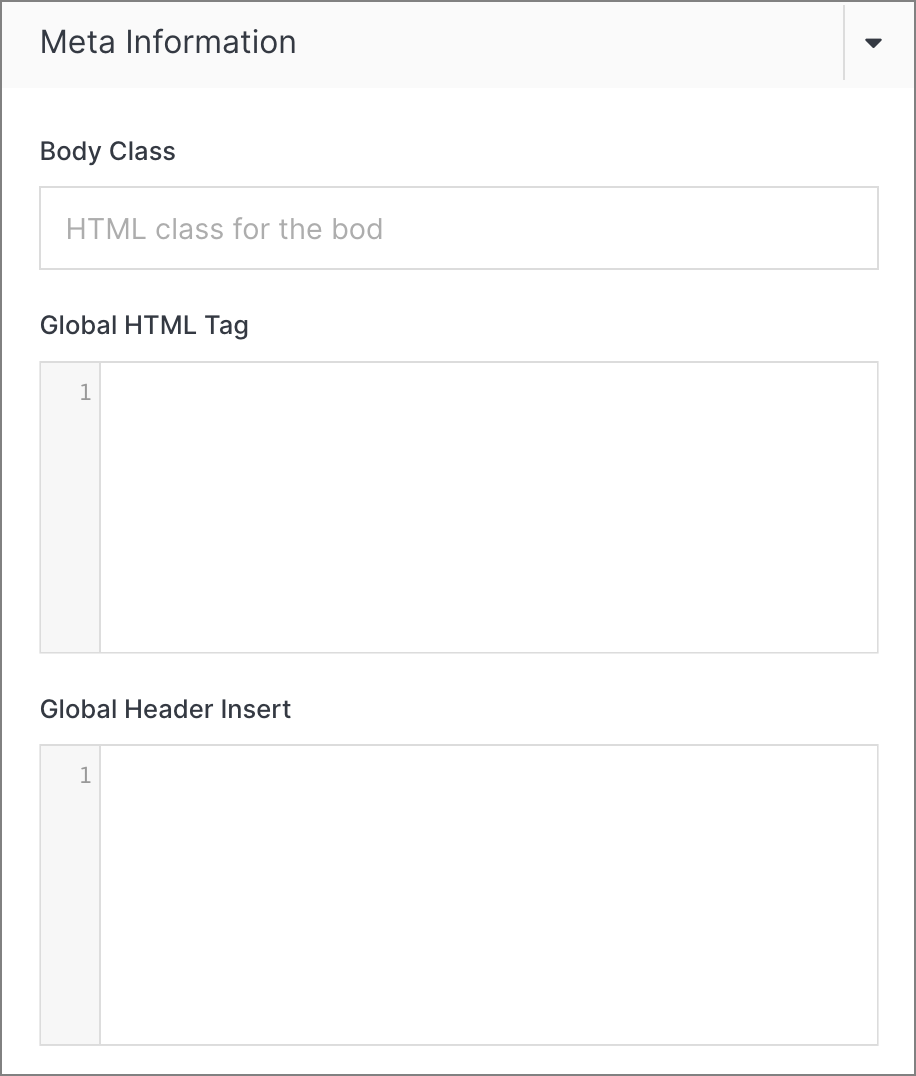
Step 10: Under "Global Header Insert" add the following script:
<link rel="stylesheet" href="/_/css/app.css">Note:
If you have a CDN reference for bootstrap added from the previous tutorial, replace it with the above.
#
How to add JavaScript to your site
JavaScript is a high-level, versatile, and widely used programming language primarily known for its ability to add interactivity and dynamic behavior to web pages. It is one of the core technologies of web development, along with HTML (Hypertext Markup Language) and CSS (Cascading Style Sheets). JavaScript is commonly used in conjunction with HTML and CSS to create modern, dynamic, and interactive web applications.
Step 1: Under the web files folder, create a file called webpack.config.js, select Code as a File Type and click Submit.
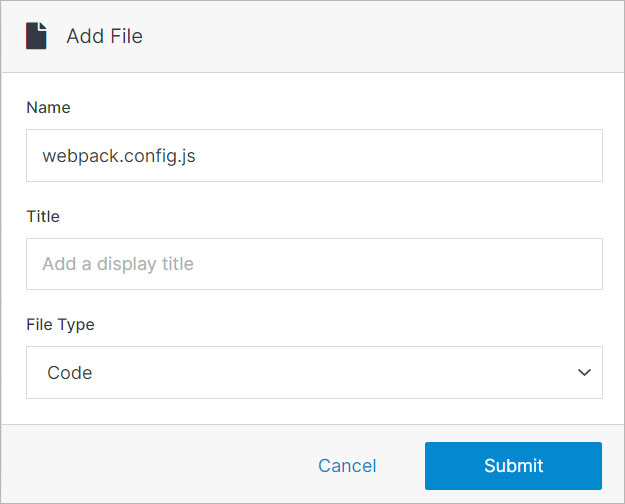
Step 2: Paste the sample code below into the newly created file and click Submit.
'use strict';

const path = require('path');
const webpack = require('webpack');

// Plugins
const { CleanWebpackPlugin } = require('clean-webpack-plugin');
const TerserPlugin = require('terser-webpack-plugin');

module.exports = {
  mode: 'production',
  optimization: {
    minimize: true,
    minimizer: [
      new TerserPlugin(),
    ],
  },
  context: __dirname,
  entry: {
    app: '../js/app.js'
  },
  output: {
    path: path.resolve(__dirname, '../../www/_/js'),
    filename: '[name].js',
    clean: true,
  },
  resolve: {
    extensions: ['.js'],
  },
  devtool: 'source-map',
  module: {
    rules: [
      {
        test: /\.js$/,
        exclude: /node_modules/,
        use: {
          loader: 'babel-loader',
          options: {
            presets: ['@babel/preset-env']
          }
        }
      },
      {
        test: require.resolve('jquery'),
        use: [
          {
            loader: 'expose-loader',
            options: {
              exposes: ['$', 'jQuery']
            }
          }
        ]
      },
    ]
  },
	plugins: [
    new webpack.ProvidePlugin({
      jQuery: 'jquery',
      $: 'jquery',
      jquery: 'jquery'
    }),
    new CleanWebpackPlugin()
	],
};
Step 3: From the left-hand menu, click on the "_" folder your created in the previous tutorial under www. Using the menu on the right, click Add Folder.
Step 4: In the modal, create a folder called "js". You can add an optional title and description, but it is not required. Once complete, click Submit.
Step 5: Click on the js folder and Add a File called app.js.

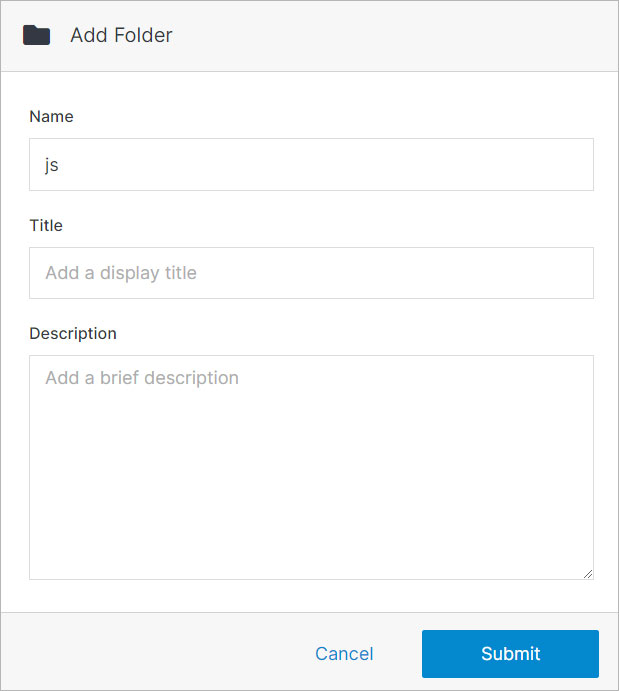
Step 6: Click on web files and Add Folder called js.
Step 7: On the new js folder in your left menu, create a file called app.js.
Step 8: Paste the following sample code into the file. Once Complete, click Submit.
'use strict';

// Packages
import 'jquery';
import '@popperjs/core';
import 'bootstrap';
Step 9: Go to your website dashboard and click on Update Website and navigate to the Meta Information accordion.
Step 10: Under "Global Header Insert" add the following script:
<script defer src="/_/js/app.js"></script>Note:
If you have a CDN reference for bootstrap added from the previous tutorial, replace it with the above.
#
Adding additional SCSS to your site
In this section, we will show you how you can add your own SCSS to you site.
Step 1: Under web files, click on the SCSS folder.
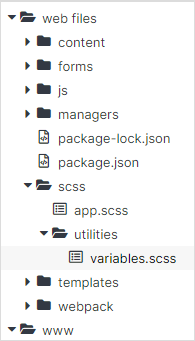
Step 2: Using the right-hand menu, click Add Folder. Name it utilities. Once Complete click Submit.
Step 3: Click on the utilities folder and, using the same right-hand menu, click Add File. Create a new file called variables.scss and select Code for the File Type. Once complete, click Submit.
Step 4: In the file code editor, add the following code sample.
/* =======================
  # Theme Color pallette
======================= */
$theme-colors: (
  'white': #fff,
  'primary': #008ae1,
  'danger': #c30065,
  'dark': #000,
);

@function theme-color($key: "primary") {
  @return map-get($theme-colors, $key);
}
Note:
This sample code contains a few color variables you can use to style your template. These variables will overwrite Bootstrap's colors used on our SpaceJet theme.
Step 5: To link your newly created file, click on the app.scss file under the scss folder. Add the following import before Bootstrap code. Click Publish.
@import 'utilities/variables';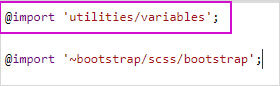
Once complete, click Publish.
Note:
Your variables.scss file needs to be added before the bootstrap import. All other scss files you add need to go after the bootstrap imports. Solodev highly recommends creating a components folder for all your other styles and to keep some level of organization within your CMS.
Step 6: Go to your front end and see the new colors.