#
Export
Export your entries.
#
Prerequisites
- You will need to add a module
Step 1: Access the left tree menu and navigate to the 'Modules' section located under the 'Workspace' category. This section contains various modules that can be utilized for your tasks.
Step 2: In the "Modules" section, you'll find a list of available modules. These modules represent different sections, categories, or components of your project. Take your time to identify and choose the specific module that you intend to export.
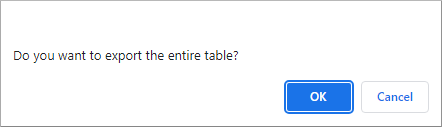
Step 3: Once you've selected the desired module, it's time to initiate the export process. To export the entire table associated with the selected module, navigate to the toolbar – usually located at the top of the interface – and look for the "Export" option. Click on this option to trigger the export process. This action will generate a file containing the complete table of data within the chosen module.
Step 3a: Alternatively, if you're interested in exporting individual entries or specific pieces of data from the selected module, you can do so using a slightly different approach. Firstly, identify the entries you wish to export. Most likely, there will be checkboxes located to the left of each entry. Select the checkboxes corresponding to the entries you want to export. Once you've made your selections, head to the toolbar and locate the "Export" option. Click on it to begin exporting the chosen entries. This action will generate a file containing only the selected entries' data.