
Webpack
Webpack is a modular bundler that compiles JavaScript, SCSS, and CSS into packages used to manage frontend assets at the browser level. You'll need it installed with your website to add more advanced styling features. This page covers both the fast way to get started (the Webpack provider) and the full manual setup for SCSS and JavaScript bundling.
Connect the provider
The fastest way to get a website started with Webpack. Connect the Webpack provider once, map it to a website, and Solodev scaffolds the starter setup into that website's web files folder for you -- no manual file creation needed.
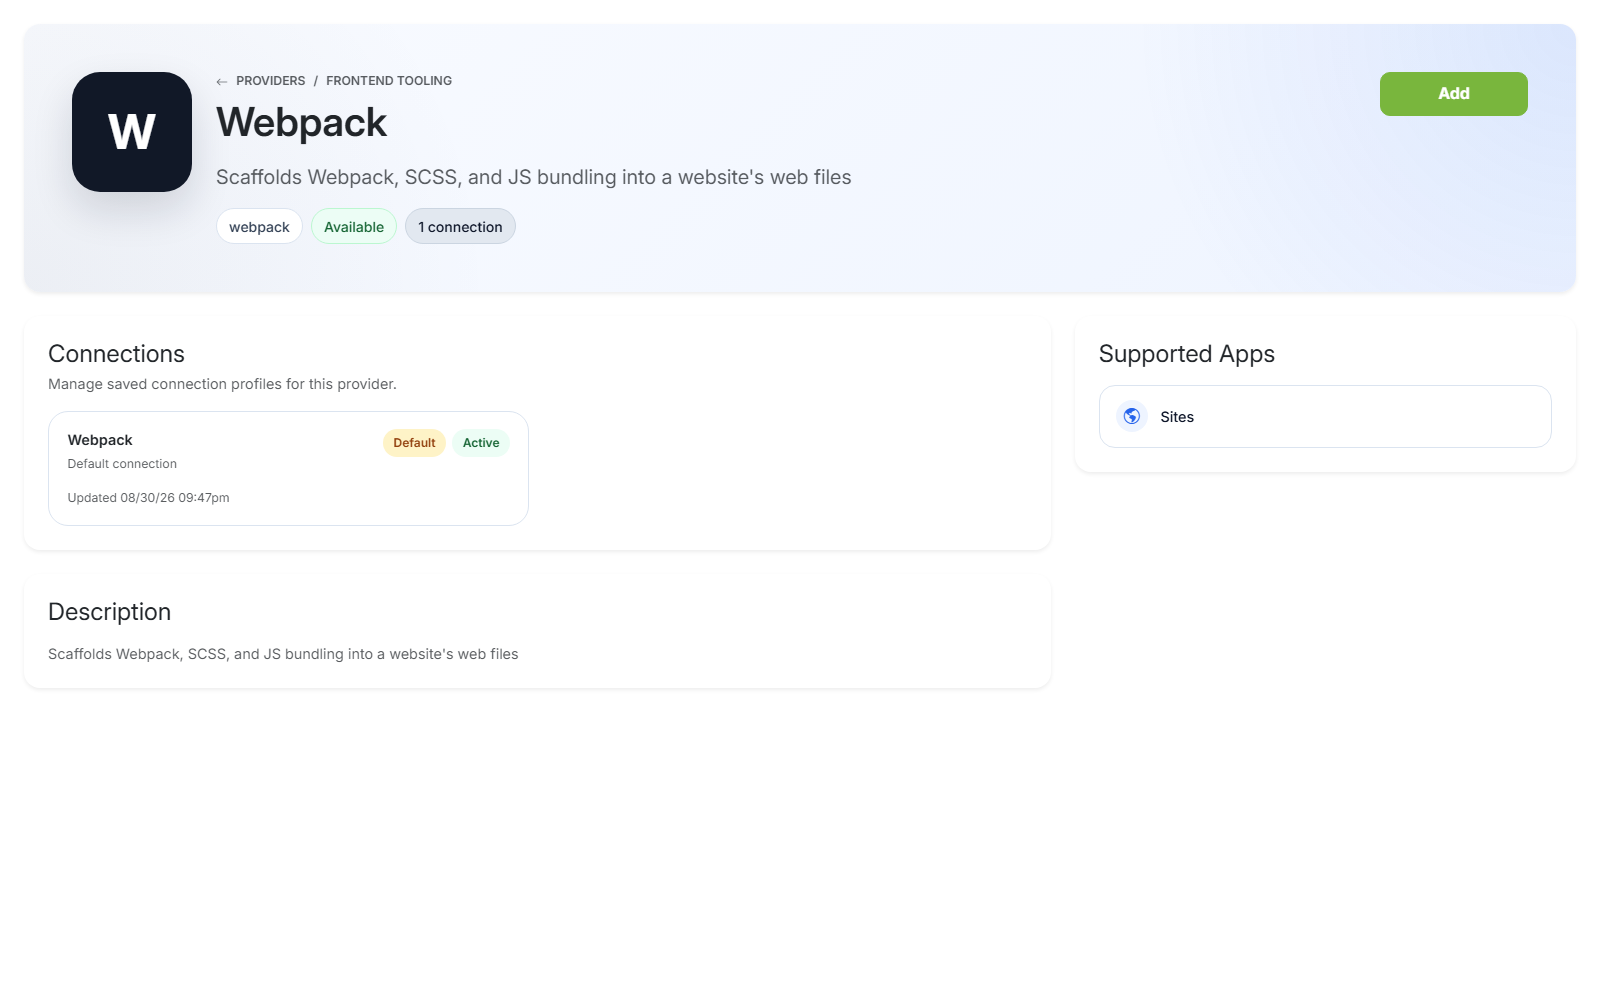
From Providers, open Webpack and click Add. There's nothing to configure -- name the connection and save.
Map it to a website
Open the website's Update Website form, expand Providers, and choose your connection under Webpack Connection. Click Submit.
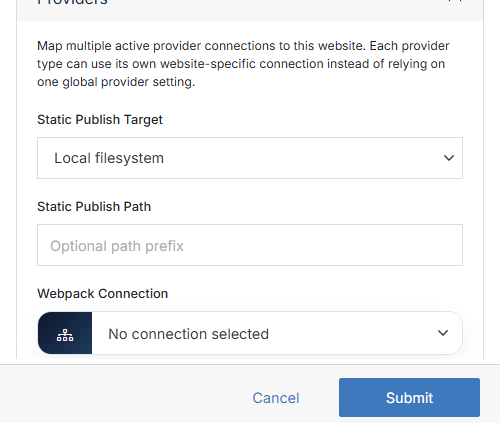
That's it -- Solodev creates these files in the website's web files folder at that point:
Note:
Each file is only ever created once. If a file already exists -- whether from a previous connection or your own manual setup -- Solodev leaves it alone. Reconnecting or resaving never overwrites your changes.
Prerequisites for the rest of this page
- You will need to add a website.
- You will need to add a page to that website.
- Familiarity with Bootstrap is highly recommended.
Add SCSS to your site
With package.json and webpack/webpack.css.config.js in place (via the provider above, or the download if you're setting this up by hand), you'll need to install SCSS, which stands for "Sassy Cascading Style Sheets." As the name implies, these are a more advanced variant of standard web CSS (Cascading Style Sheets), and a syntax for the popular CSS preprocessor called SASS, or "Syntactically Awesome Style Sheets."
SCSS can be used to style more complex visual elements on a web page, including hero sliders, galleries, buttons, images, color palettes, fonts, and even themes and layouts.
Example SCSS and compiled CSS via Webpack
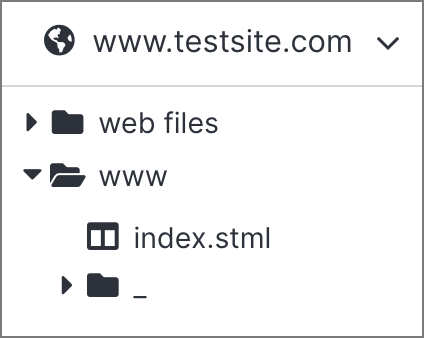
Step 1: From the left-hand menu, click on the "_" folder under www. Using the menu on the right, click Add Folder.
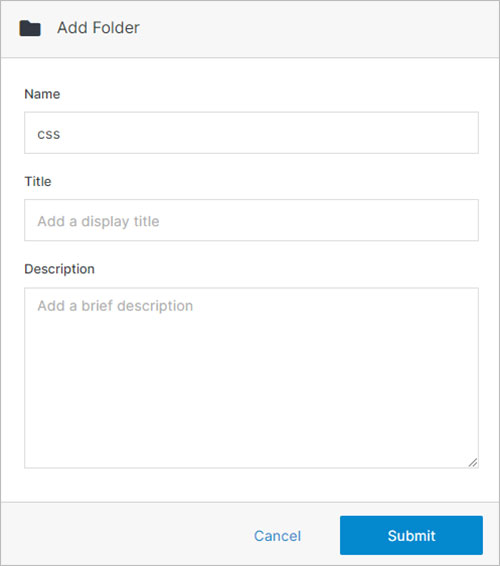
Step 2: In the modal, create a folder called "css". You can add an optional title and description, but it is not required. Once complete, click Submit.
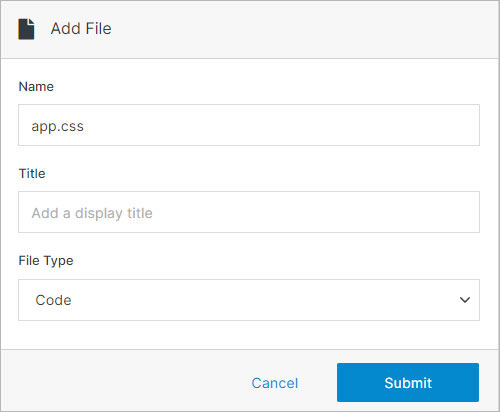
Step 3: Click on the css folder and Add a File called app.css.
Note
Please leave this file empty. This file will dynamically include the compiled CSS for your site.
Step 4: Click on web files and Add Folder called scss. Once Complete, click Submit.
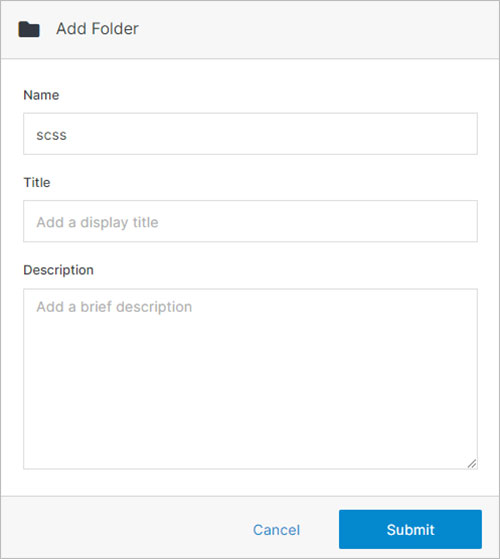
Step 5: On the new scss folder, create a file called app.scss:
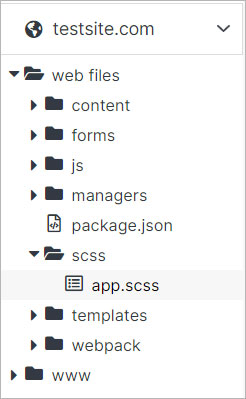
Step 6: Paste the following sample code into the file. Once Complete, click Submit.
@import '~bootstrap/scss/bootstrap';Step 7: Go to your website dashboard and click on Update Website and navigate to the Meta Information accordion.
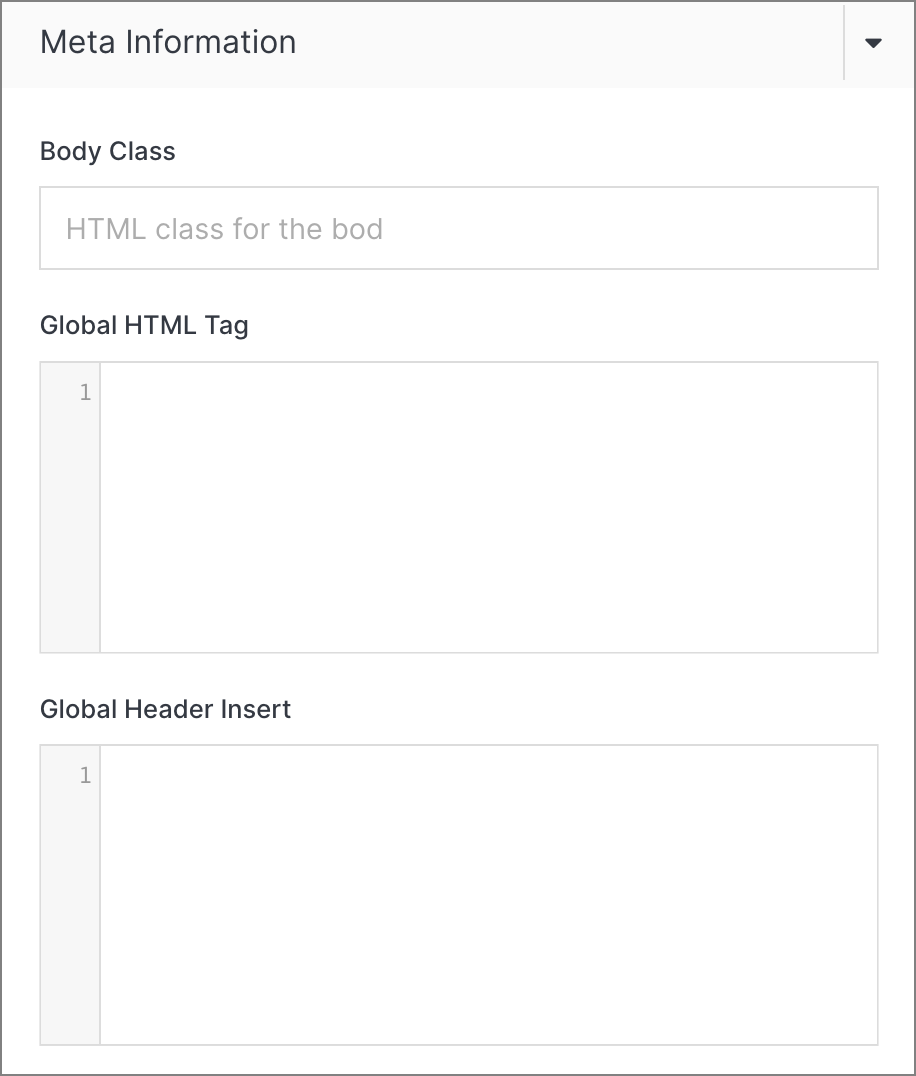
Step 8: Under "Global Header Insert" add the following script:
<link rel="stylesheet" href="/_/css/app.css">Note:
If you have a CDN reference for bootstrap added from the previous tutorial, replace it with the above.
Add JavaScript to your site
JavaScript is a high-level, versatile, and widely used programming language primarily known for its ability to add interactivity and dynamic behavior to web pages. It is one of the core technologies of web development, along with HTML and CSS. JavaScript is commonly used in conjunction with HTML and CSS to create modern, dynamic, and interactive web applications.
With package.json and webpack/webpack.config.js in place (via the provider above, or the download if you're setting this up by hand):
Step 1: From the left-hand menu, click on the "_" folder under www. Using the menu on the right, click Add Folder.
Step 2: In the modal, create a folder called "js". You can add an optional title and description, but it is not required. Once complete, click Submit.
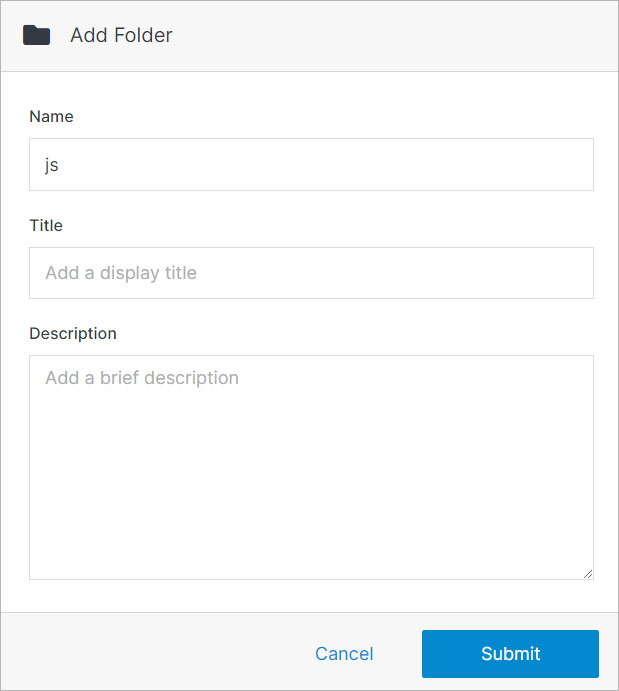
Step 3: Click on the js folder and Add a File called app.js.
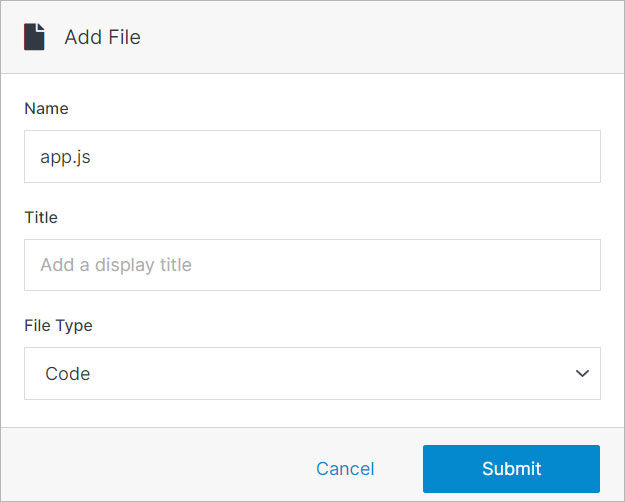
Step 4: Click on web files and Add Folder called js.
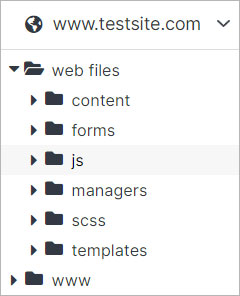
Step 5: On the new js folder in your left menu, create a file called app.js.
Step 6: Paste the following sample code into the file. Once Complete, click Submit.
'use strict';

// Packages
import 'jquery';
import '@popperjs/core';
import 'bootstrap';
Step 7: Go to your website dashboard and click on Update Website and navigate to the Meta Information accordion.
Step 8: Under "Global Header Insert" add the following script:
<script defer src="/_/js/app.js"></script>Note:
If you have a CDN reference for bootstrap added from the previous tutorial, replace it with the above.
Add additional SCSS to your site
In this section, we will show you how you can add your own SCSS to your site.
Step 1: Under web files, click on the SCSS folder.
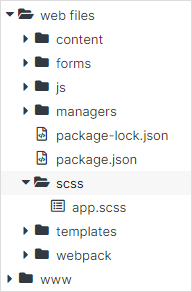
Step 2: Using the right-hand menu, click Add Folder. Name it utilities. Once Complete click Submit.
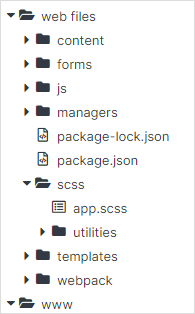
Step 3: Click on the utilities folder and, using the same right-hand menu, click Add File. Create a new file called variables.scss and select Code for the File Type. Once complete, click Submit.
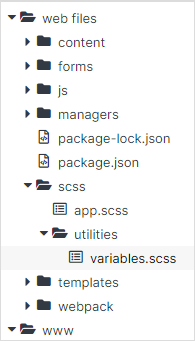
Step 4: In the file code editor, add the following code sample.
/* =======================
  # Theme Color pallette
======================= */
$theme-colors: (
  'white': #fff,
  'primary': #008ae1,
  'danger': #c30065,
  'dark': #000,
);

@function theme-color($key: "primary") {
  @return map-get($theme-colors, $key);
}
Note:
This sample code contains a few color variables you can use to style your template. These variables will overwrite Bootstrap's colors used on our SpaceJet theme.
Step 5: To use your newly created file, click on the app.scss file under the scss folder. Add the following import before Bootstrap code. Click Publish.
@import 'utilities/variables';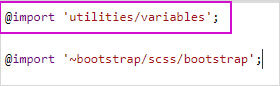
Once complete, click Publish.
Note:
Your variables.scss file needs to be added before the Bootstrap import. All other scss files you add need to go after the bootstrap imports. Solodev highly recommends creating a components folder for all your other styles and to keep some level of organization within your CMS.
Step 6: Go to your front end and see the new colors.