Scheduler
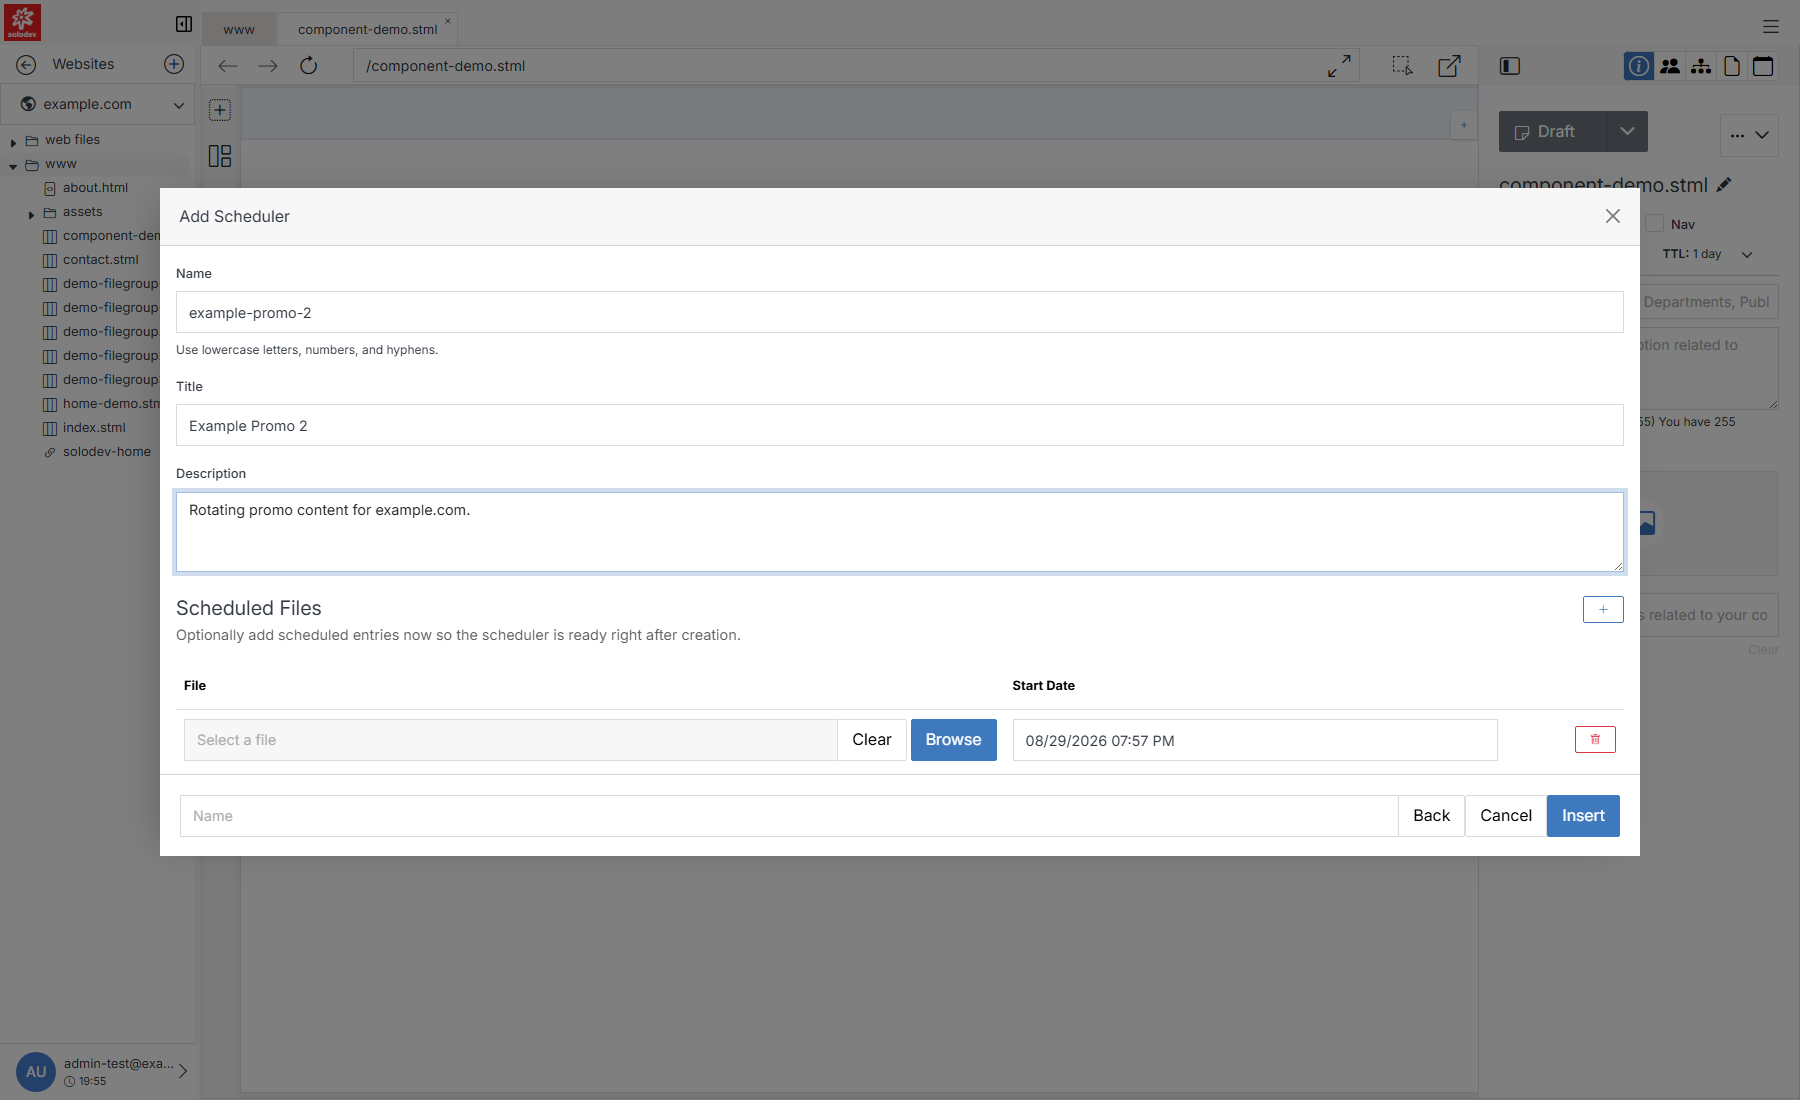
A scheduler automatically swaps one HTML/TPL file for another at a specified date and time, eliminating the need to manually publish the change. Each scheduler entry consists of a file and a start date. The entry with the most recent start date that has already passed is the version that renders.
To schedule another change, add a second entry with a later start date. The scheduler automatically switches to that file when the new start date arrives. There is no separate frequency setting—the file's start date determines when it is displayed.
While editing a page, find the vertical icon rail on the left edge of the page canvas. Scheduler is the seventh icon from the top.

Drag it onto an empty region of the canvas. This opens Select Scheduler. Search for an existing scheduler, and select it to preview its details before choosing it, or add a new one.
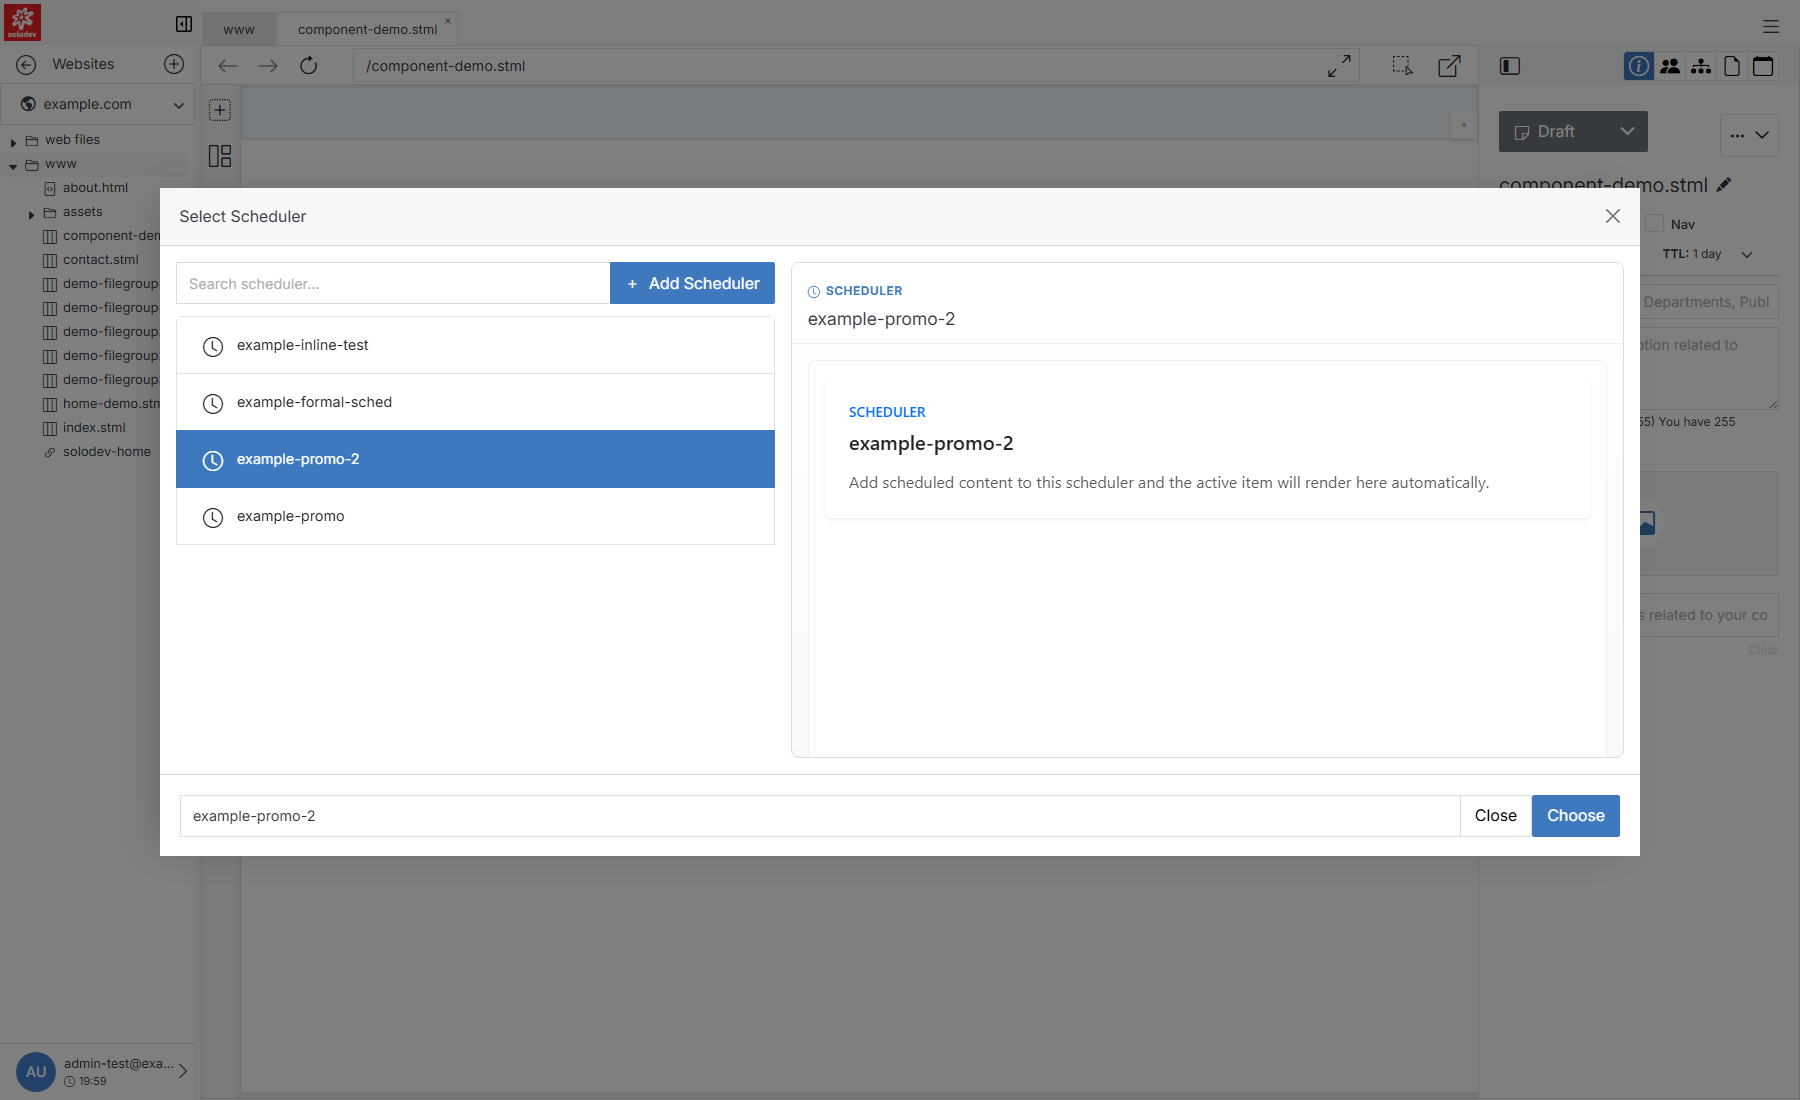
Quick Add
If nothing in the list fits, click + Add Scheduler to create one without leaving the page. This is a lighter version of the full Add Scheduler form — it also lets you schedule an entry immediately, so it's ready to use as soon as you insert it.